1. Navigate to the Merchant Facility tab
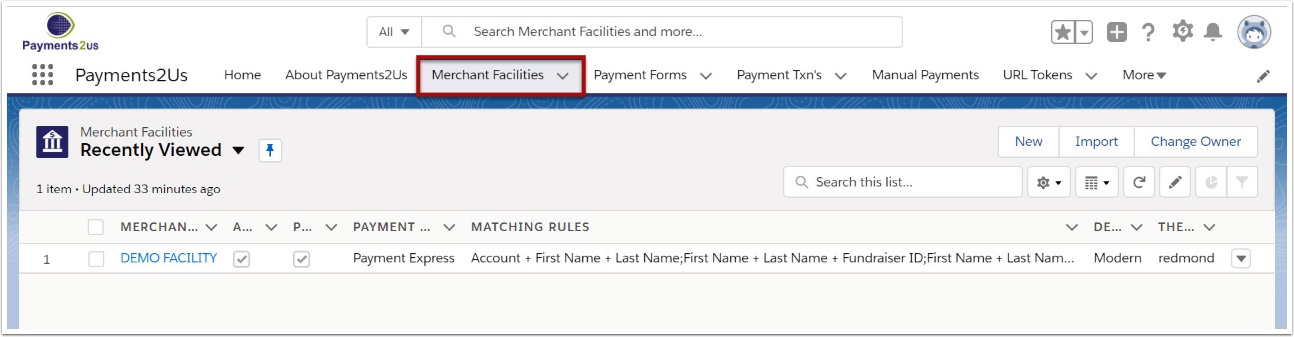
The Merchant Facility tab can be found within the Payments2Us menu (Top right picklist in Salesforce - Select Payments2Us), or it can be found under the "More" at the end of the tabs. (In Salesforce Classic - It can be under the "+" at the end of the tabs)
Once you have clicked on the Merchant Facility Tab, select the appropriate List view (Example - "All Merchant Facilities") and click into Merchant Facility you wish to update.
2. Select Payment Forms heading from the Right Hand Side
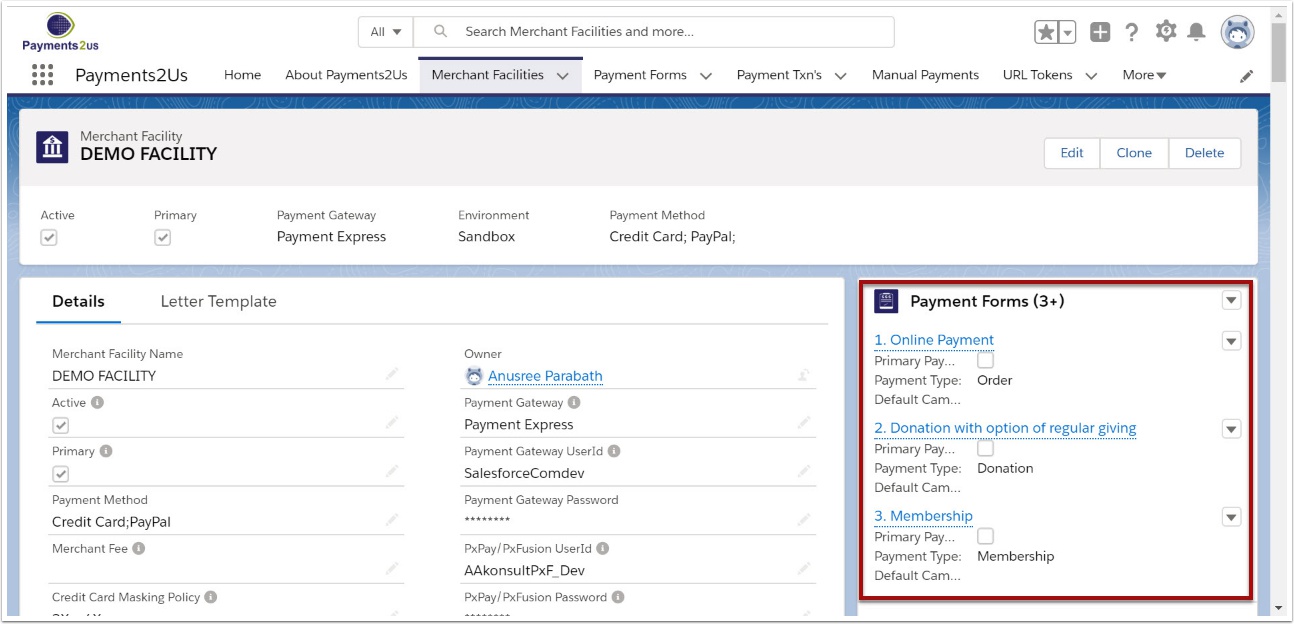
Select the related Payment Forms and either click New Payment Form, or Use and existing one.
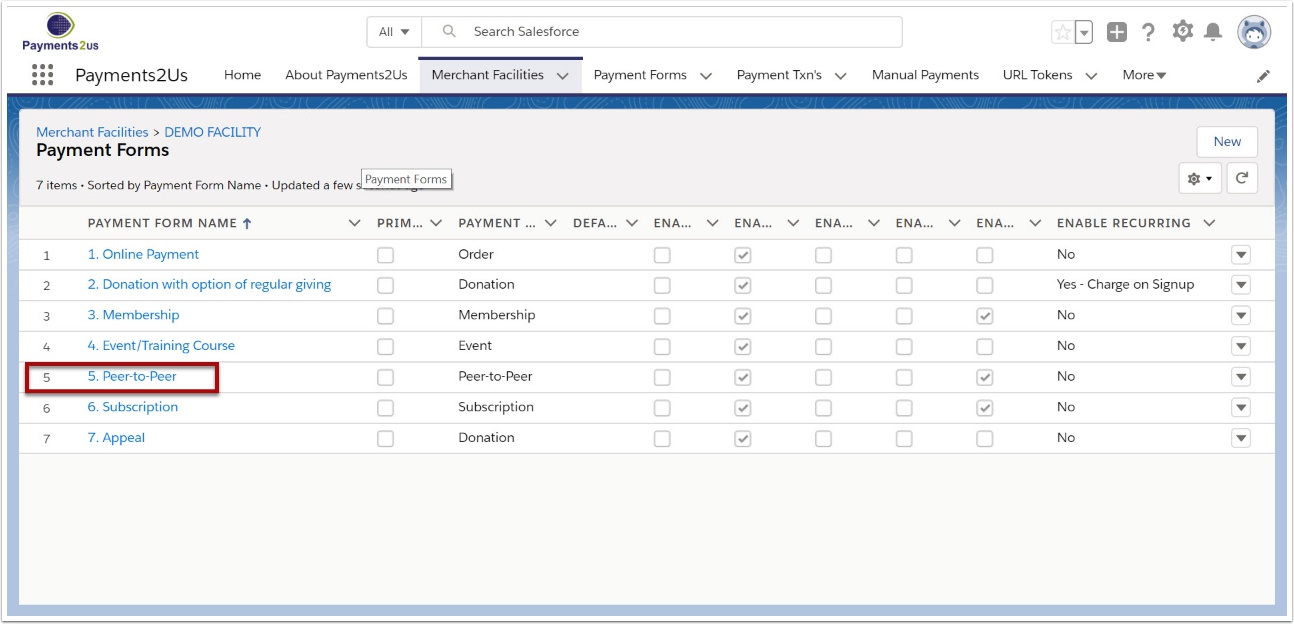
3. Update Payment Forms as appropriate
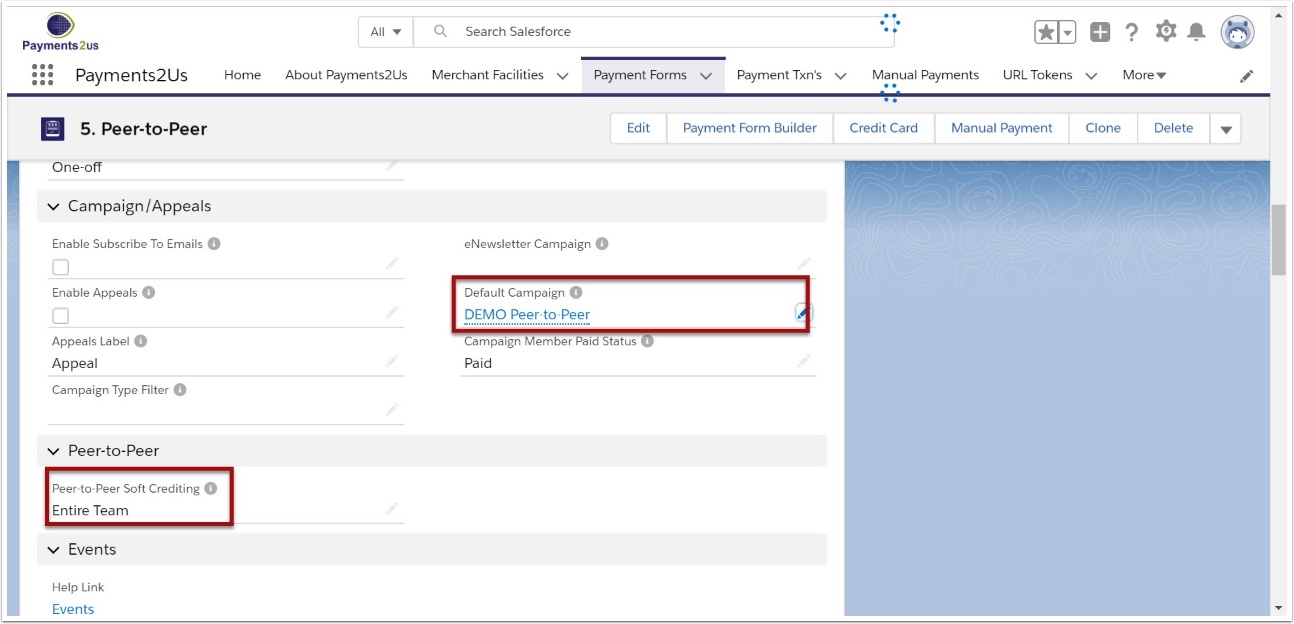
For Peer-to-Peer Fundraising for Payment Forms, you may wish to set the following:
- Default Campaign. If this is not set, the you can use a campaign specific URL that is on the campaign. See: How to Create Peer-to-Peer Parent Campaign for more details
- Peer-to-Peer Soft Crediting. How are soft credit allocated - If a donation is made against one team member; who should also get soft credited with the donation as well? This option requires Soft Credit to be set to Yes.
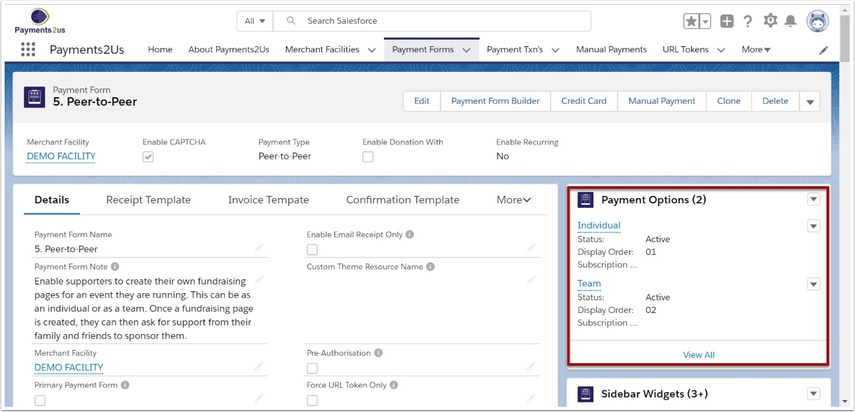
After saving the Payment Form, select the Payment Options list.
4.1. Adding Team or Individuals - New Payment Options
Setting up Team or Individual determines if a Single person (Individual) can register and/Or a group of people (Team) can register.
If Team is enabled, then the registration form enables multiple people to be added at the time of registrations.
In addition, after the registration is complete, a special link is generated so this can be sent to other team members so they can register. This option is ideal when a Team Captain does not know all of the details for team members, or if the registration is paid then the team captain does not have to pay for everyone up front.
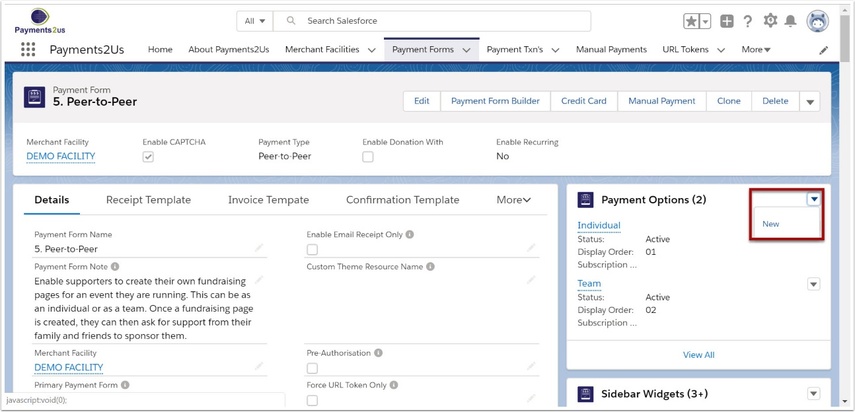

Press the New Payment Option to add a new entry.
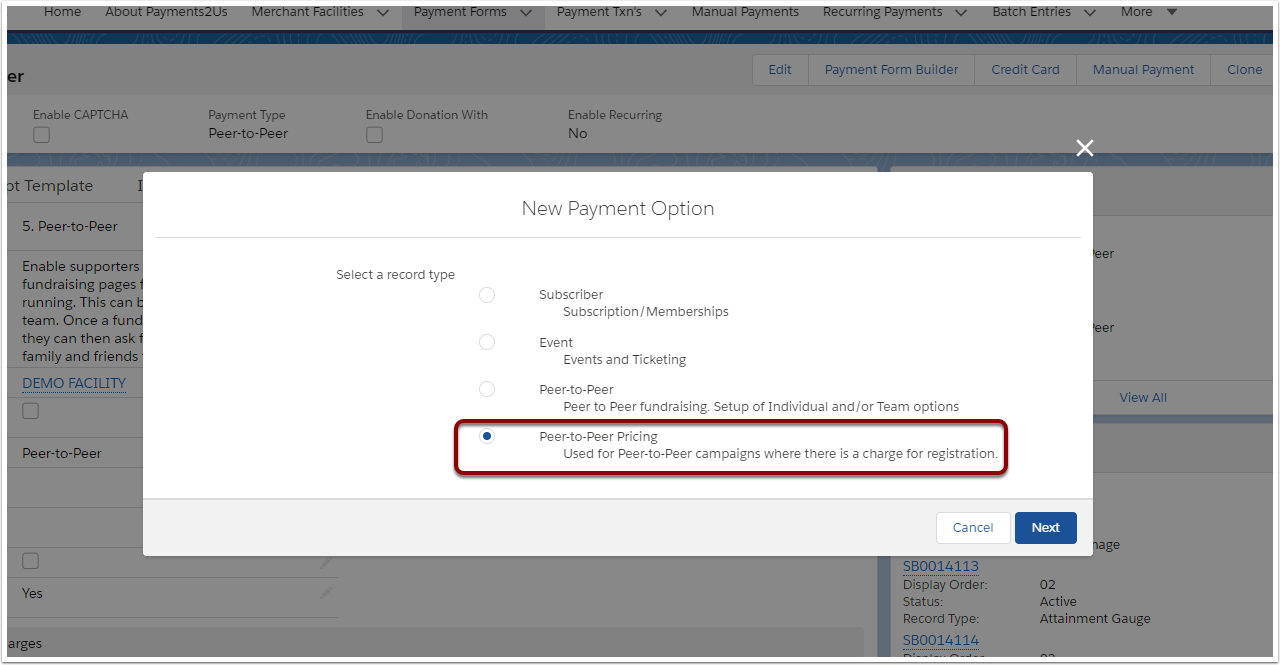
Select the record type of Peer-to-Peer
4.2. Adding Team or Individuals - Entering Payment Option

Enter details of the Options. Generally speaking, this would be Team or Individual.
If you wish to have both Teams and Individuals registering, then add a Payment Option entry for both types.
4.3. Adding Registration Payment Options
If you do not charge for registration, then you can skip this step.
If you do charge for registration, then you need to add the payment options so for the price of the registration.
4.3.1. Add Payment Option - Peer-to-Peer Pricing

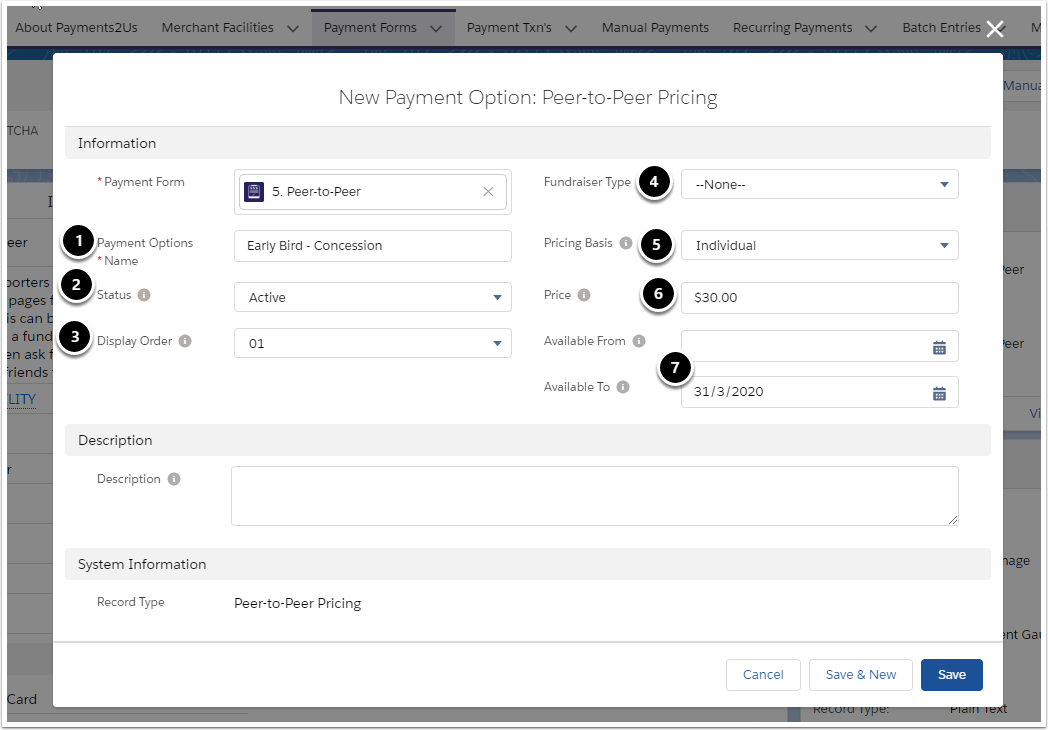
4.3.2. Enter Pricing Info
- Enter a name that will appear on the registration form for the person registering to select
- Active or blank means this option is available on the form. Active - Internal means this will be available for users inside Salesforce, but NOT on the public website.
- Order in which the pricing options will appear on the registration form "Registration Fee" picklist field
- Fundraiser Type. If this pricing option is only available to a particular type, then enter a fundraiser type here. If it's available to both Individuals and Teams then leave blank
- Pricing Basis. If selecting "Individual", then it means each person will get charged this amount. I.e. if the team had 3 people, then they would get charged for 3 by the price amount.
If "Team" is selected, then the price is fixed for teams and does not change based on the number of team members. - Price to charge
- Available from/to dates provide the ability to setup early bird pricing.
5. Add Sidebar Widgets
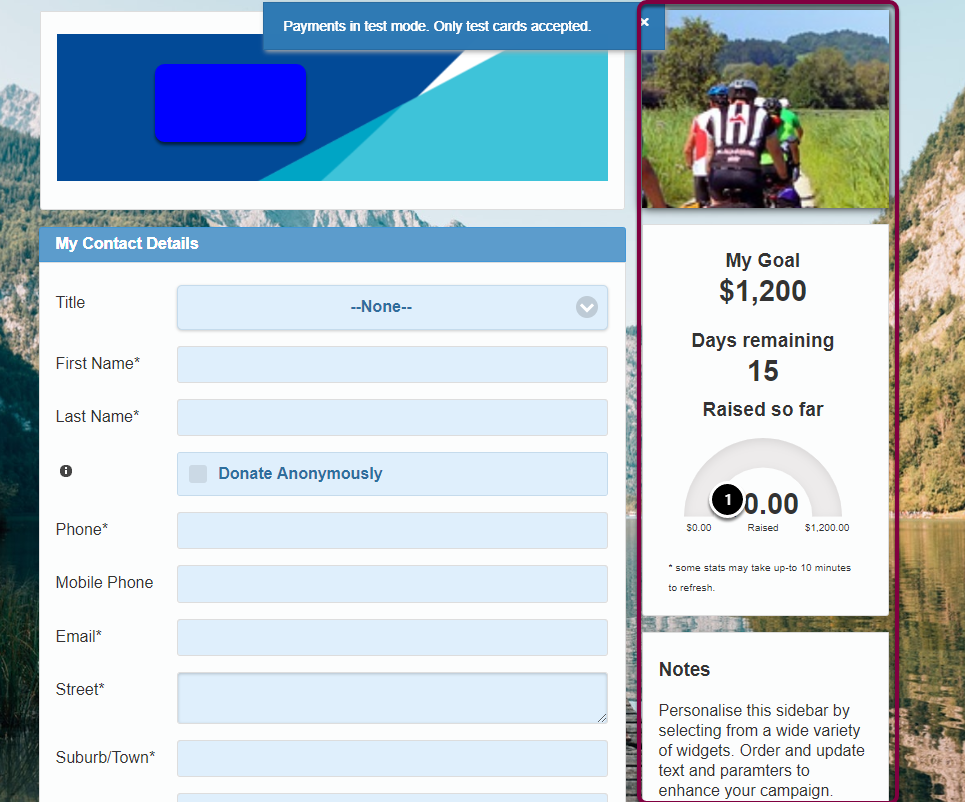
Add Sidebar Widgets to show extra information, to add encouragement by showing goal obtainment or event just to add more images to spruce up your payment form.
See How to Add Sidebar Widgets for more information and steps on how to add these.