1. What is the Payment Form Builder?
The Payment Form Builder is a drag and drop Form Layout Builder.
With the Payment Form Builder you can:
- Rearrange sections on the form
- Rearrange fields within a section.
- Make a field required/optional
- Change the field label and help text.
- Have a version of the layout that is unique for Website visitors (external) or Salesforce users (internal view)
- Have a different Payment Form Layout for every single Payment Form
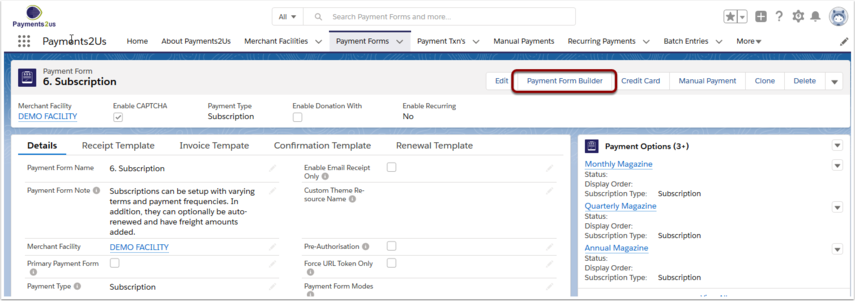
2. Where do I find the Payment Form Builder?
From the Payment Forms Tab. Click into the Payment Form you wish to edit.
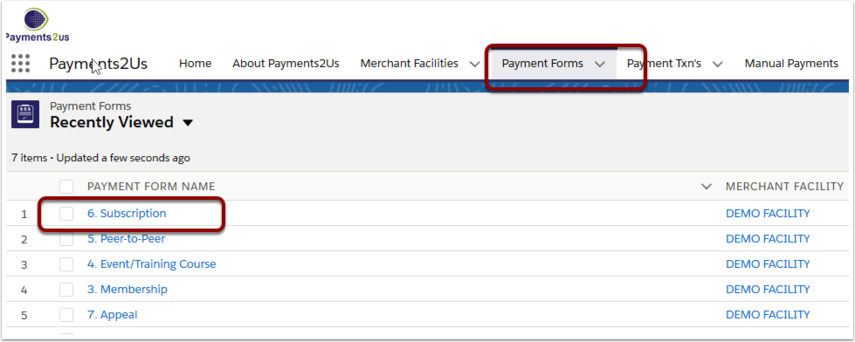
Click on the Payment Form Builder button to launch the Form Builder
3. What that the components of the Payment Form Builder?
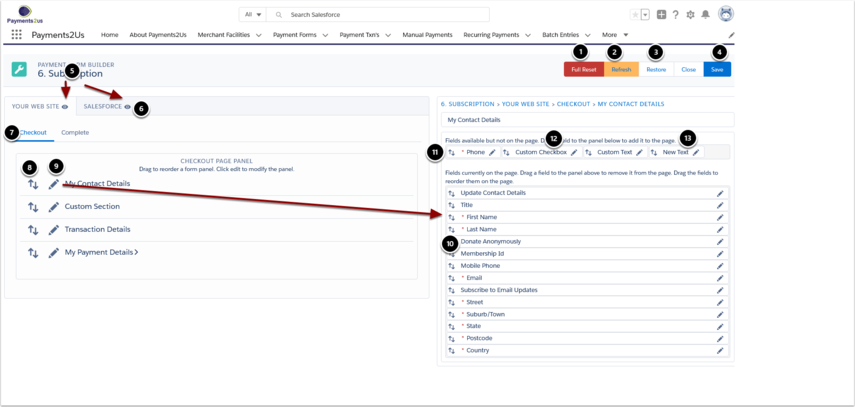
- Full Reset button resets the form to its default state. This is based on FieldSets on Payment Txn object and some areas Payment Item object. Any update you have made will be lost.
- Refresh button will update the payment form with any new sections selected (e.g. Custom Sections), fields added to fieldSets or change to Payment Methods. Previous updates you've completed will remain in place.
- Restore button will restore the form to a previously save state.
- Save button saves details after making changes
- The "Your Web Site" tab is for the form layout for public facing forms. The "Salesforce" tab is for internal Salesforce users views of the form. This enables you to say have an Email address required on your public website, but optional for internal users.
- The "eye" icons provide a preview of the form.
- The sub tabs are for various steps of the form. For this form, there is the Checkout page and then the complete/confirmation page
- Click on the Up/down arrows to move the entire sections up or down.
- Click on the Pencil icon to open up a list of fields that are available for that section
- Use the up/down arrows to move the fields up or down
- Drag fields to this section to remove them form the form. Alternatively drag fields from this section back onto the form.
- If you have added custom fields to the Payment Txn Object, they will be available for select here. Please also see procedure: How to make a custom field visible on public web forms
- Drag "New Text" onto the Payment Form fields section. Press the Pencil Icon to add text.
- Press the Pencil Icon to update field details such as label, help text and if required or not.
NOTE: If you wish to add custom fields, you first need to add them to the Fieldsets on the Payment Txn object. Please see the Adding Custom Fields to your webform user guide.