There are a number sending of receipt options included with the standard package.
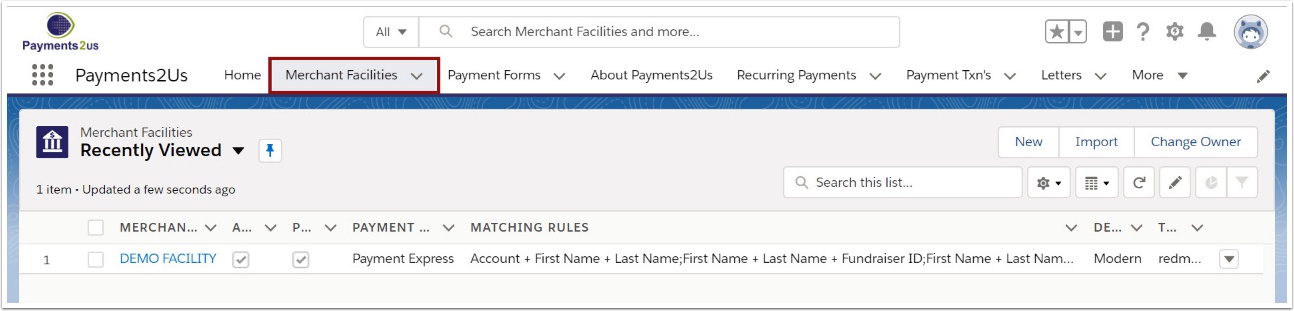
The Merchant Facility tab can be found within the Payments2Us menu (Top right picklist in Salesforce - Select Payments2Us), or it can be found under the "More" at the end of the tabs. (In Salesforce Classic - It can be under the "+" at the end of the tabs)
Once you have clicked on the Merchant Facility Tab, select the appropriate List view (Example - "All Merchant Facilities") and click into Merchant Facility you wish to update.
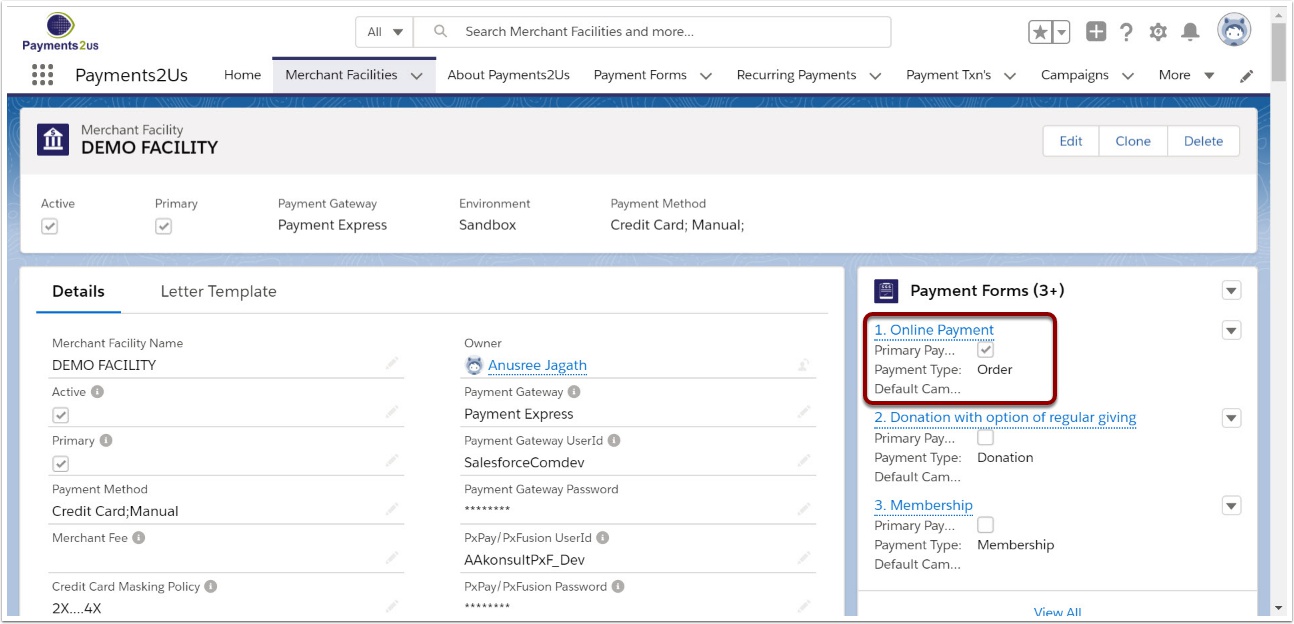
2. Scroll down to Payment Forms heading
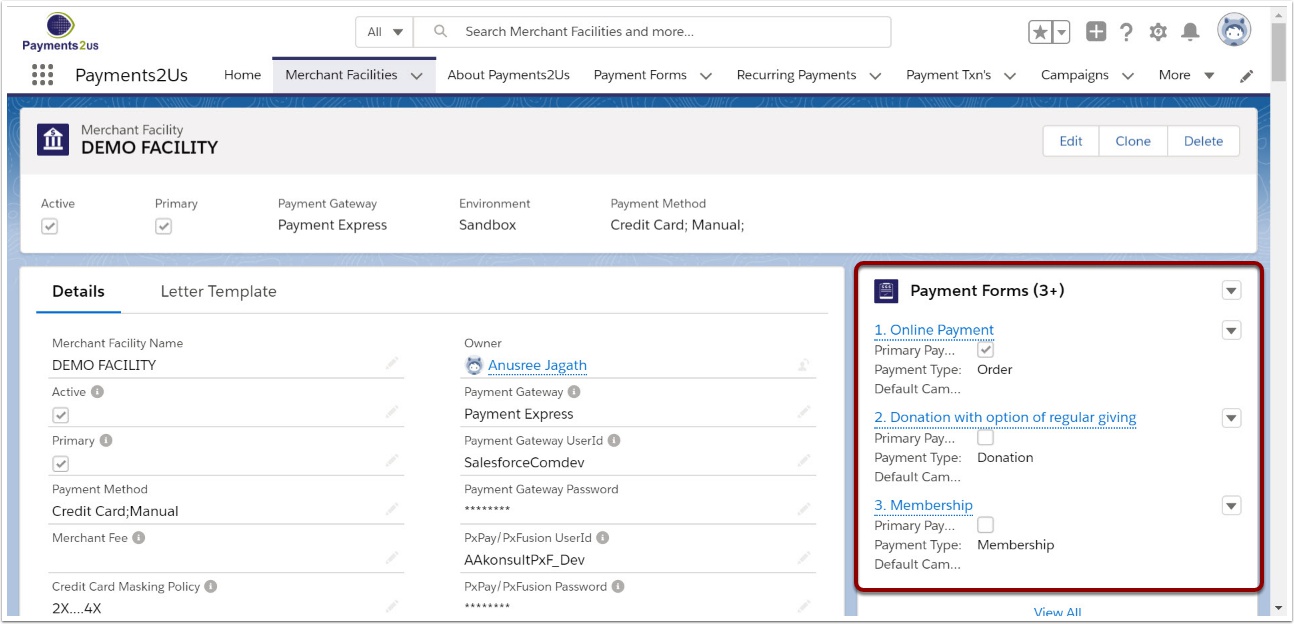
3. Select the payment form for the receipt
4. Scroll down to the Receipting Text heading
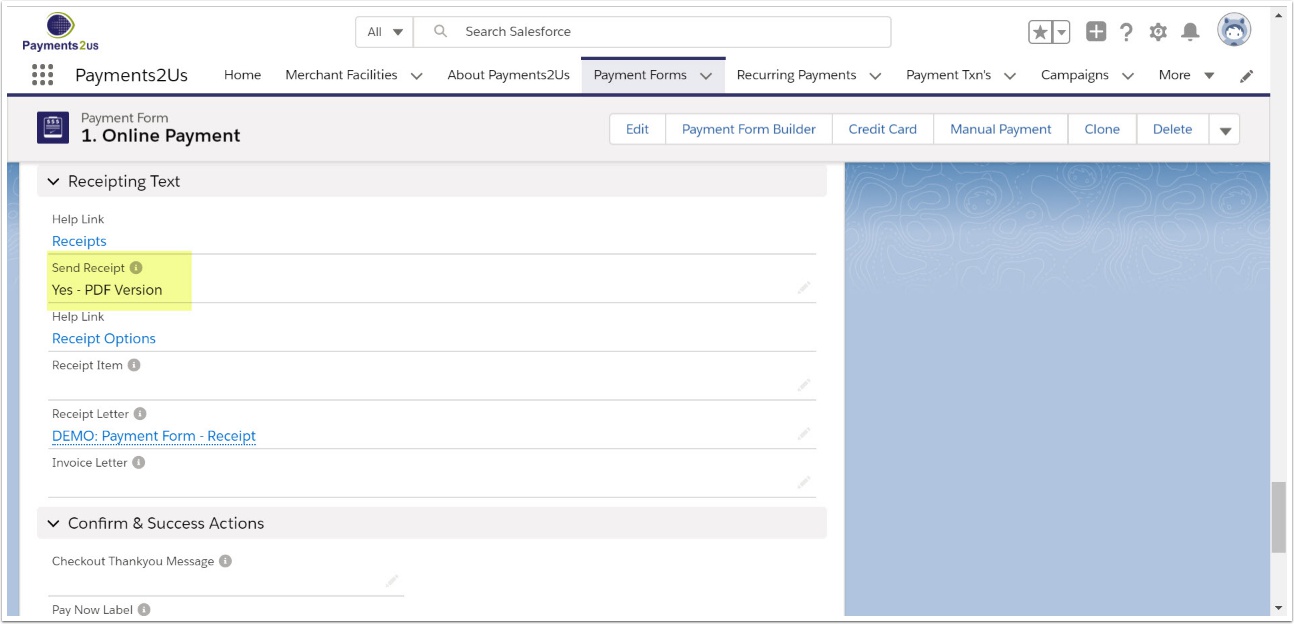
5. Choose an option for the 'Send Receipt' field and SAVE
| Option | Description |
|---|---|
| Yes - PDF Version | An email receipt is sent out and includes the PDF attachment as described in the section above “Receipt Layout”. If no “Send Receipt” option is selected, the this option will be assumed. |
| Yes - PDF Version - Skip Recurring | A email with a PDF receipt is ONLY sent out if the donation is for a single transaction. If the person signs up online for a recurring payment (eg. Monthly) then no receipt will be sent for the initial or subsequent transactions. For these payers, the annual statement option would be used. |
| Yes - Interim | An email receipt is automatically sent out. The default template does not include a PDF attachment and simply notifies the payer that a formal receipt will be sent later. |
| No - Skip Receipting | No receipts will be sent out. However, the Payment Txn status will be updated so that Matching process is performed. |
| No - Manually mark as Receipted | Receipts are not automatically sent out. However, if the user presses the “Generate Receipts” list view filter button then the PDF receipt version will be sent. |
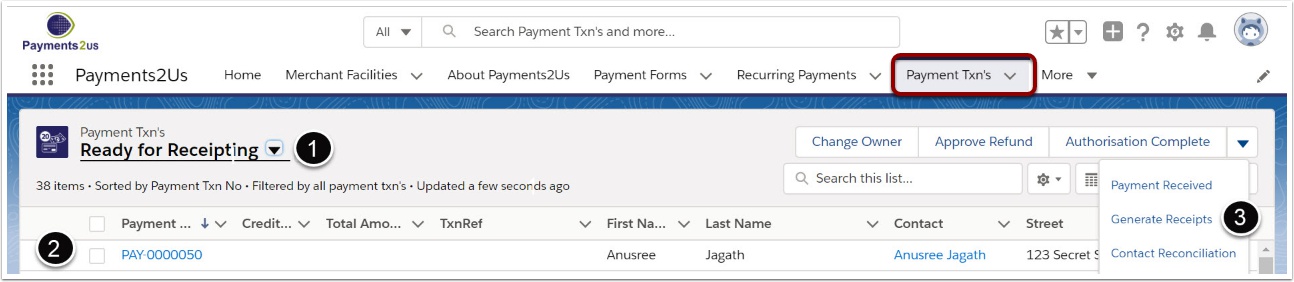
If you choose this option, then you can mark a transaction as being receipted by:
- Select ‘Ready for Receipting’ from the list view filter.
- Tick the records for receipting.
- Press the ‘Generate Receipts’ button.