URL Tokens are recommended for passing in defaults to the payment forms.
To set up URL Tokens, you will need to:
- Enable sites (this should have already been set up during installation Force.com Sites
- Enable URL Tokens
- Set default information
Note: URL tokens can be linked to Accounts, Contact, Campaigns, Campaign Members, Opportunities and Cases. Each of these can include a checkbox field called “Create URL Token” and "URL Token". If this is checked and saved then a URL Token is created and linked to the object. You can then define your own workflow emails to send this link to the payee for payment.
See procedure Which parameters can I use with the various URL Parameter options for a list of parameters that work with URL Tokens
1. Enable sites
The Site URL represents the core Salesforce.com website address for where the core payment for will be publicly visible
Classic - Setup > App Setup > Develop > Sites
lightning - Setup > User Interface > Sites and Domains > Sites
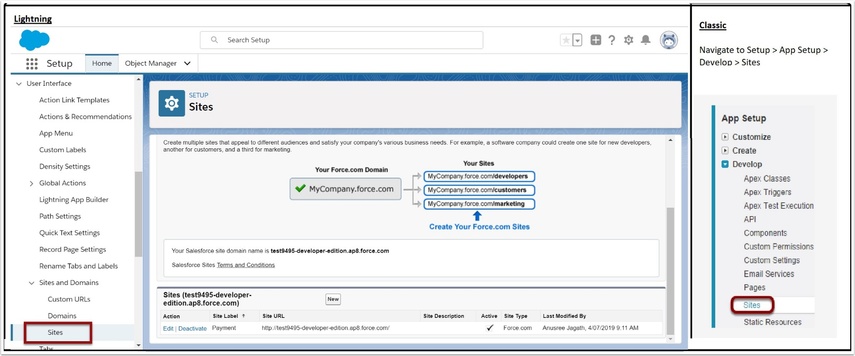
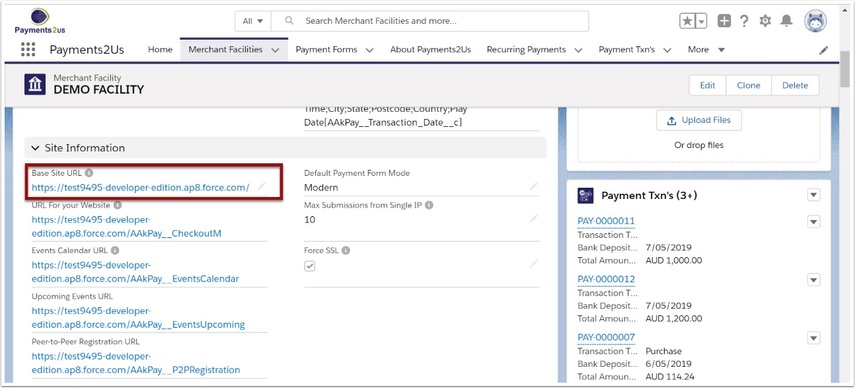
1.2. Locate your site URL and make a copy (highlight & Control-C)

1.4. Paste (Control-V) the URL into the field 'Base Site URL' and SAVE
2. Enable URL Tokens (Optional)
This ensures that only URL Tokens can be used and that other parameters cannot be passed through via the URL.

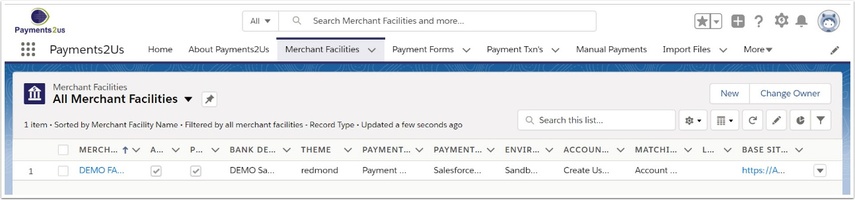
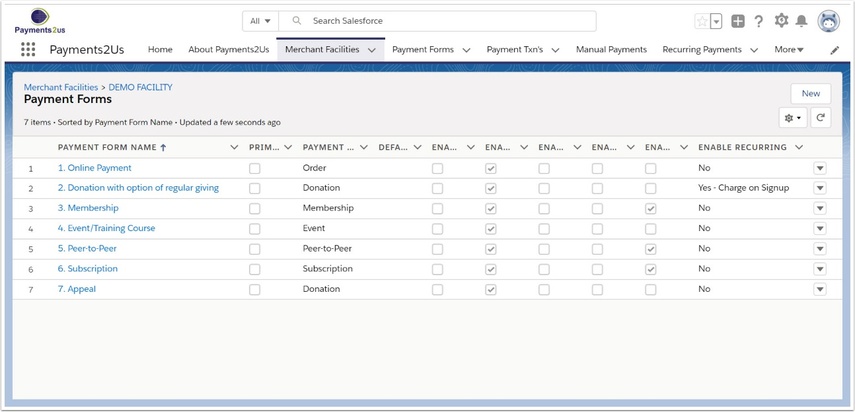
The Merchant Facility tab can be found within the Payments2Us menu (Top right picklist in Salesforce - Select Payments2Us), or it can be found under the "More" at the end of the tabs. (In Salesforce Classic - It can be under the "+" at the end of the tabs)
Once you have clicked on the Merchant Facility Tab, select the appropriate List view (Example - "All Merchant Facilities") and click into Merchant Facility you wish to update.
2.2. Select the Payment Forms heading and select the payment form
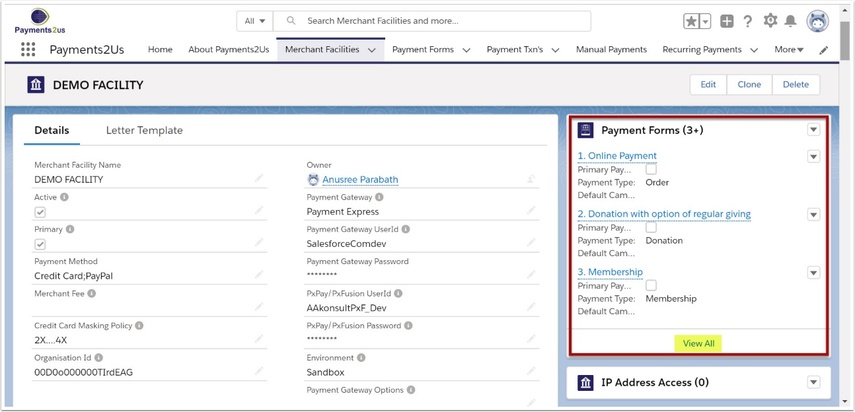
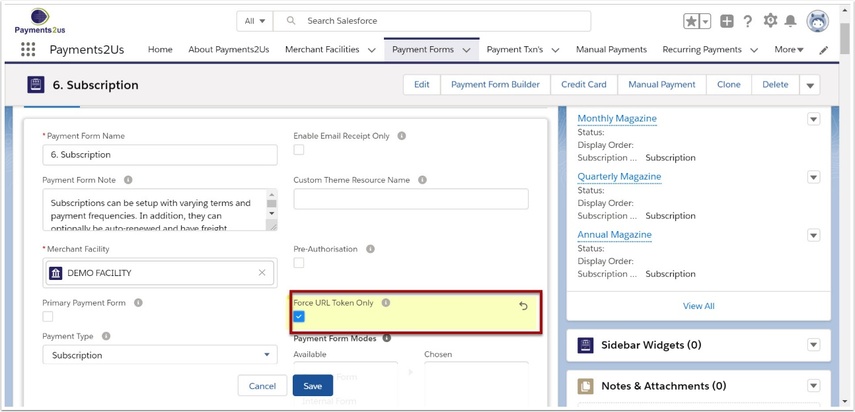
2.3. Optionally tick the checkbox for the 'Force URL Token Only' field and SAVE.
If the 'Force URL Token Only' box is checked, require this payment form will always require a URL Token and cannot be used without one.
3. Set default information
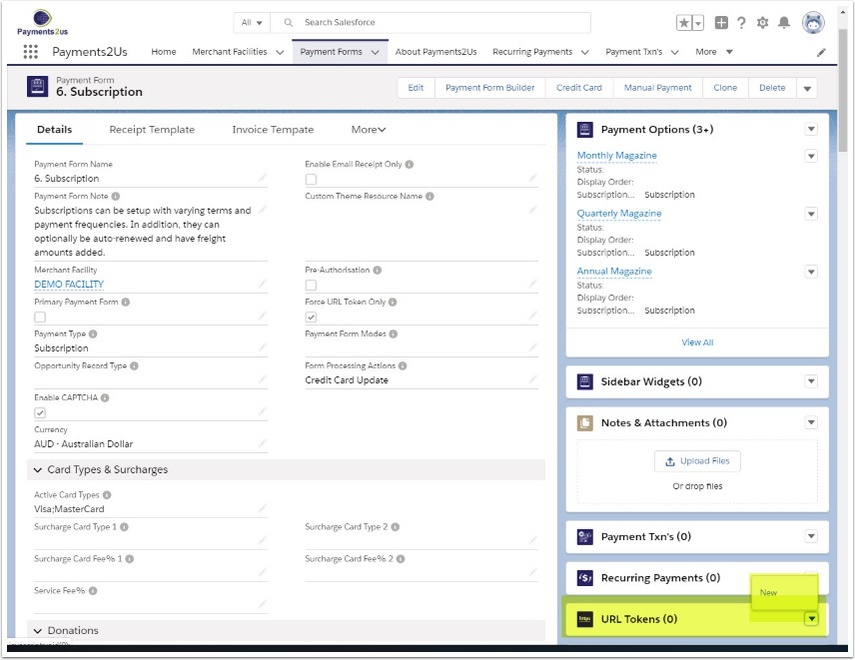
3.2. Select the Merchant Facility and Payment Form using the lookup tables

3.3. Fill in the default information for the fields and SAVE
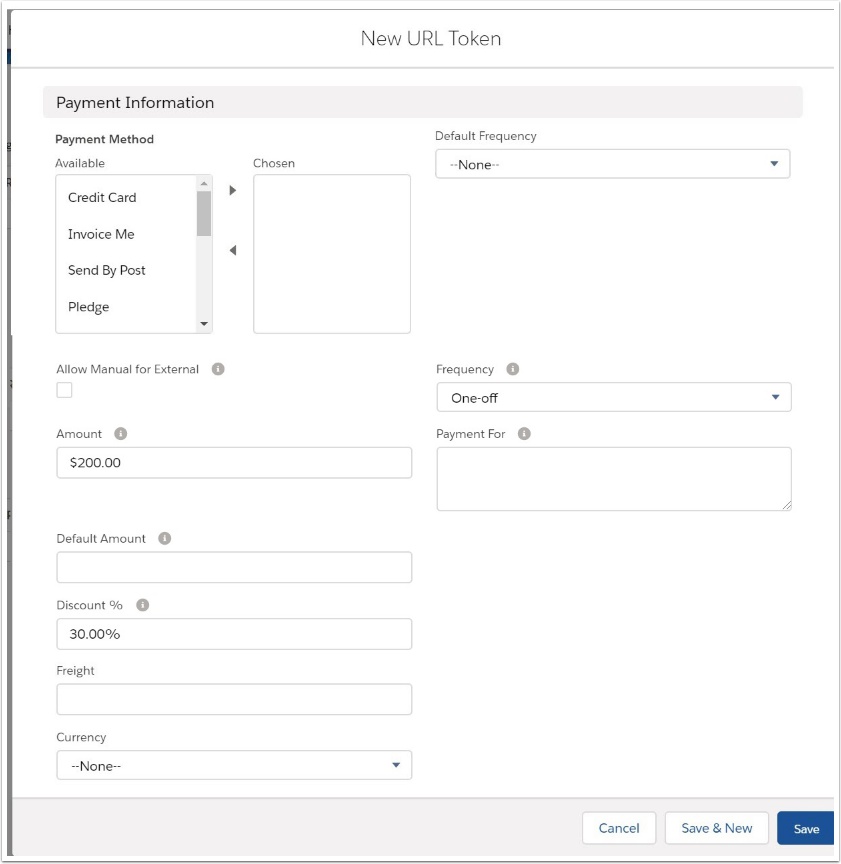
This example uses a specific amount and an applied discount. This information will be already filled in when the web visitor opens the payment page.
3.4. Check the newly created URL
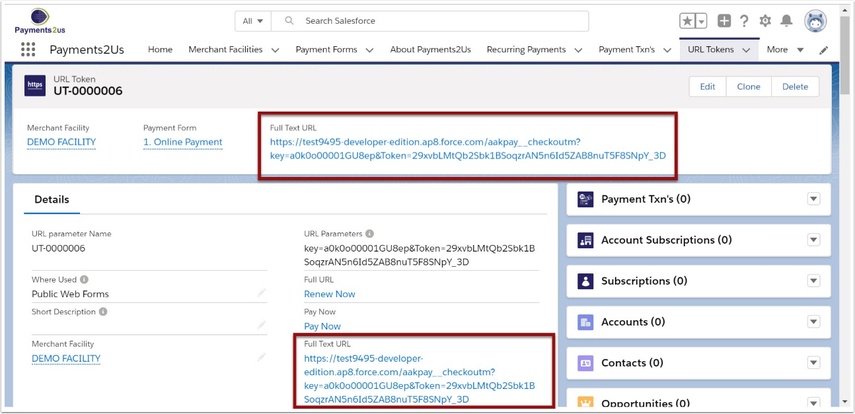
3.5. Click into the URL and check online form
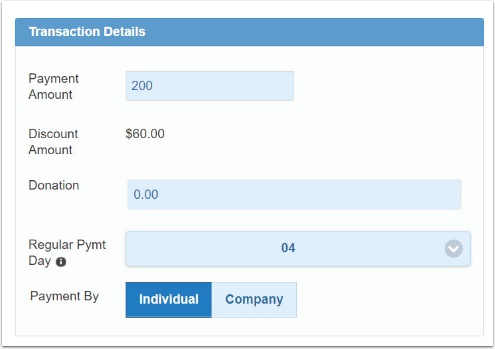
The payment amount and discount have been entered as default entries.
4. Send URL in an email or insert into your website
4.1. Cut and paste this URL with your default information into your email or website

If you are wanting to use this URL on your website, then please also see How to add your form to your website.