We have now added a Payment Form Builder to make it easier to managed for Payment Form Layouts.
Please see the Payment Form Builder guide.
To provide the best possible flexibility, Payments2Us makes extensive use of the Salesforce CRM fieldset capabilities. This enables administrators to easily add custom fields or move/hide existing fields used on the forms. The hiding of fields should only be used if there is not a standard Payment Form configuration setting as described in the previous section of this manual.
If you have added your own custom fields, please ensure you make the fields publically accessible, see: How to make a custom field visible on public web forms
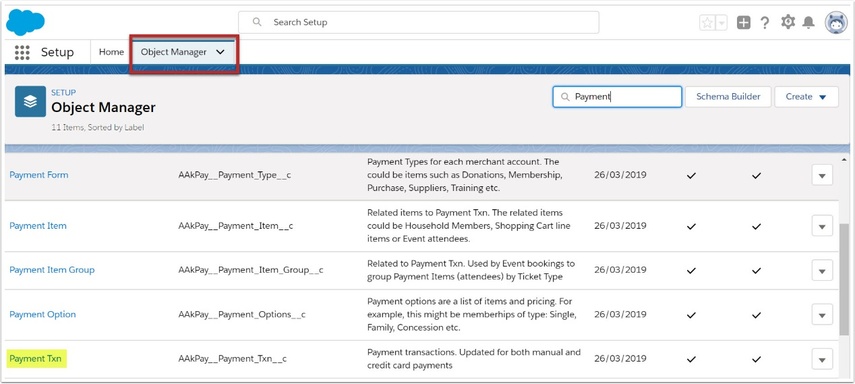
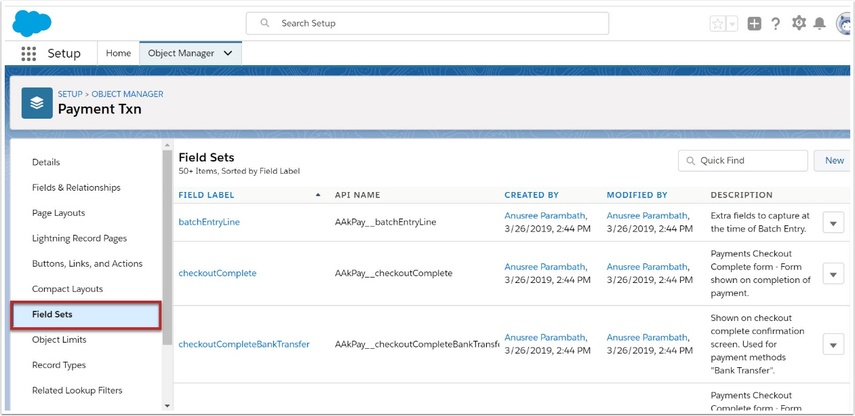
2. Enter the Payment Txn screen and select the Field Sets
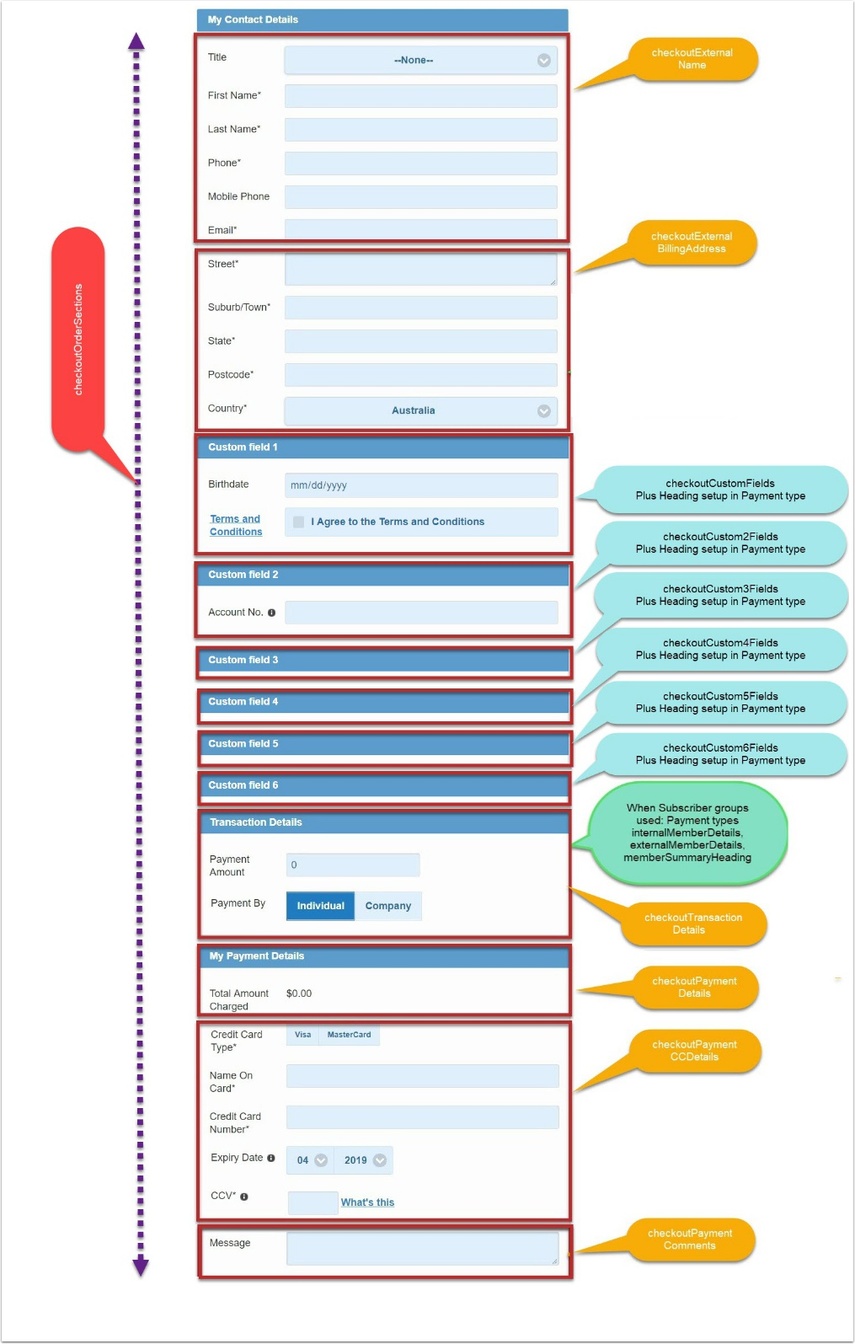
2.1. Note each field set name on the diagram below
3. Rearrange Fields
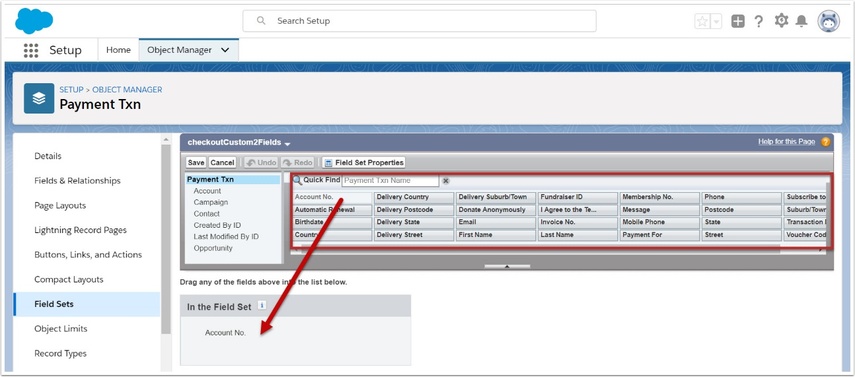
Click on the particular field sets you wish to update
- Drag fields from the pallet on/off the field set.
- When hovering over the field on the pallet - double click or press the wrench icon to make required. Some fields that are set by Payments2Us are required cannot be made optional.
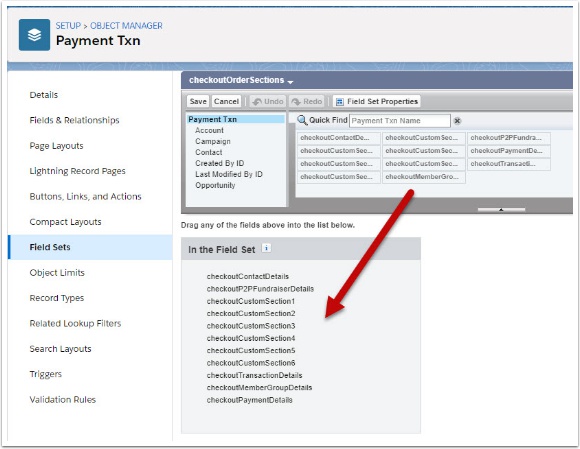
4. Rearrange Sections
You can re-arrange the various sections on the payment form, for example you can move the transactions amount details to the top of the form.
4.1. Select the fieldset called ‘checkoutOrderSections’
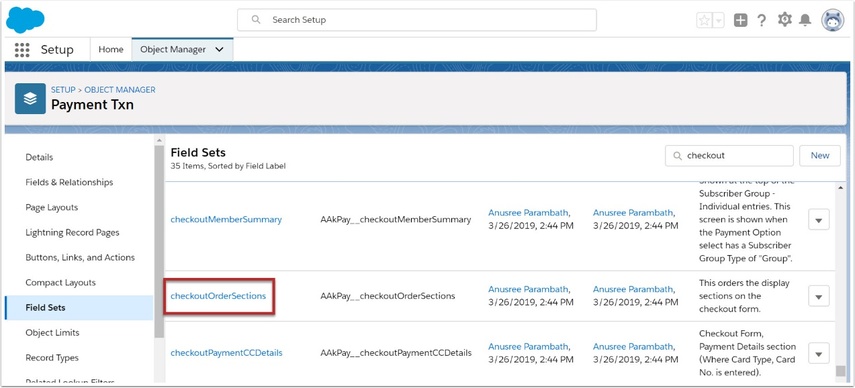
4.2. Drop and Drag fields into the order you require