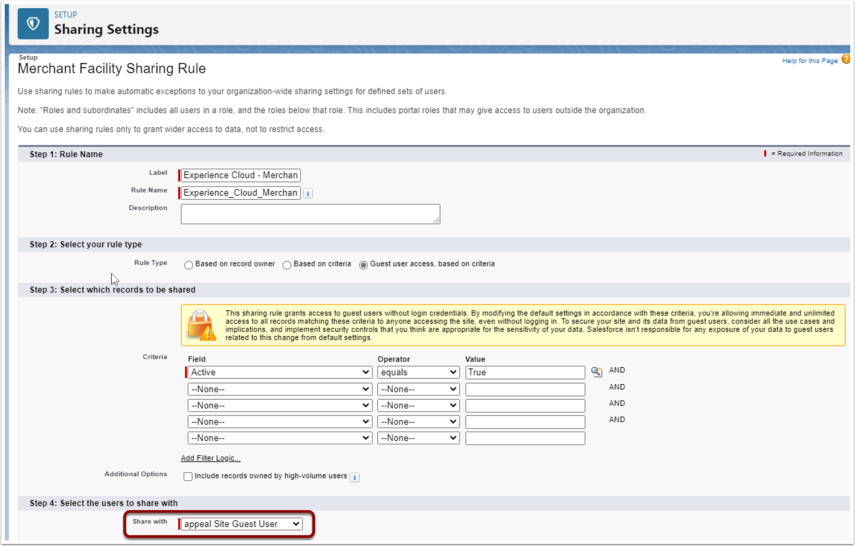
Review the Sharing Rules for the public facing Force.com sites in the Payments2Us Installation Manual. Instead of sharing with the public Force.com Site, share these with the Experience Cloud Site instead (as highlighted in screenshot below).
As a minimum, the Merchant Facility and Payment Txn sharing rules would need to be added.
If users are logging in, the Account / Contact sharing rules should not be applied.
Should you need further guidance on sharing rules or have questions, please engage your consulting partner or ask us about our Premium Support options. Further help is not covered standard Payments2Us support, but is available in Premium Support.
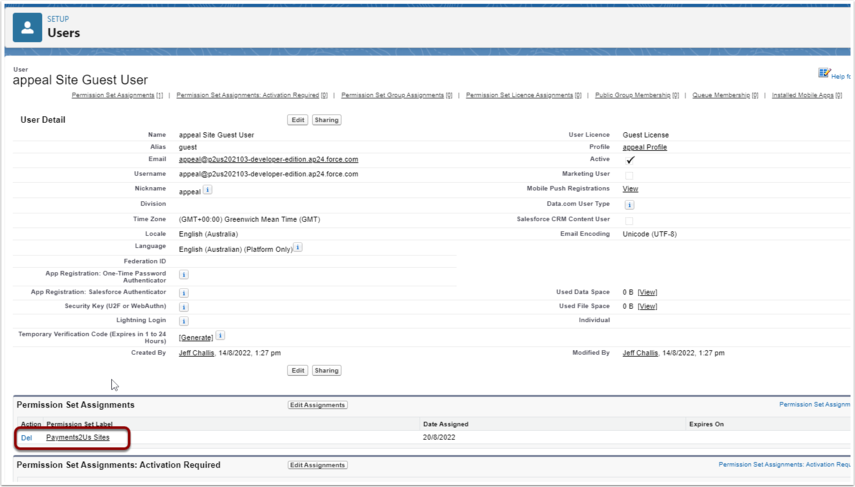
2. Assign "Payments2US Sites" Permission Set to Experience Cloud Site
Review the installation manual for setting up Force.com sites and apply the similar setups against the Experience Cloud Site.
Review the Objects that need to be accessed.
Make sure the "Payments2Us Sites" Permission Set is assigned.
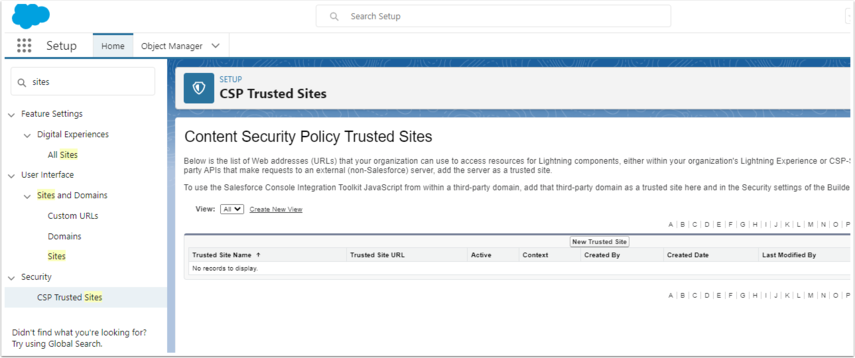
3. Setup CSP Trusted Sites
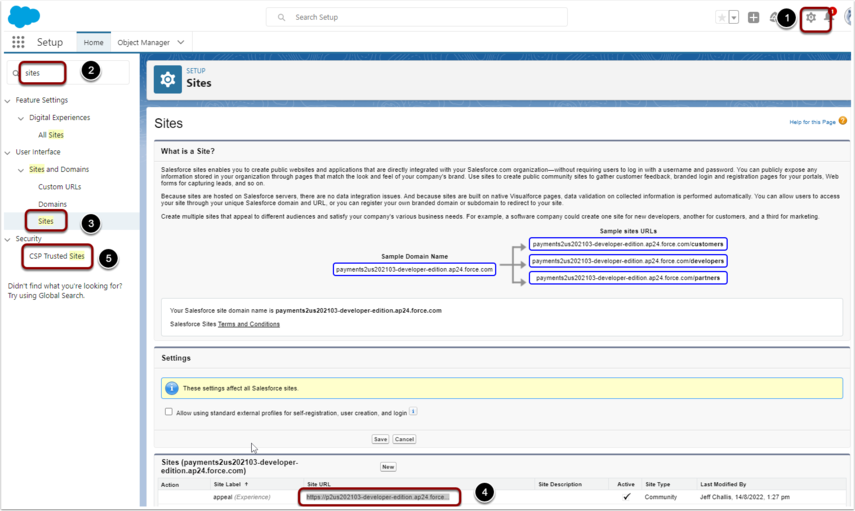
3.1. Locate your Experience Cloud site URL
- Click on the setup cog (top right corner)
- Search "Sites"
- Click on the "Sites" Sub-menu
- Hover over the Site URL for your Experience Cloud Sites. Then right-click, select "Copy link" menu option
- Navigate to CSP Trusted Sites
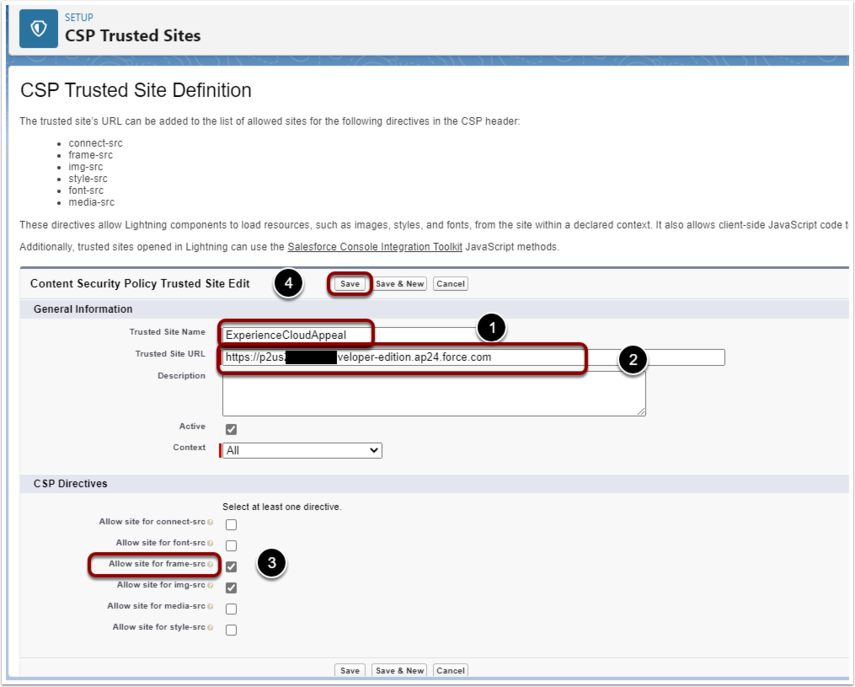
3.2. Add a CSP Trusted Site
Click "New Trusted Site" button
- Assign a Trusted Site Name
- Paste the URL copied from above. Remove the end part of the URL - After .force.com
- Select "Allow site for frame-src
- SAVE