The Direct Debit option (available as an additional license) allows your customers/members/donors to pay regular payments or membership/subscriptions directly from their bank account as an alternative option to paying by credit card.
Payments2Us supports direct debits in the following countries:
- Australia (EziDebit, Stripe SCA)
- New Zealand (contact us as this is currently in development) (EziDebit)
Before you can use a direct debit with Payments2Us, you will need to setup a facility with on the of the supported payment gateways:
- EziDebit - How to obtain an eCommerce Merchant Facility for EziDebit
- Stripe SCA - How to obtain an eCommerce Merchant Facility for Stripe
After getting the Merchant / Payment Gateway Facility, you will need to do the post install steps. Please NOTE, many of these steps are a requirement of your terms and conditions for using the payment gateway, so please ensure you follow the instructions closely.
- EziDebit - How to setup EziDebit
- Stripe - How to setup Stripe SCA with BECS
1. Set up Payments2Us License
1.1. Purchase an additional license for Direct Debits
Contact support@payments2us.com for details
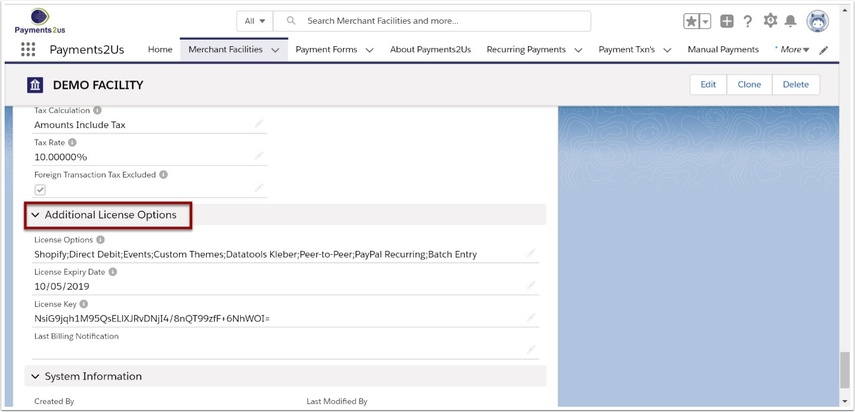
1.3. Enter license details and SAVE
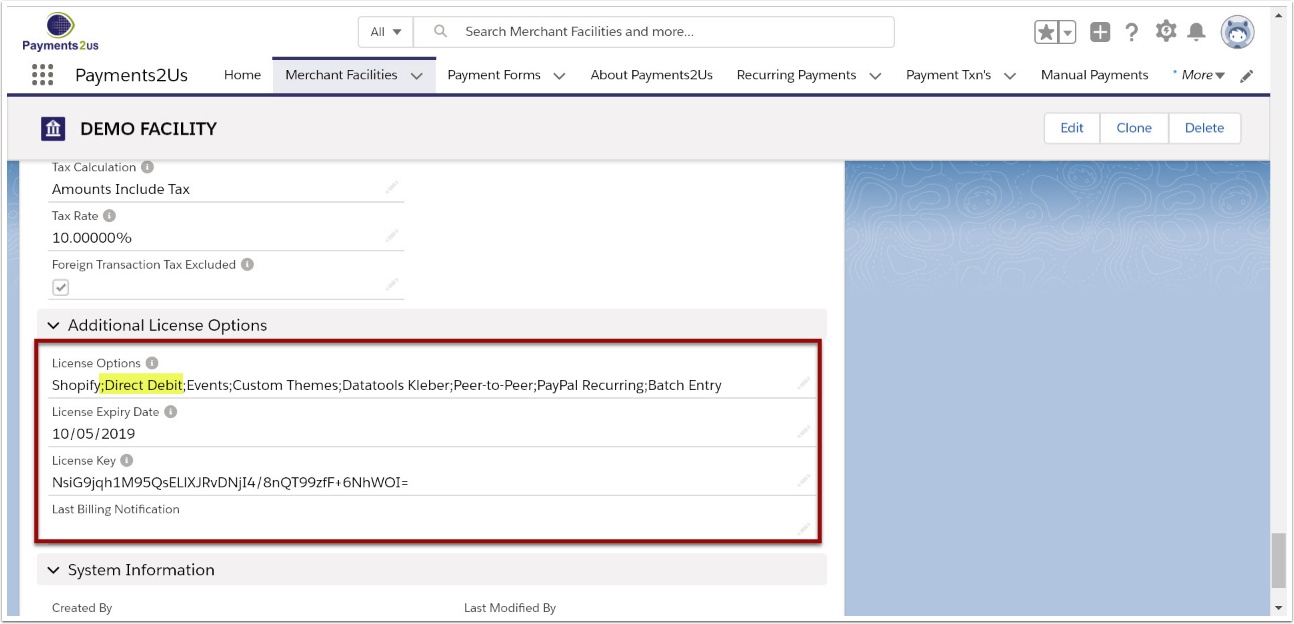
2. Enable Direct Debits
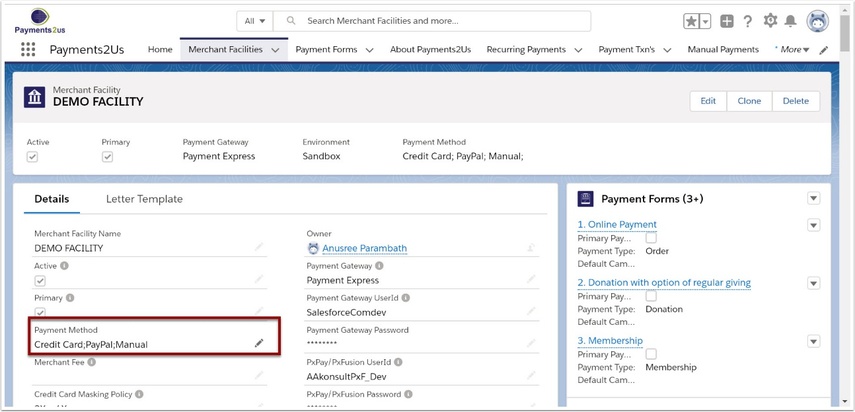
2.1. Scroll up to the Merchant Facility Detail heading
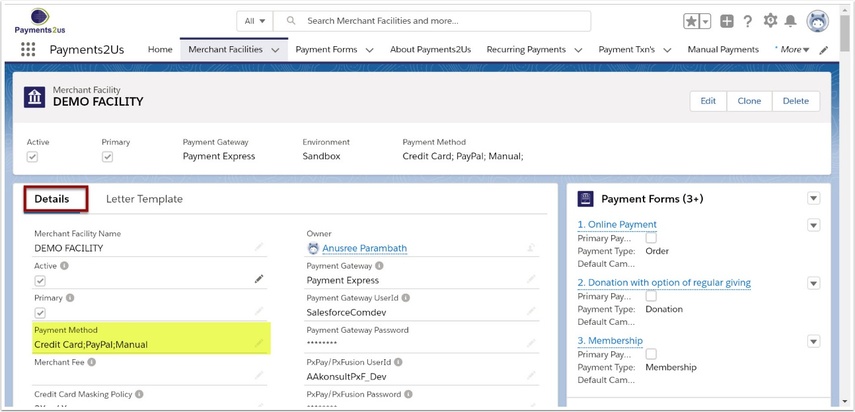
2.2. Edit the Payment Method field
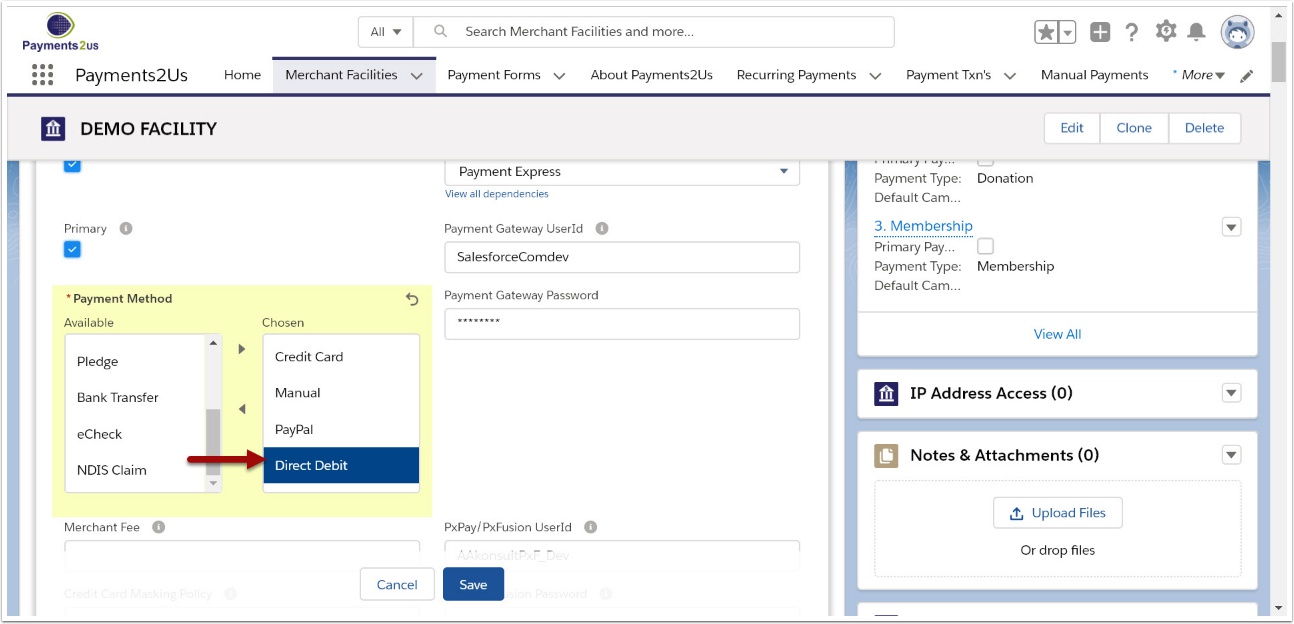
2.3. Move Direct Debit to the RHS, select OK and SAVE
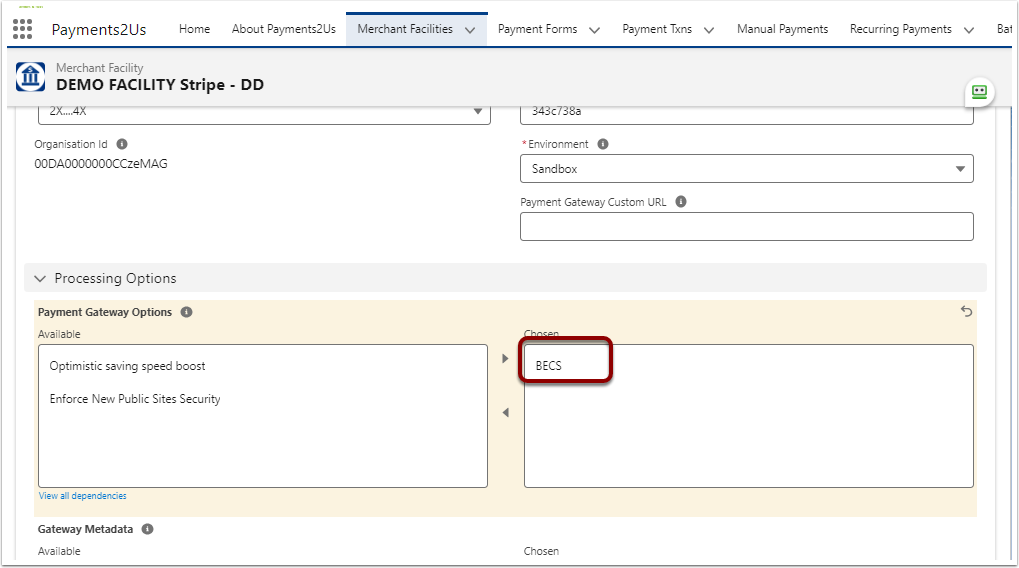
2.4. Enable BECS
This step is required only for the the following Payment Gateways:
- Stripe SCA
On the Merchant Facility, Enable "BECS" in the field "Payment Gateway Options"
3. Enable Agreement Notification
3.1. Agreement notification overview.
Your payment gateway will most likely have a requirement to send a copy of the Direct Debit agreement to the account holder. As part of the payment gateway setup process, you would have already entered the terms and conditions onto the Merchant Facility.
This procedure step takes you through the enabling and automatic sending of the Agreement/Terms and Conditions to the Account Holder.
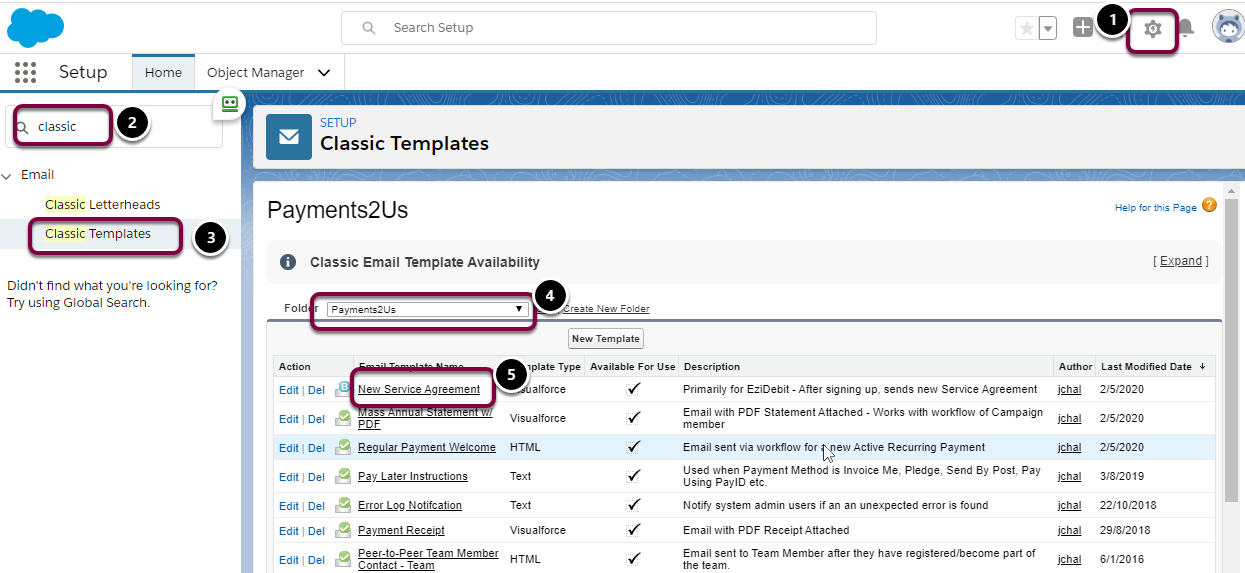
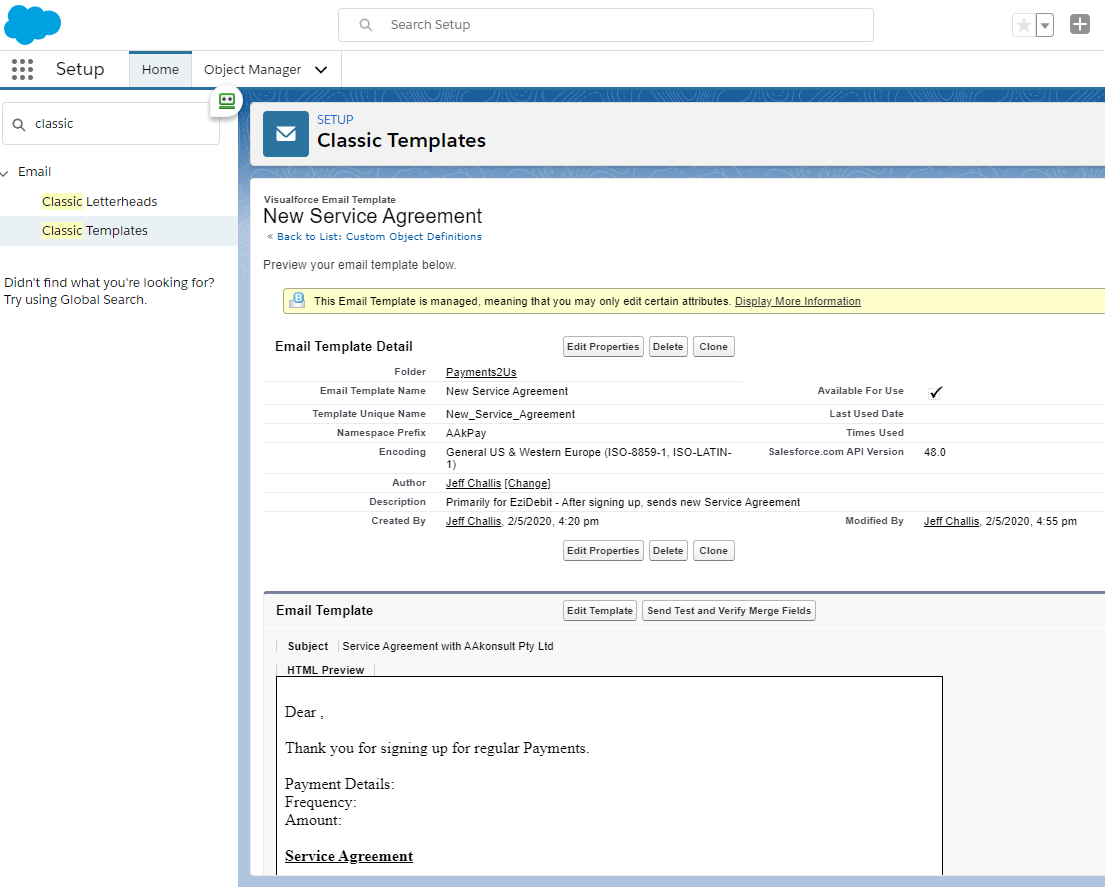
3.2. Reviewing Email Template
Navigate to:
- Setup (Cog to right corner)
- Search "Classic Templates"
- Click into the "Classic Templates" menu option
- Select Folder "Payments2Us"
- Click into New Service Agreement
You can edit this template if you so wish. This will require an advanced admin skill and is not covered by our support. If you'd like assistance, then you will need one of our premium support packages to assist.
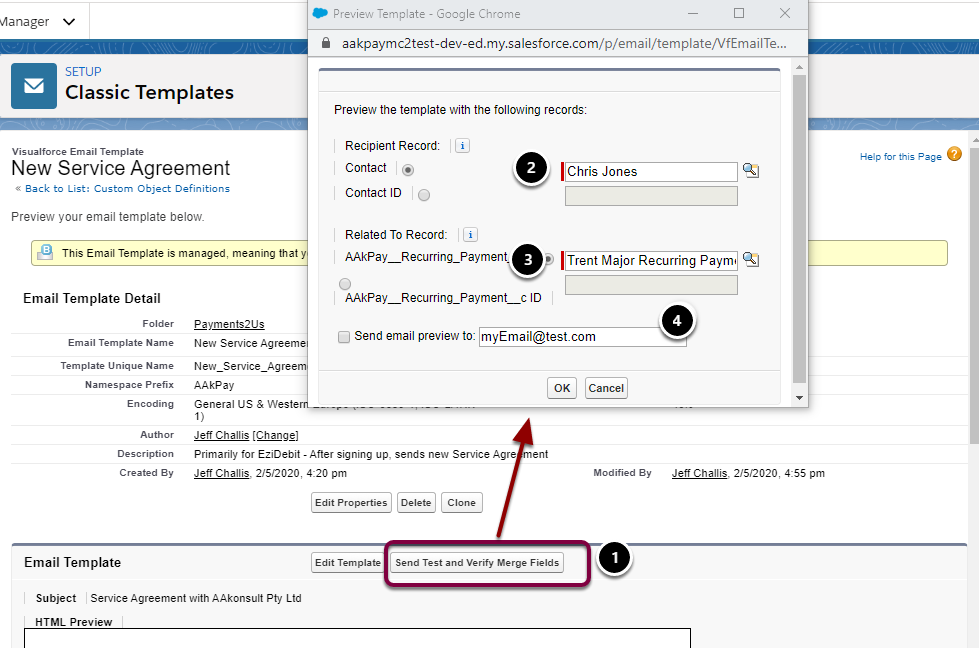
3.3. Send a test email
- Press the "Sent Test and Verify Merge Fields" button
- Select a Contact
- Select a Recurring Payment Record
- Enter an email address to send the test email too.
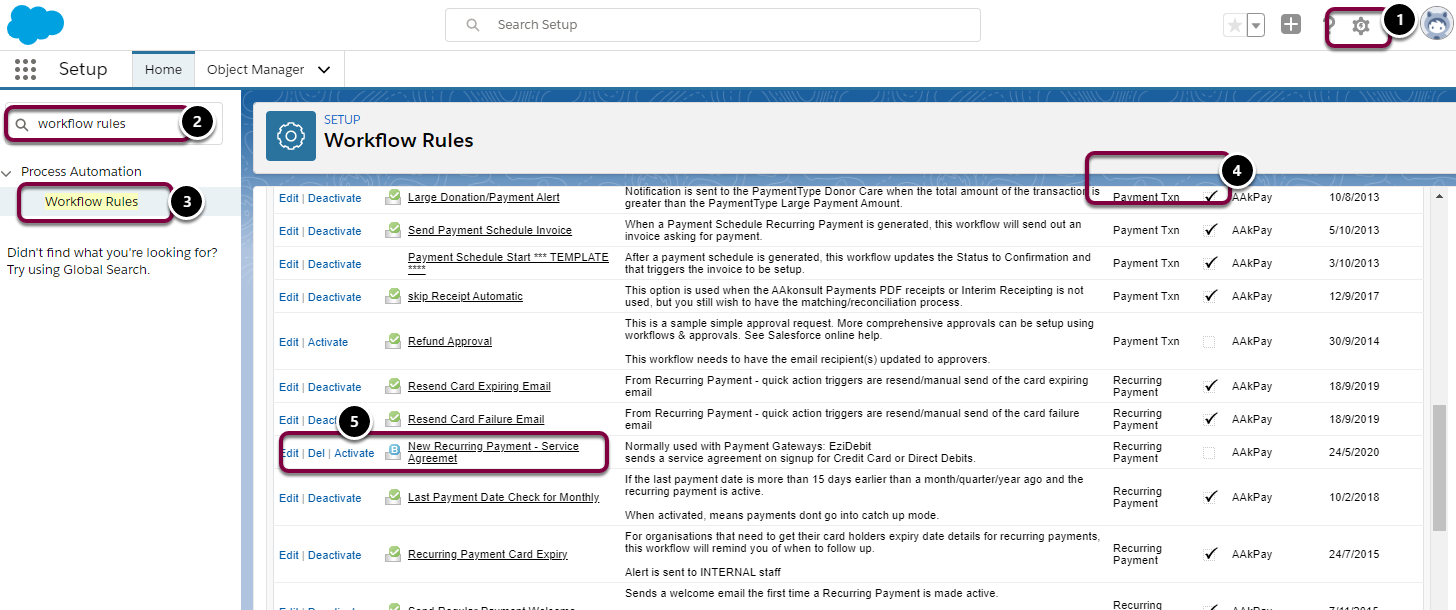
3.4. Enable Workflow to automatically send Agreement
- Click on the setup cog (Top right hand corner)
- Search "Workflow Rules"
- Click into "Workflow Rules"
- Sort by Object name and locate workflows against the "Recurring Payment Object"
- Click Activate on workflow "New Recurring Payment - Services Agreement"