Enough details have now been setup to enable your site to run in a test mode. You won’t be able to do live transactions until you have a live Merchant Facility setup.
The below steps are based on the Create Sample Sites steps having been completed first.
1. Option: From Base Site URL link on Demo Facility
- Click on the Merchant Facility Tab
- Select "All Merchant Facilities" filter view
- Click into the DEMO FACILITY

Scroll down the page a little and click on the "Base Site URL".
If the Base URL is blank, then precede with the next chapter "Option: Navigate to the Site Detail page" to set some of the setup. If that works, follow the procedure How to connect your new site to your Merchant Facility
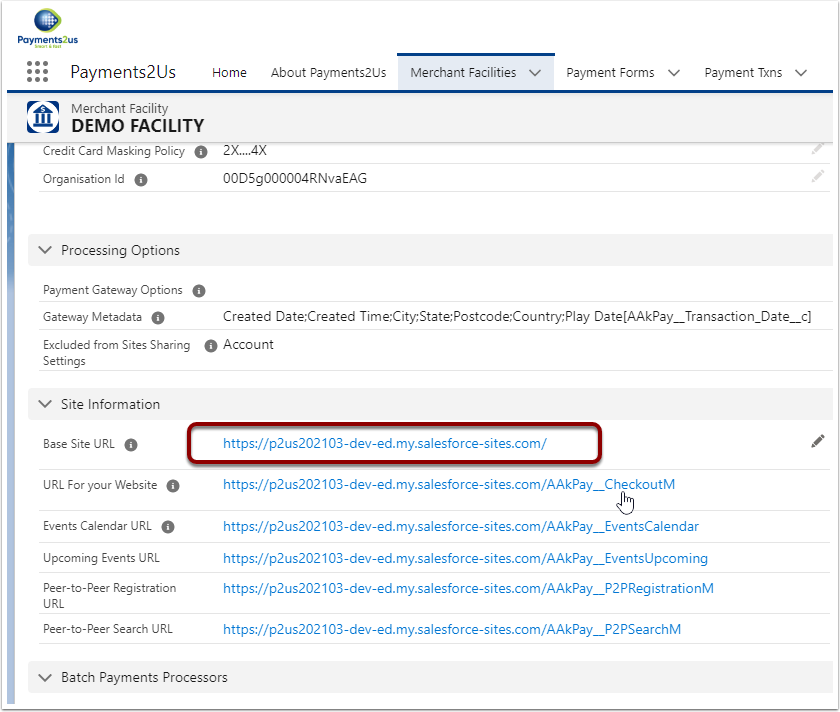
This should bring up a form similar to the one below.
If you get an error, then the most likely issue is one of the previous required external sharing settings was not completed.

This section is only suggested if the "Option: From Base Site URL link on Demo Facility" had an error, or the Base Site URL was blank.
2.1. Select the Cog symbol on the RHS of your Salesforce home screen. (In Classic, click 'Setup' on the top Right Hand Side.)

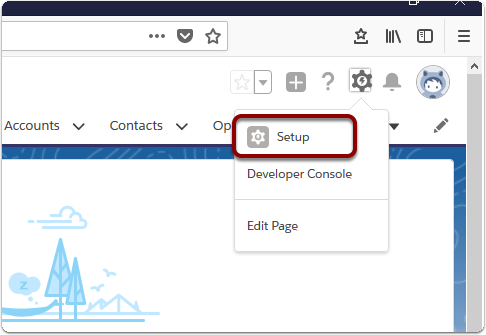
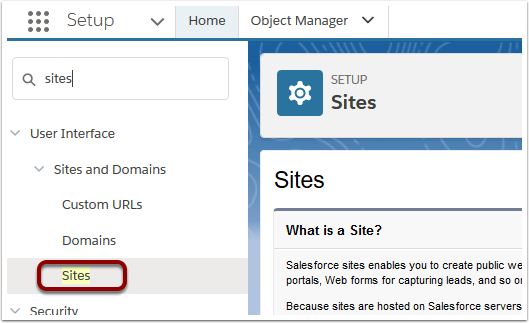
2.3. A new window or tab will open. In the quick search bar on LHS type 'sites'.

2.4. Select ‘Sites’
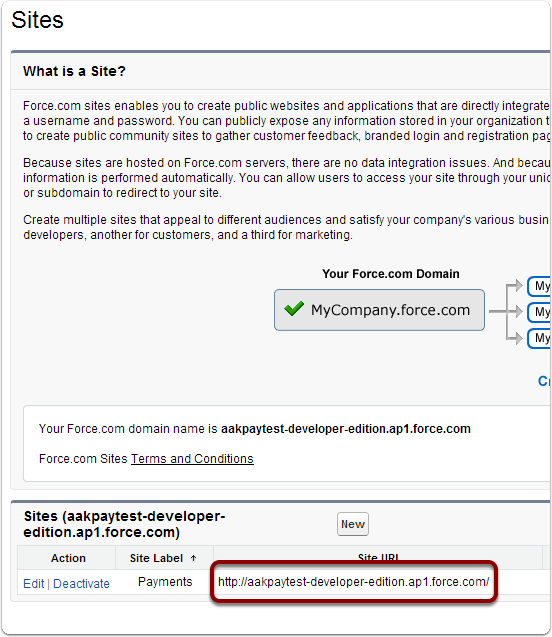
3. Click on the Site URL from the list
You may have more than one URL to choose from.
Select the URL that provides a secure service. For example: https
4. Confirm that your site is in operation.
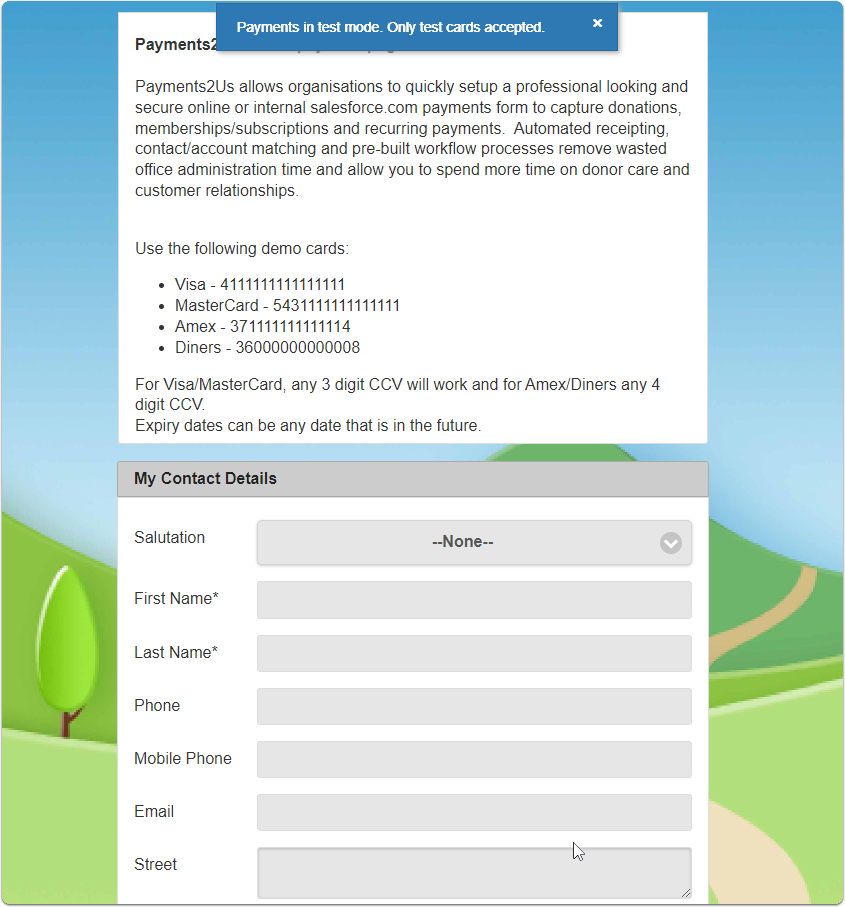
4.1. Check the steps in this manual if your site does not load or you receive an error message.
If you do not see a similar screenshot to above, then your package may not have been deployed. Check the AppExchange section earlier in this manual.