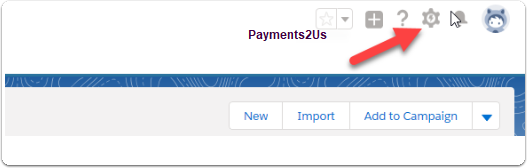
1.1. Select the Cog symbol on the RHS of your Salesforce home screen. (In Classic, click 'Setup' on the top RHS.)
1.3. A new window or tab will open. In the quick search bar on LHS type 'sites'.
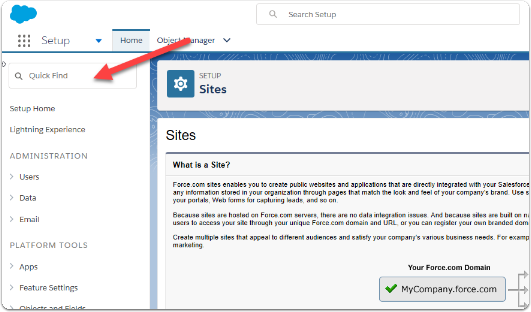
1.4. Select ‘Sites’

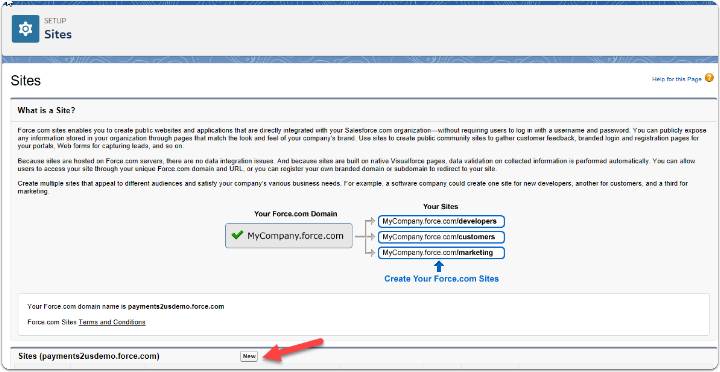
2. Select ‘New’
Note: If your account is new, you may need to click ‘register my domain sites’ before you can create a new site.
2.1. Guest vs., Guest User License
The option of Guest or Guest User License will only come up for some organisations. This is generally for organisations that have Community Portal Enabled.
- Select "Guest" if the option is shown.

2.1.1. Fill in the details for your site
- Create a meaningful Site Label for visitors to your site - 'Payment' is recommended for setting up external payments.
- Create a Site Name for referencing the site in the Force.com API (This will default to the Site Label)
- Write a short Site Description (optional)
- Tick the box to set your site as 'Active'
- Type 'checkoutM' into the Active Site Home Page
- Type 'URLRewriter' into the URL Rewriter Class
- Keep the default settings for other fields
- Ensure “Lightning Feature For Guest User” checkbox is unchecked.
- Select ‘Save’
The Salesforce setting, Lightning Features for Guest Users, is enabled by Default. Payments2Us do not require Lightning features, so we recommend you turn this setting OFF to limit access to your Sites

