You can upload your own letterhead as an image. This will replace your organisations name and logo (top section) of the Receipt Template.
NOTE: The letterhead graphic should be approximately 2300px wide and 595px high. The file name must contain "Letterhead" in it.
This same process can be applied to the Notes and and Attachments section on specific Letter and Payment Form Records if they require different letterheads.
Letterheads will be used in the following hierarchy. If there is no letterhead attached, then it will go to the next object to reference.
- Letter
- Payment Form
- Merchant Facility
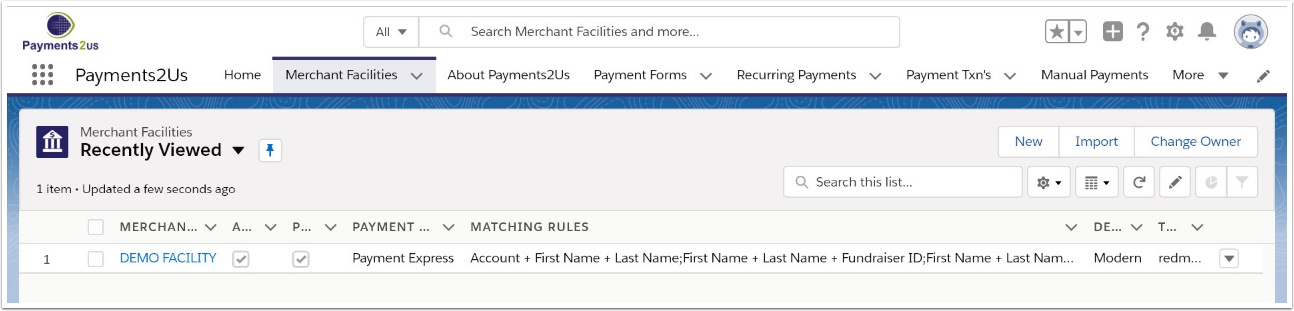
The Merchant Facility tab can be found within the Payments2Us menu (Top right picklist in Salesforce - Select Payments2Us), or it can be found under the "More" at the end of the tabs. (In Salesforce Classic - It can be under the "+" at the end of the tabs)
Once you have clicked on the Merchant Facility Tab, select the appropriate List view (Example - "All Merchant Facilities") and click into Merchant Facility you wish to update.
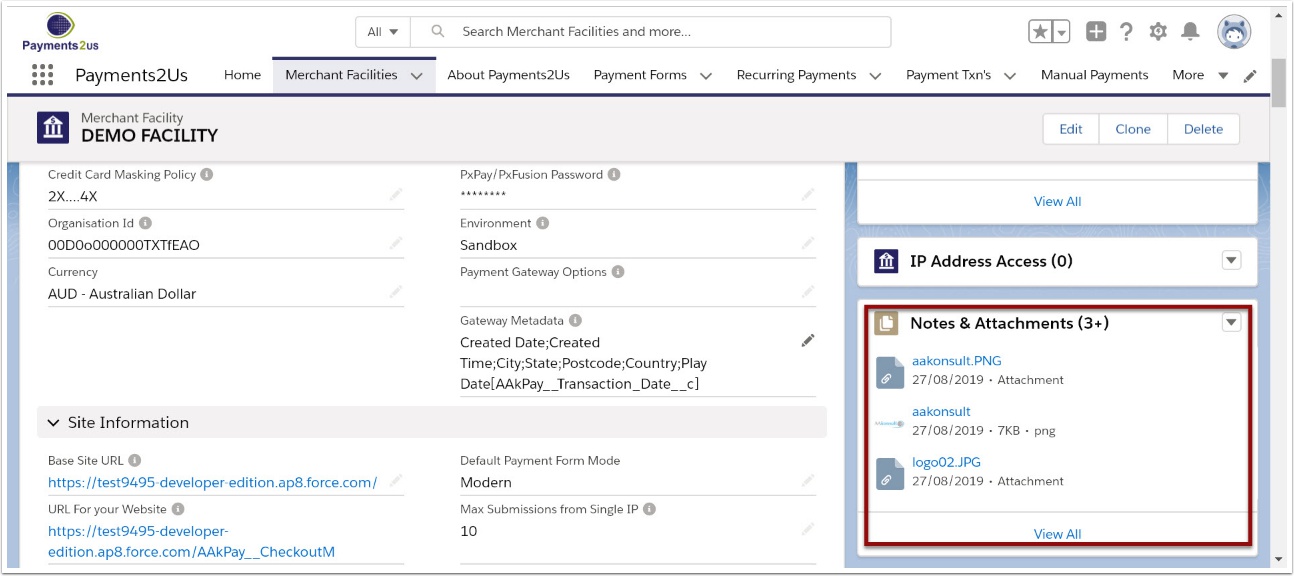
2. Scroll Down to the Notes & Attachments heading
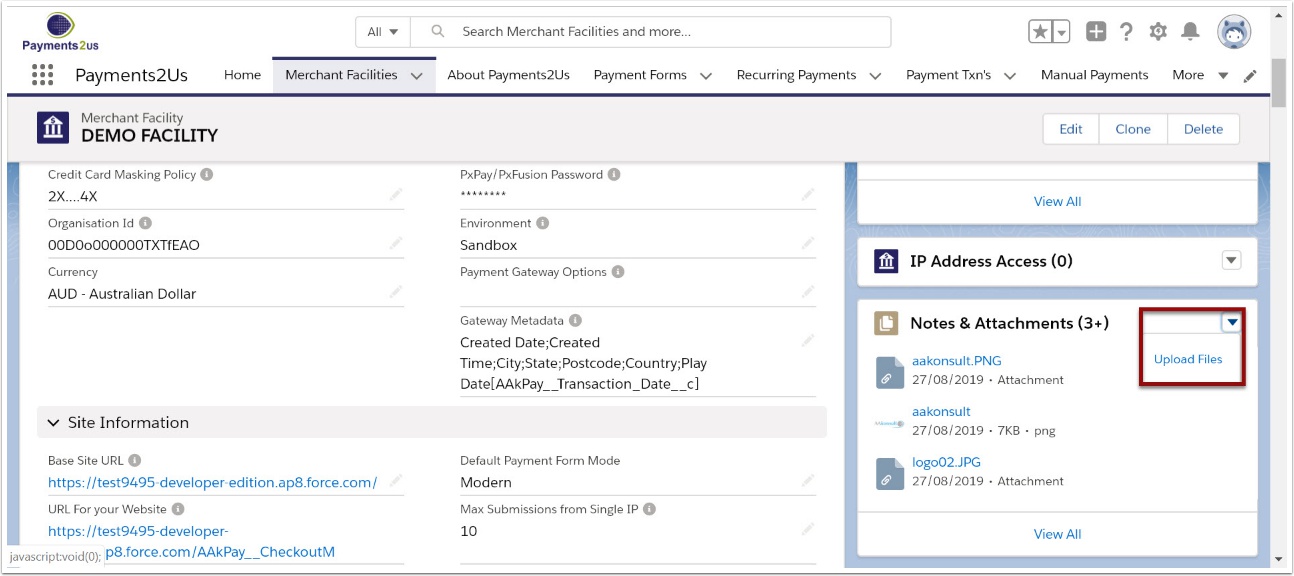
NOTE: The file name must contain the word "Letterhead" in it.
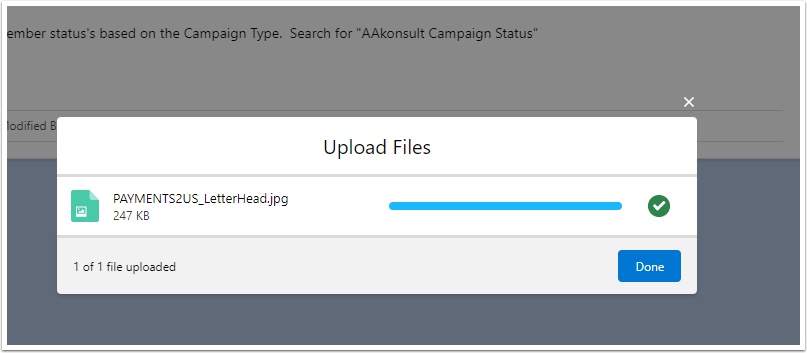
5. Check that the file has loaded
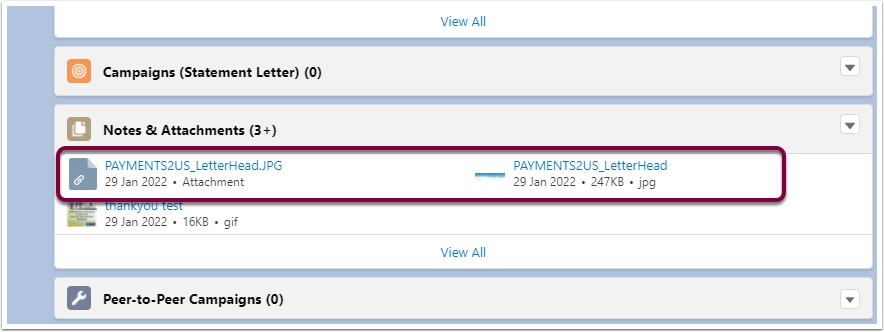
Note: The logo with the most recent date will be used in the receipt
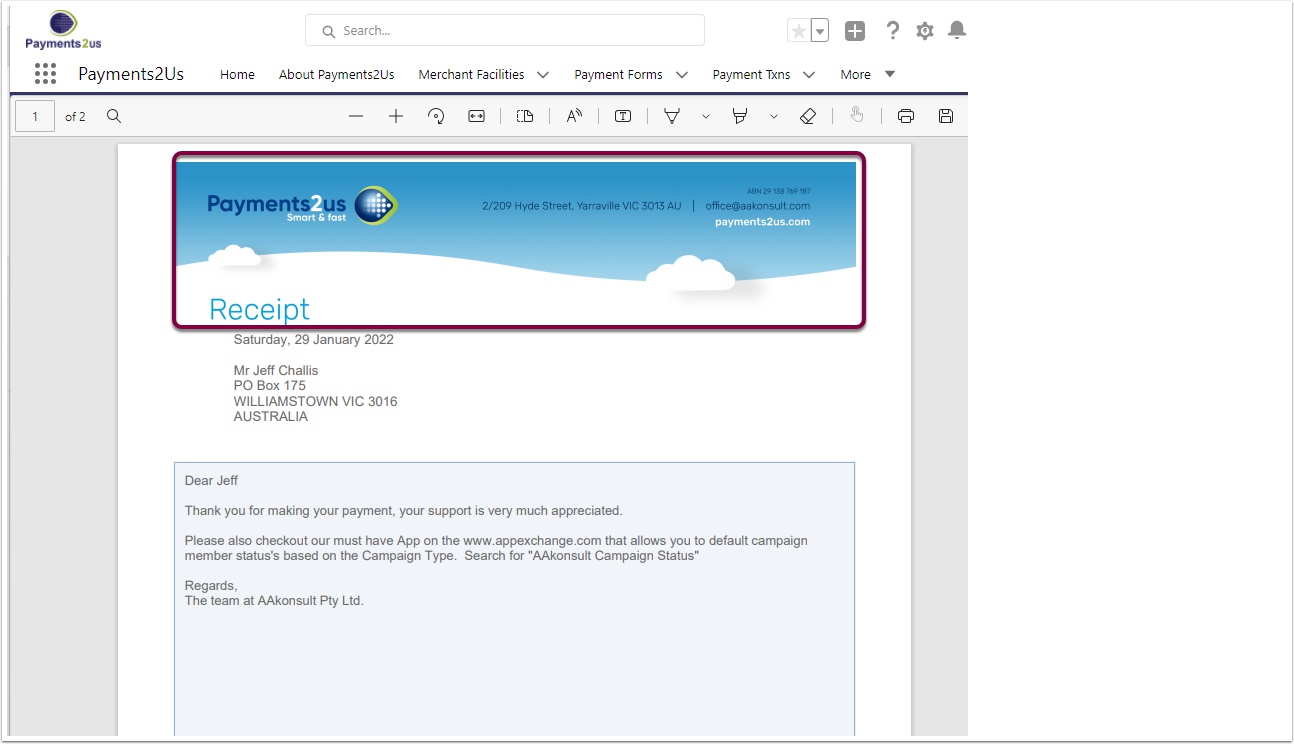
6. Check that it appears on a receipt
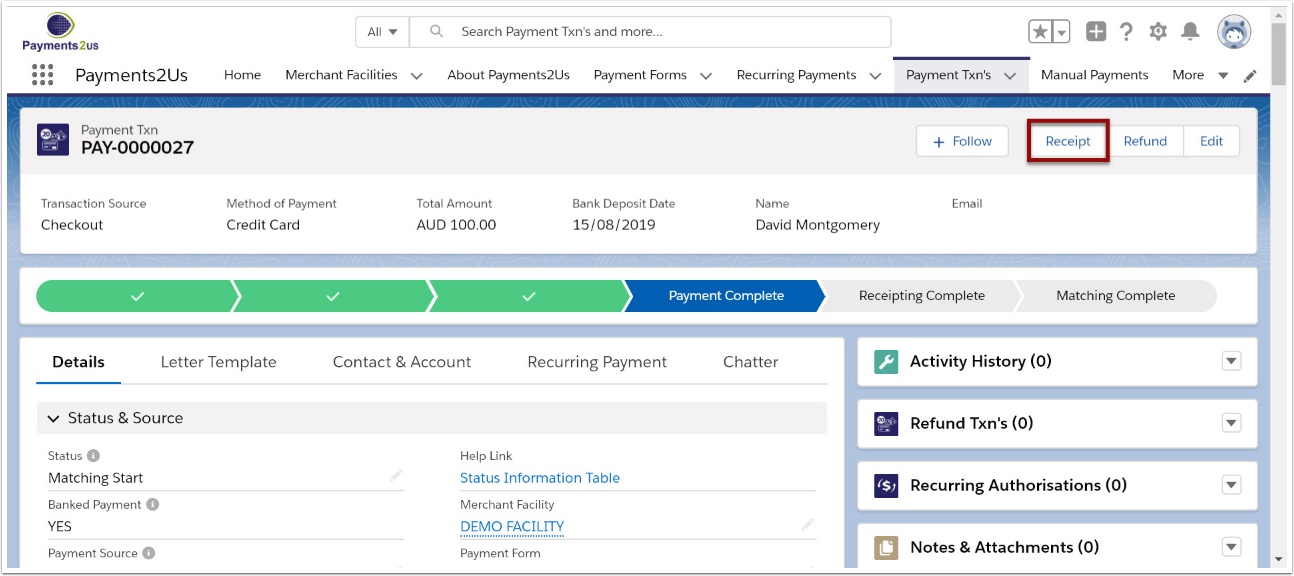
6.3. View receipt with logo