Refunds have been designed to work with a refund approval process. To facilitate some options with approvals, the design is to use the “Approved” checkbox. Once this is set, the refund transaction will occur.
1. Set Approval checkbox field level security
In order to make effective use of the Approvals process, you should change the field level security for the users that should not have access to actually approve a request to make this field read only and for approver's make this read/write (updatable).
A simple way to assign the right permission is by assigning a permission set to the user:
- “Payments2UsStandard Users” to those users that can request a refund, but cannot approve it
- “Payments2Us Admin Users” to Approvers.
Another option is to set the profile - Payment Txn Object Field Level Security for field "Approval". Please consult the Salesforce online help for Field Level Security (FLS) for more information.
1.1. Assigning Permission Set to a user
Locate the user you wish to assign the Permission Set to.
Classic - This is located under setup > Manage Users > Users
Lightning - This is located under setup > Users > Users
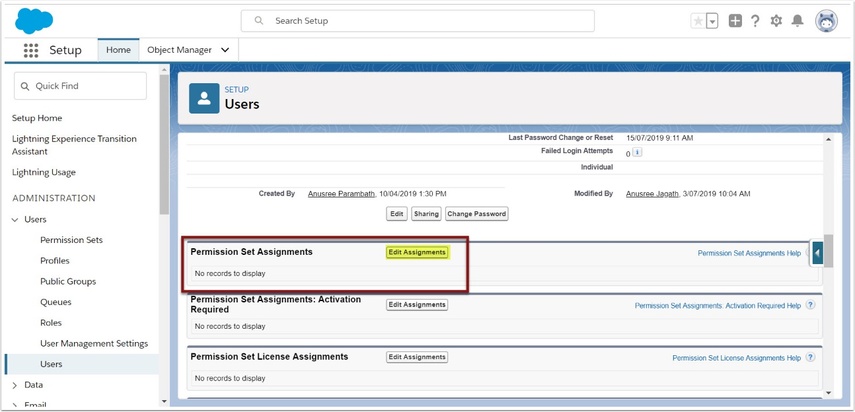
Click into the user to show details.
- Once you have clicked into the user detail, scroll down the screen to the "Permission Set Assignment Related List"
- Click on Edit Assignments
1.2. Assign Permission Set
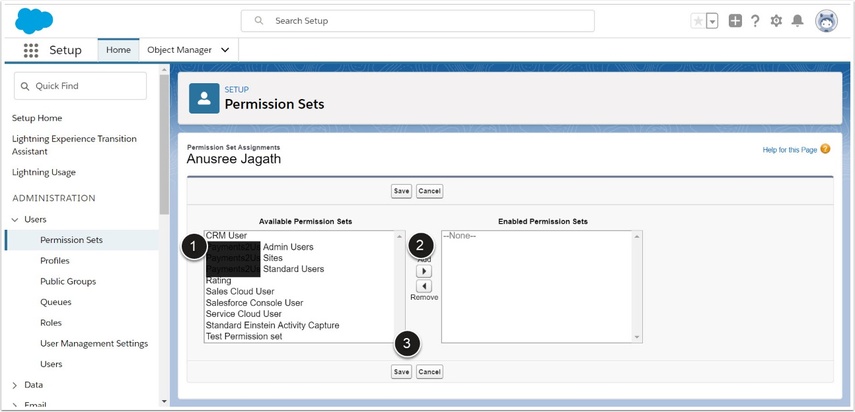
- Select the Permission Set you wish to assign
- Click the right arrow to add
- SAVE
2. Approval Workflows
There are two general options for setting up approval workflows:
- A comprehensive approvals process can be setup using the Workflow and Approvals Approvals flows feature of Salesforce. This allows for multiple levels of authority and alternative approvers should someone be away. You will need to consult the Salesforce online help for more information on this or engage Payments2Us Professional Services info@payments2us.com
- A simple flow might just involve sending an email to say finance and they then approve the refund. Please see the step below for how to set this up.
2.1. Simple Approval Workflow - activate
To use the prebuilt workflow approval, you will first need to activate it.
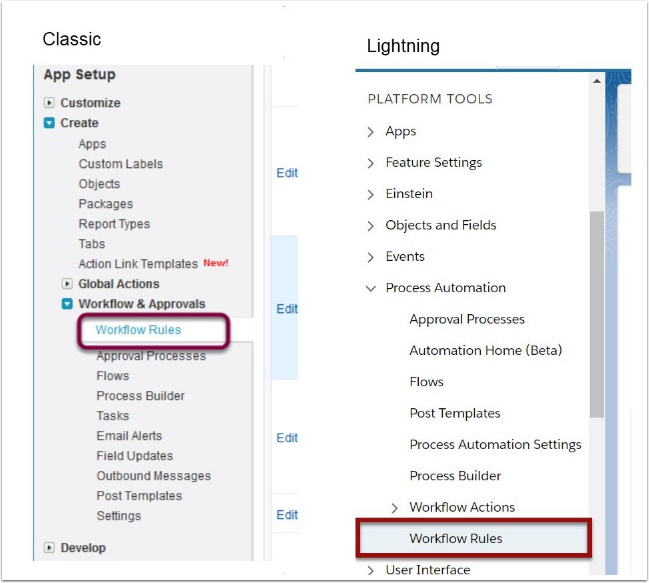
- Locate the workflow rule
Classic - Setup > create > workflow and approvals > workflow rules
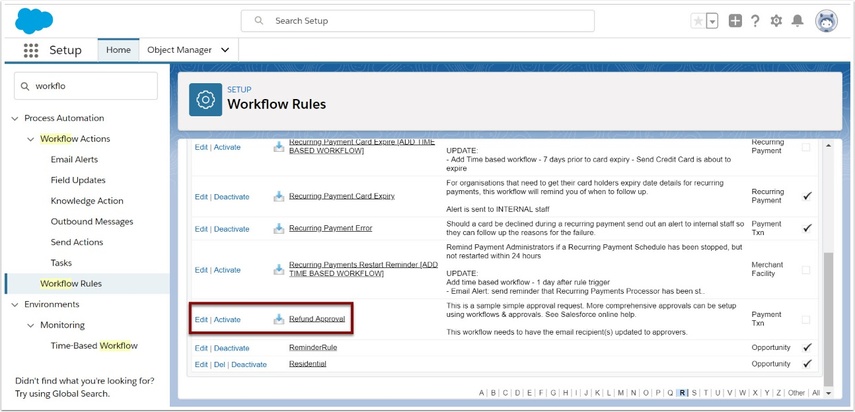
Lightning - Setup > Platform Tools > Process Automation > Workflow rules - Activate is “Refund Approval”
2.2. Simple Approval Workflow - Locate Approval Email
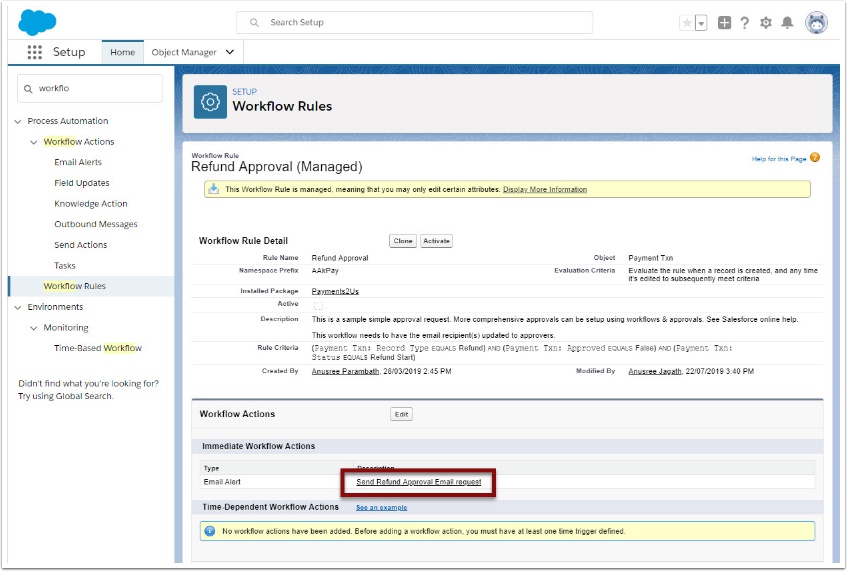
Click into the detail of this workflow rule "Refund Approval" then click on the “Send Refund Approval Email request”.
2.3. Simple Approval Workflow - Assign Approver
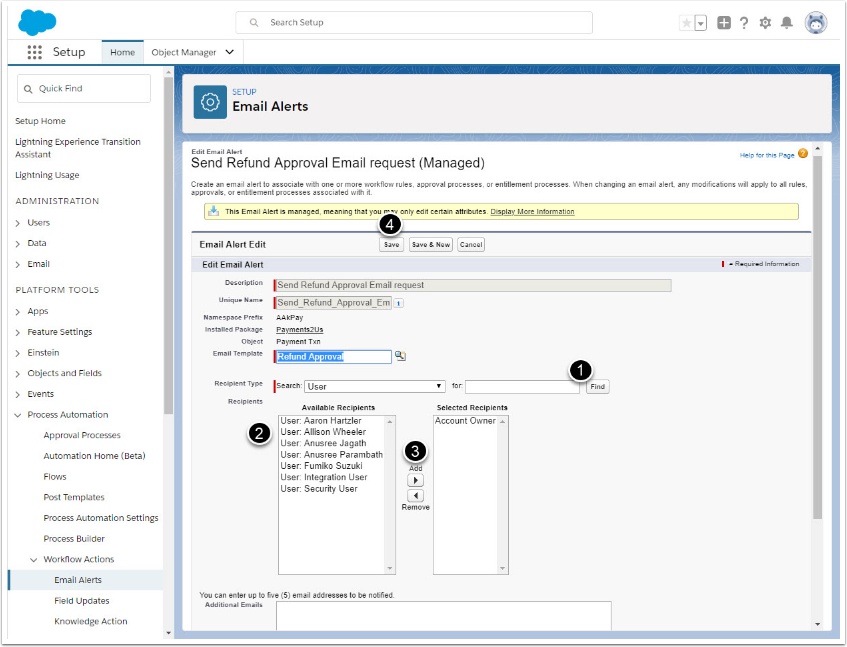
Click Edit on the Email Workflow, then:
- Enter the name of the approver, then press FIND button
- select the approver
- Use the right arrow to assign the approver
- Press SAVE button
2.4. Simple Approval Workflow - Usage
To use this workflow process:
- a refund requestor locates the Payment Txn they wish to refund, presses the Refund button and enters the details and press Confirm
- The workflow sends an email to the Approver. The Approver opens the emails and click on the link to review the request in Salesforce
- The Approver then presses the Approve Refund button if they are happy with the request. This will then process the refund.