This procedure takes you through the process of creating your own version of the email template used to send out PDF:
- Receipts
- Annual Statements
- Invoices
- Renewal Notices
- Confirmation Notices
We will be using Receipts as a step by step example. The same steps will apply to the other document types, but they will be Clone off different originals.
Quick steps:
- Go to the Email Templates
- Edit and Save
Optional Clone quick steps
- Locate template under the "Payments2Us" Folder (see location below)
- Edit and select all
- Create a new email template of type visualforce
- Paste values selected from point 2 above
- Edit the line that has "<c:PDFReceiptComponent PT="{!RelatedTo}" />" and change to "<AAkPay:PDFReceiptComponent PT="{!RelatedTo}" />"
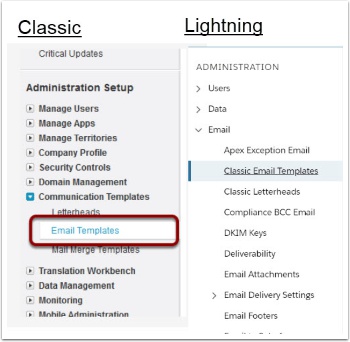
Classic - Setup > Administration Setup > Communication Templates > Email Templates
Lightning - Setup > Administration > Email > Classic Email Templates
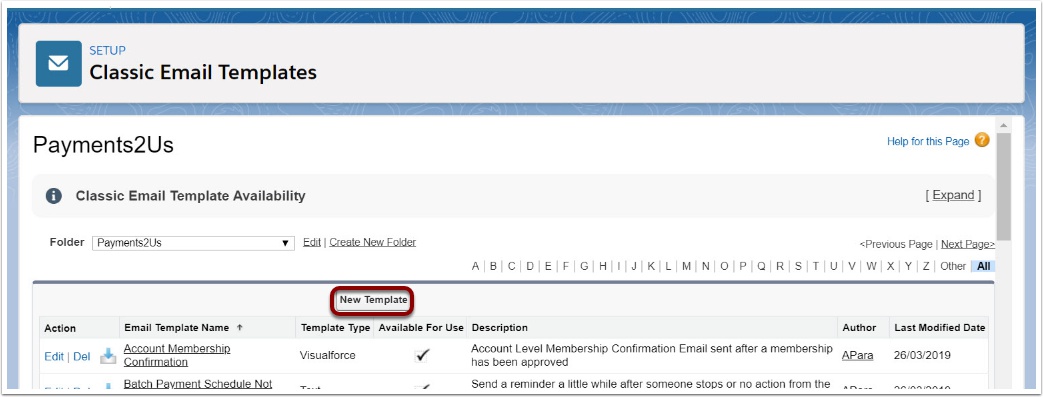
2. Select the Payments2Us Folder
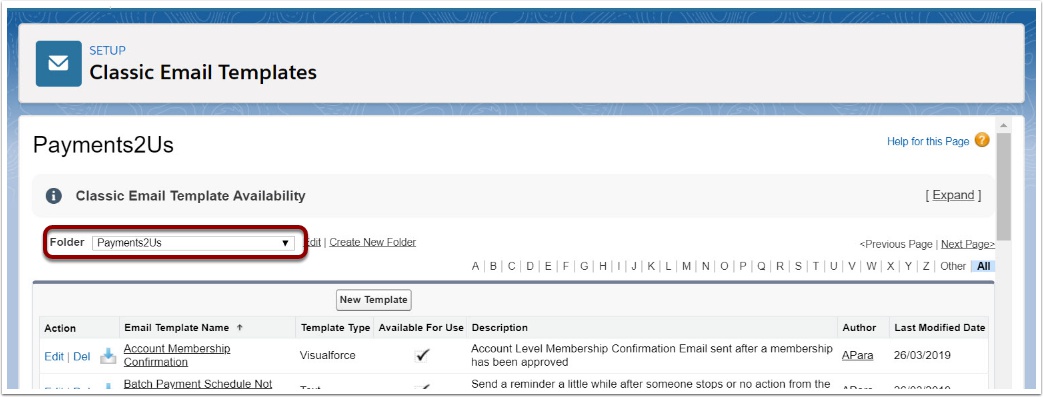
3. Click Edit next to the template you wish to update

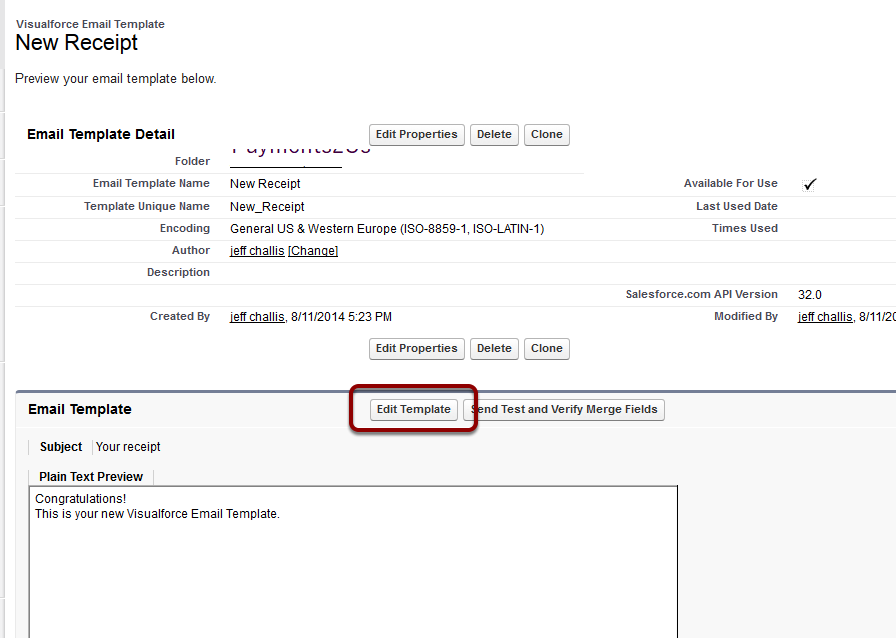
Click into (not edit) the email template you wish to modify. The email templates of type "Visualforce" are the ones that generated attached PDF's.
4. Edit the template
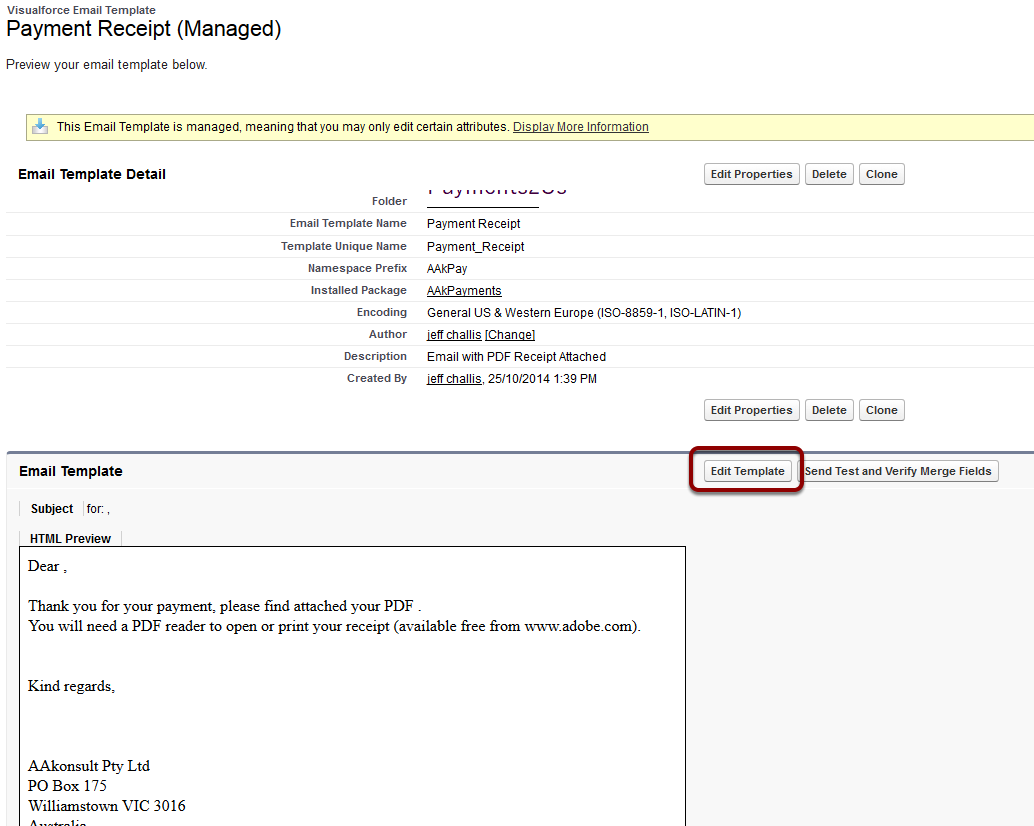
Click the Edit Template button
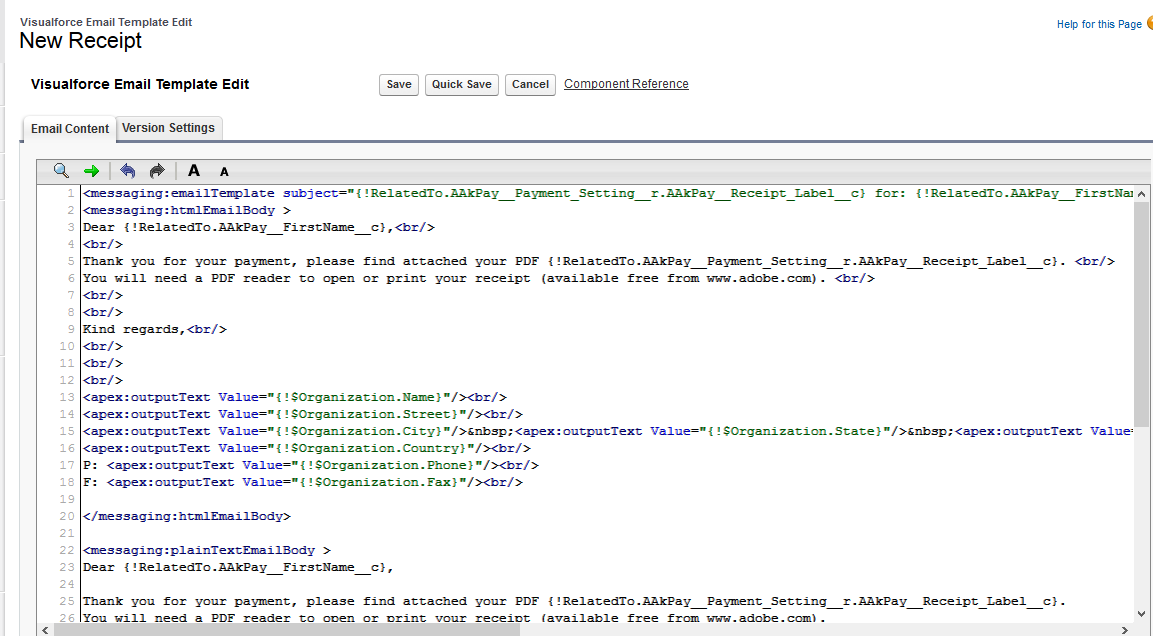
4.1. Update the email template text
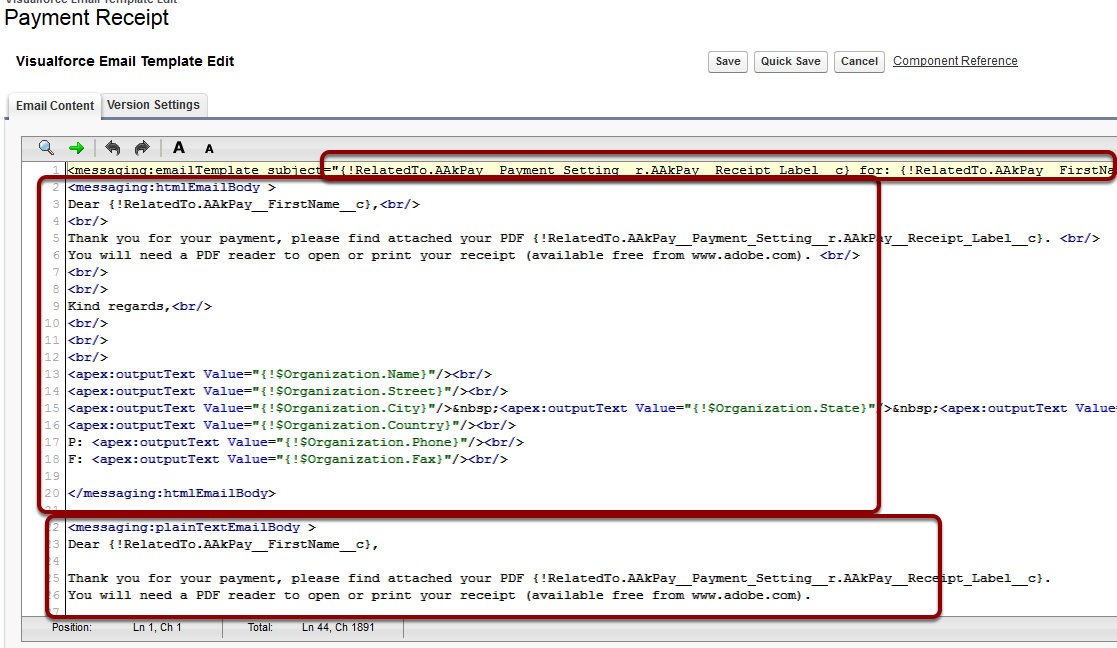
When editing the text, be sure to update both the HTML Version and the Text version.
The subject for the email can be updated on line 1. This is between the quotes and after subject=
For more details about Visualforce Email templates, please consult the Salesforce online help
Once you have completed the updates, press SAVE button.
5. Cloning Email Templates
If you wish to create two templates, say one for generic online payments and the other for memberships, then you'll need to clone the email template and related workflow rules.
5.1. Select all of the text from original email template and copy
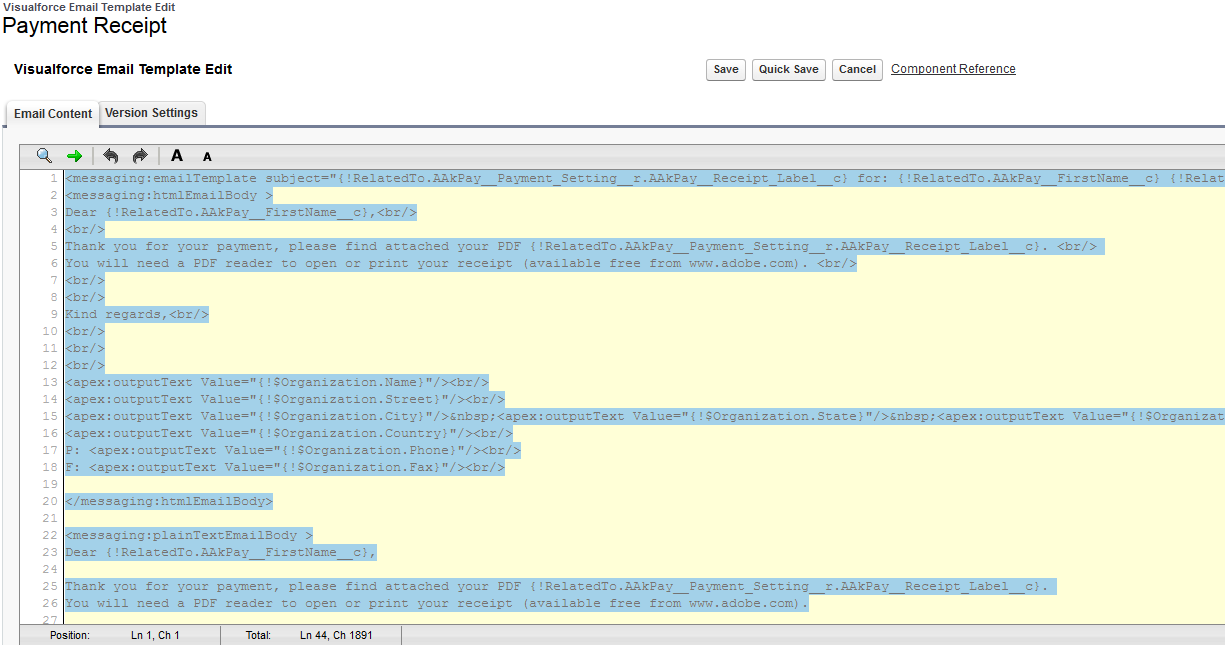
Follow all the steps prior to this for editing the email template, but instead of editing, right-click select all, then right-click copy.
Classic - Setup > Administration Setup > Communication Templates > Email Templates
Lightning - Setup > Administration > Email > Classic Email Templates

5.3. Create New Template
5.4. Select Type Visualforce

5.5. Enter new template details
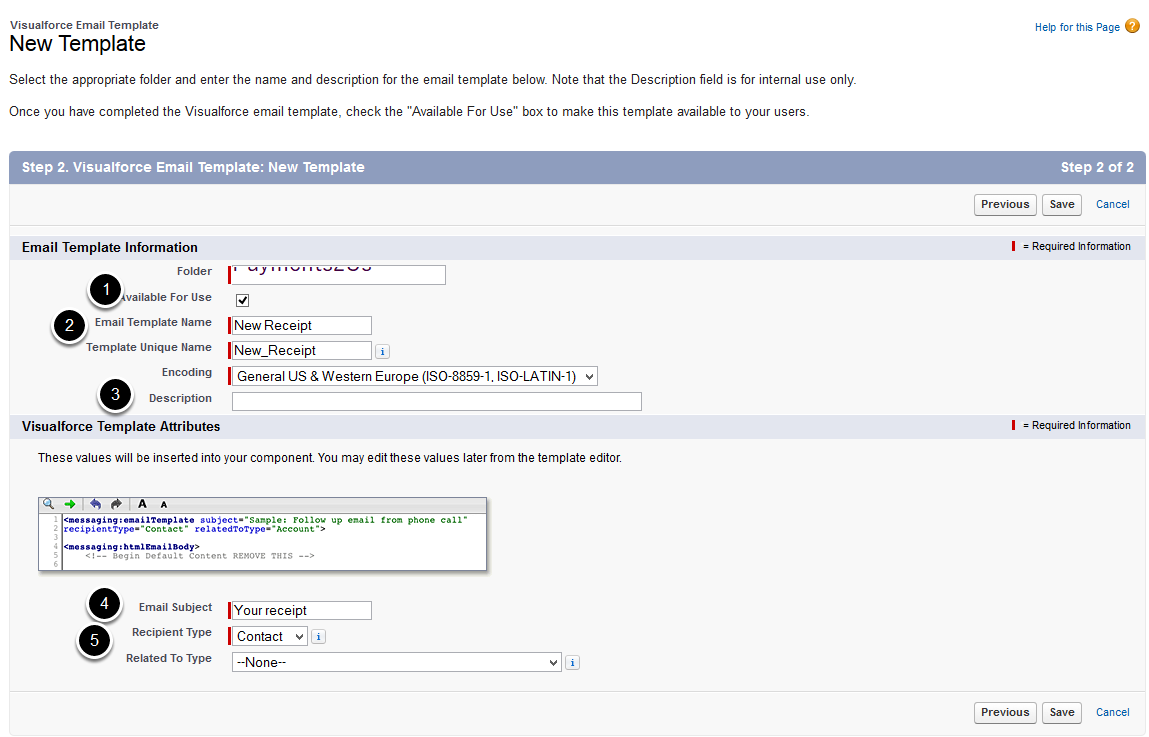
- Mark the email template as available when it is ready for use
- Give the template an internal name
- Provide a description that is meaningful. This is helpful for locating receipts later on for update
- Enter a subject. Please note this will get overridden in the next step, so any value will do for now.
- Relate to Contact
5.6. Edit Template
5.7. Remove all current contents and paste in copied details
Remove all lines that defaulted in from the creation of the template, then paste in the copied templates from the step Select all and copy above.
Do NOT save yet, please review the next 2 steps before doing so.
5.8. Update Details
See notes on Update the email template text above
5.9. Update receipt component namespace
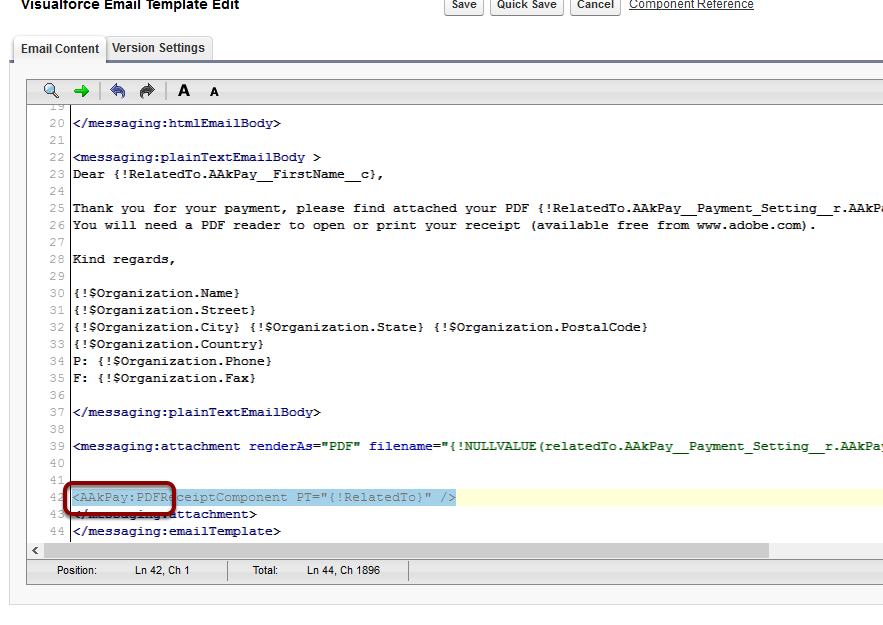
Change line that has "<c:PDFReceiptComponent PT="{!RelatedTo}" />" to "<AAkPay:PDFReceiptComponent PT="{!RelatedTo}" />"
That is "c:" is changed to "AAkPay:"
And now press SAVE button
NOTE: There are more configurable receipt options defined in
6. Error after editing email template - Field $Label.xxxxxx does not exist
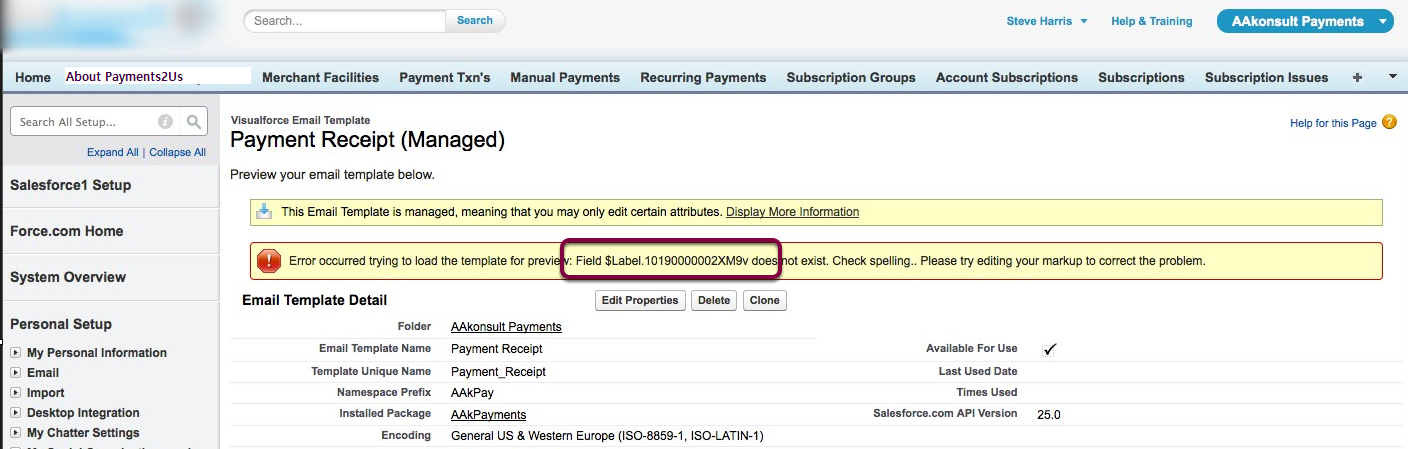
On some occasions, you may get an error message if you edit the text and save.
This is a "feature" of salesforce that will hopefully be fixed one day.
6.1. Edit email template
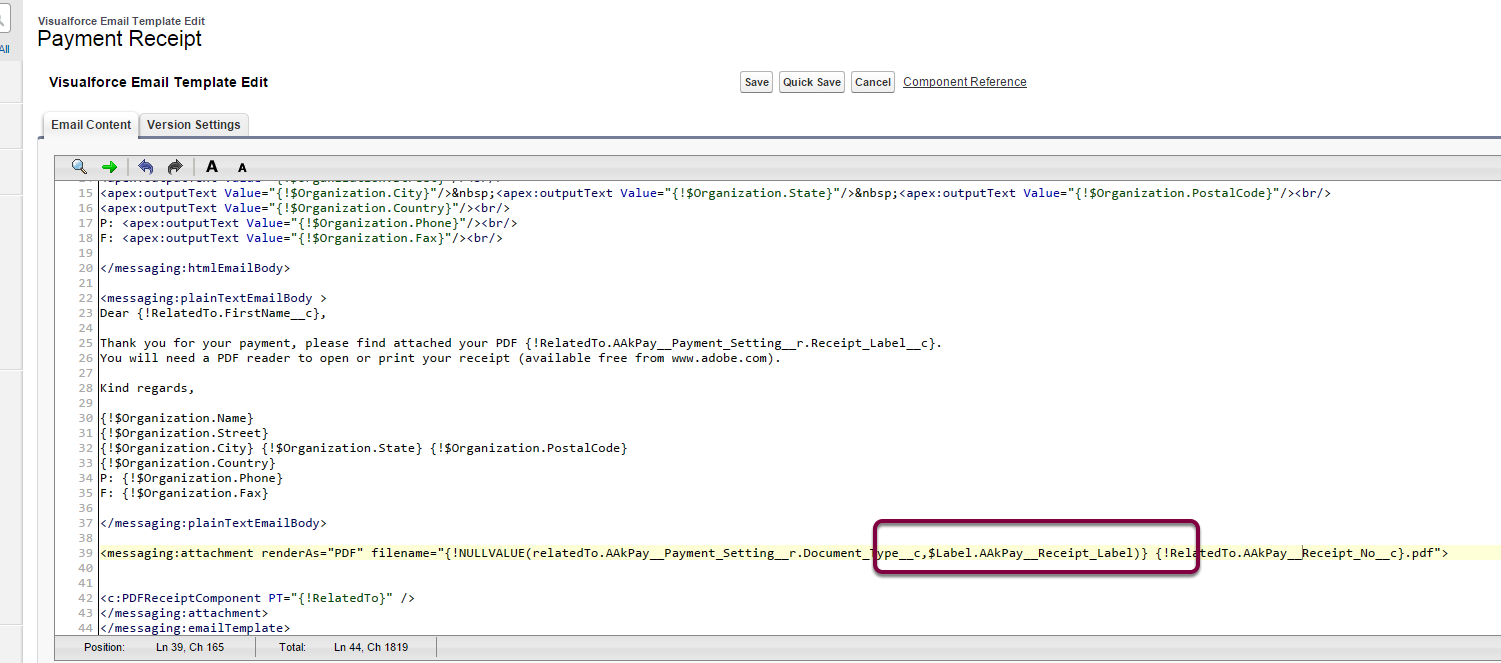
Locate the line in the email template that starts with <message:.... You will see that the $Label.AAkPay__Receipt_Label has been replace with $Label.xxxxxx Please update to have the values shown above.
Or copy/paste: <messaging:attachment renderAs="PDF" filename="{!NULLVALUE(relatedTo.AAkPay__Payment_Setting__r.Document_Type__c,$Label.AAkPay__Receipt_Label)} {!RelatedTo.AAkPay__Receipt_No__c}.pdf">
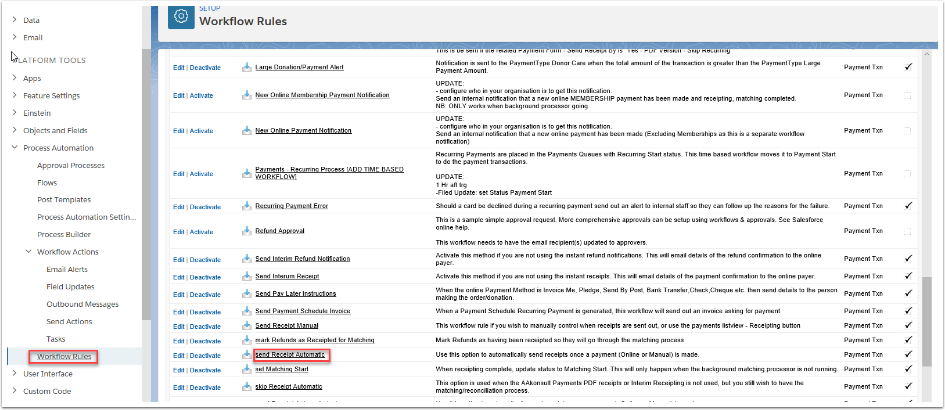
7. Changing the Receipt Email Template
You can change which email template is sent as part of the receipt process.
Please note that this will affect ALL receipt email workflows. Customisation will be needed if you require to have multiple Send Receipt Automatic actions available.
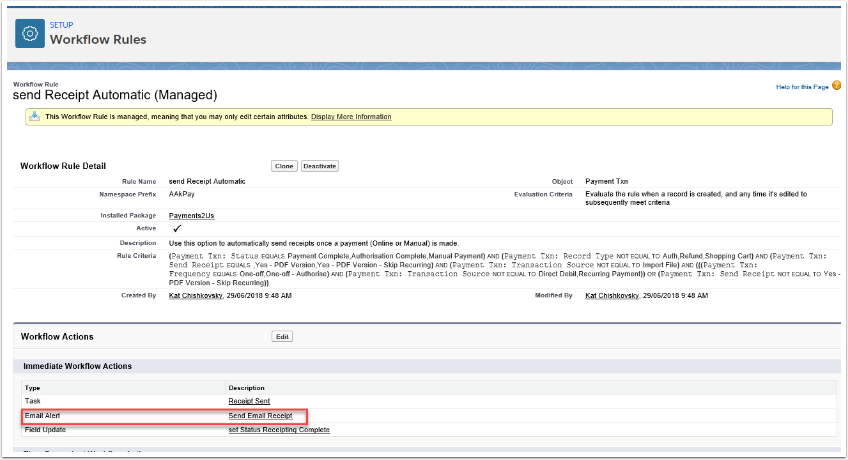
7.1. Go to Setup>Workflow Rules and select the Send Receipt Automatic workflow
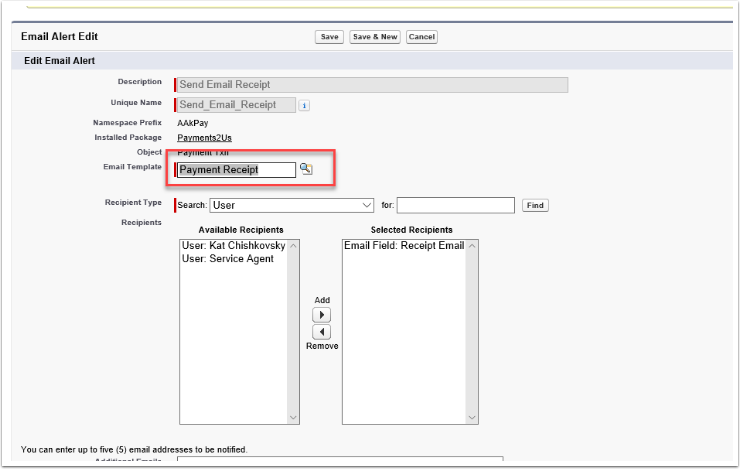
7.2. Locate the Send Email Action and click into it