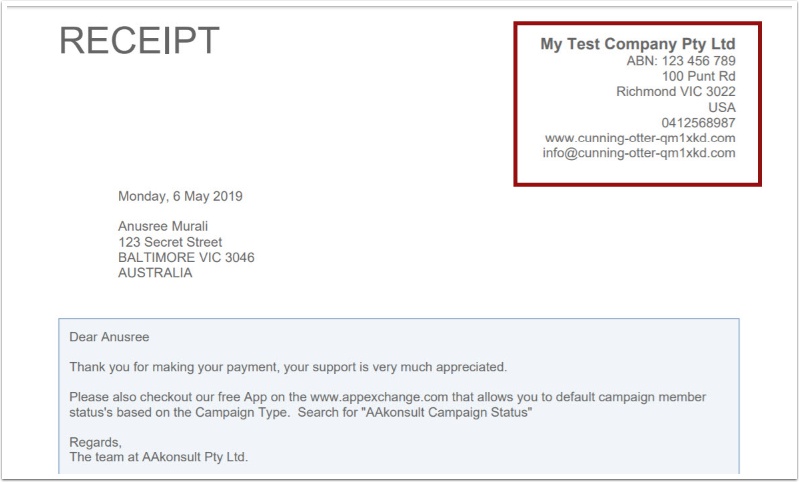
Information on your receipt is found on different screens.
For the organisation information on the receipt, this defaults to information on the Company Information record in Salesforce.
You can also enter details on the Merchant Facility. If organisation information is entered on the Merchant Facility then that will be used, otherwise it defaults to the Company Information level.
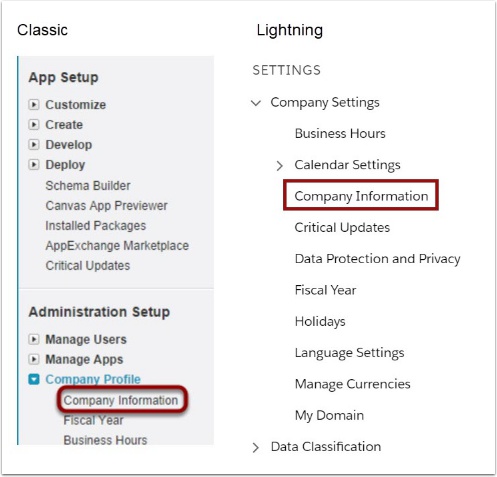
1. Updating Company Information
Classic - Setup > App Setup > Company Profile > Company Information
Lightning - Setup > Settings > Company Information
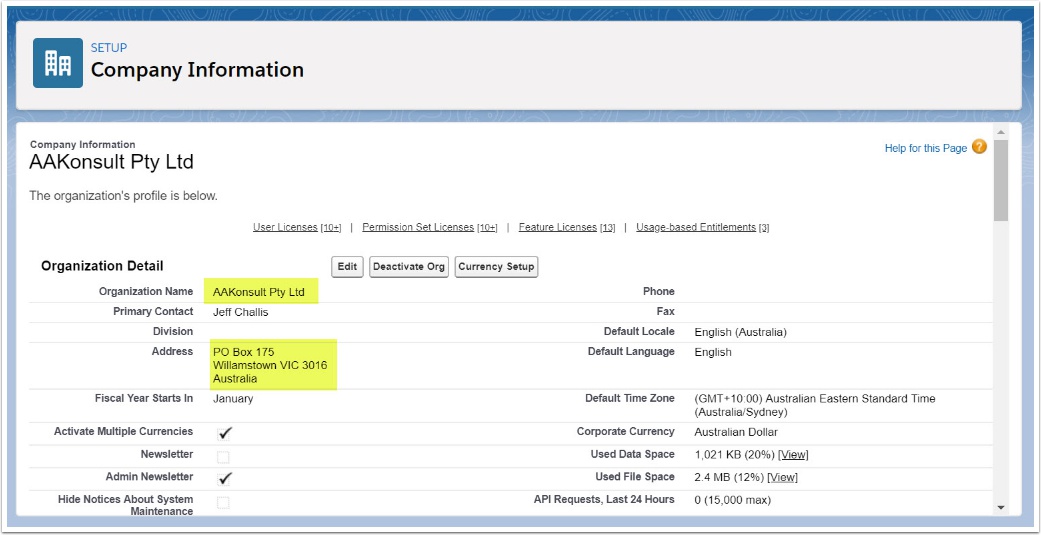
1.2. Update your company's details and SAVE
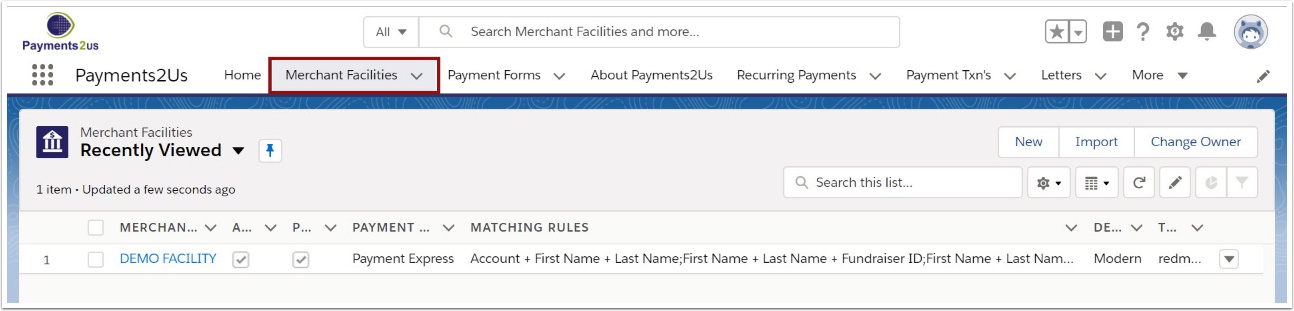
The Merchant Facility tab can be found within the Payments2Us menu (Top right picklist in Salesforce - Select Payments2Us), or it can be found under the "More" at the end of the tabs. (In Salesforce Classic - It can be under the "+" at the end of the tabs)
Once you have clicked on the Merchant Facility Tab, select the appropriate List view (Example - "All Merchant Facilities") and click into Merchant Facility you wish to update
2.2. Scroll down to the Receipting heading
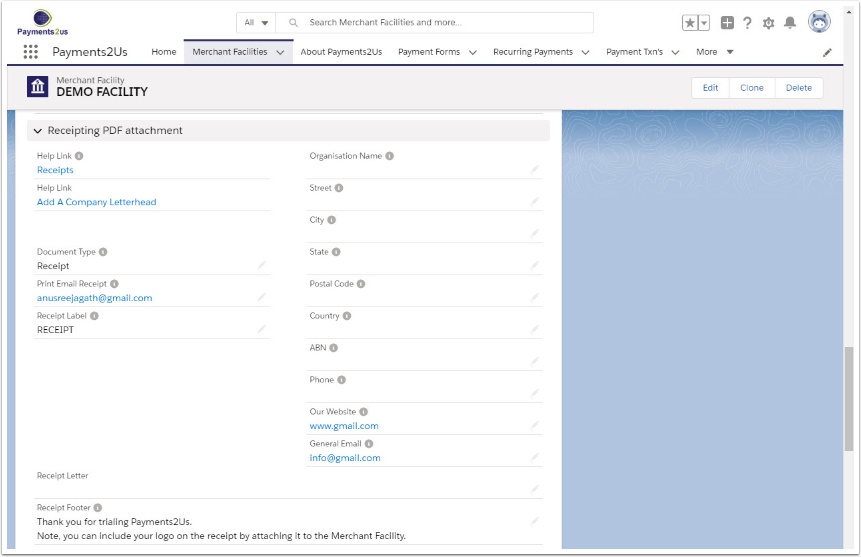
2.3. Update your information and SAVE
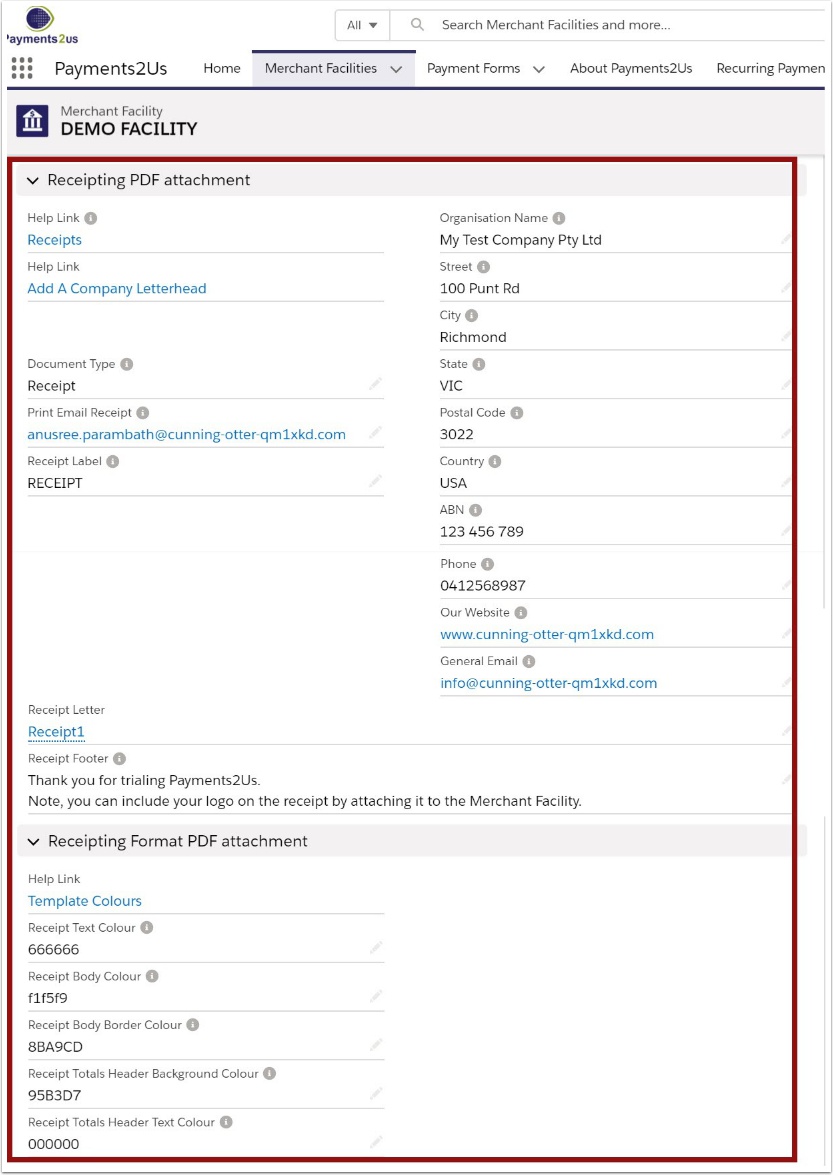
If items are completed at the Merchant Facility level, then they will be used. If details are not entered at this level, then the Salesforce Company Information Level details are used.
For information on colours, please see: How to change the colours of the Receipt Template
3. Check receipt


3.3. View receipt with your information

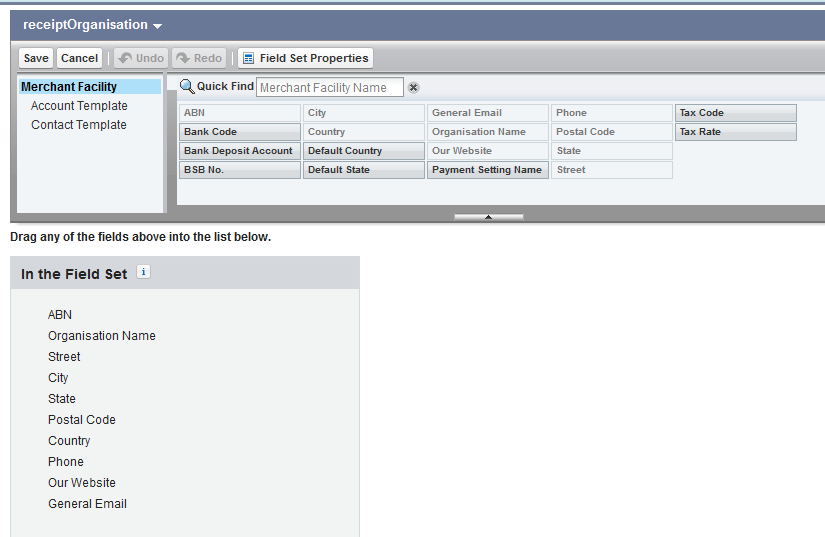
4. Changing Company Information Fields Shown

Its possible to change, remove or add custom fields to the organisation details section.
Quick Steps:
Classic
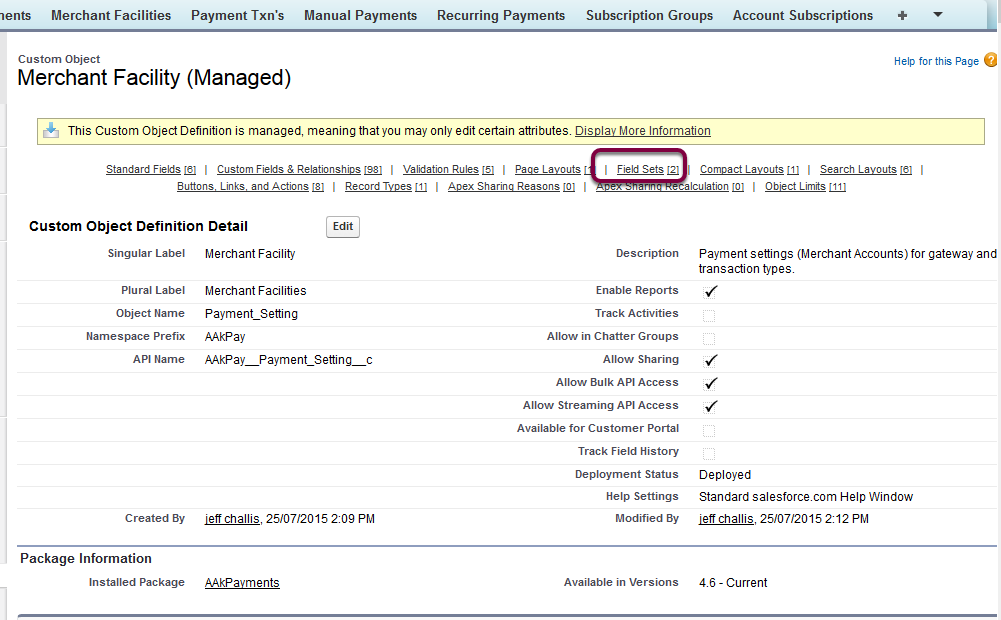
- Setup > Create > Custom Objects. Click into Merchant Facility
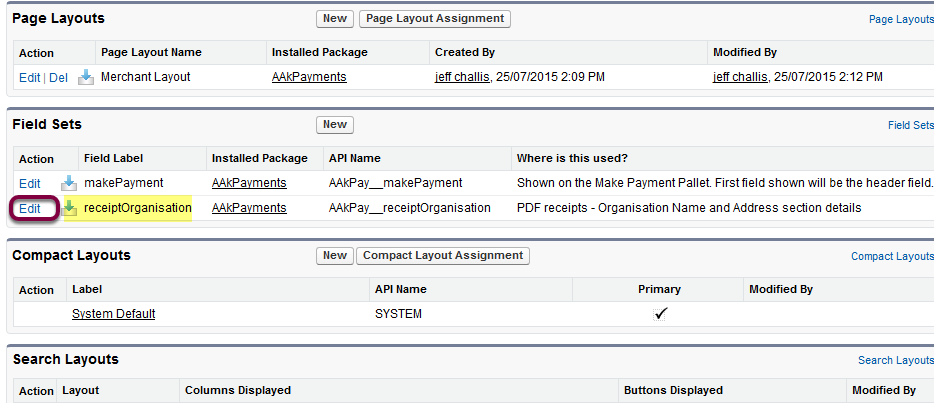
- Scroll down to Field Sets Section. Edit "receiptOrganisation"
Lightning
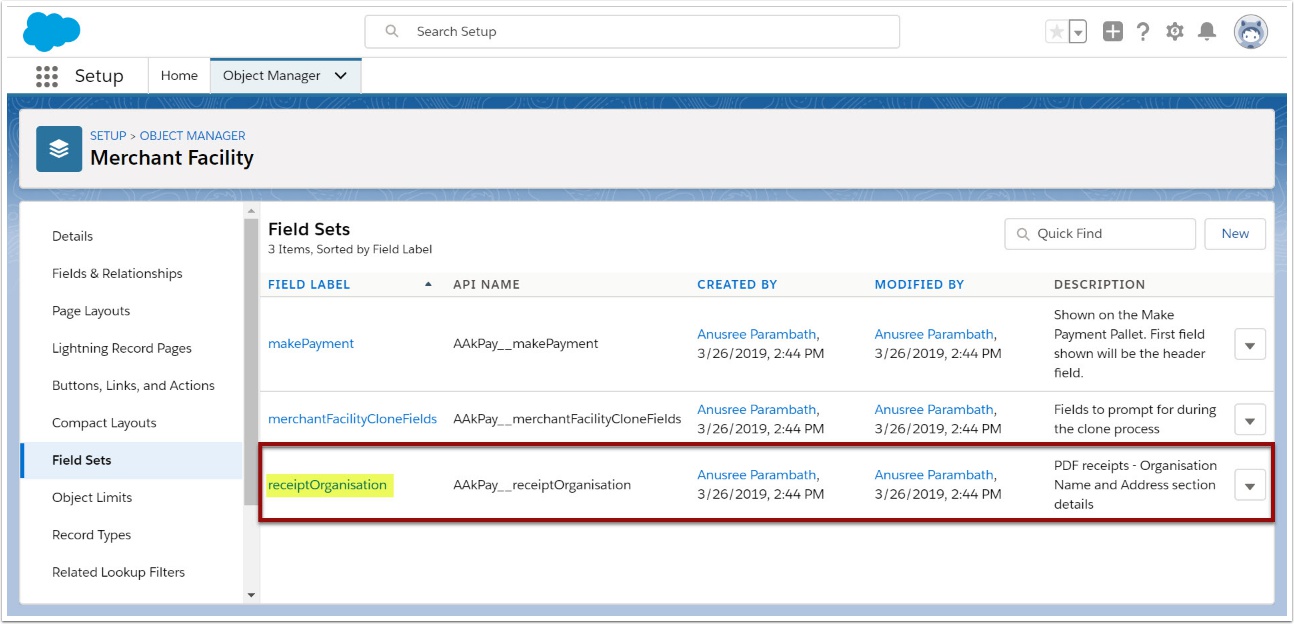
- Setup > Object Manager > Click into Merchant Facility
- Scroll down to Field Sets Section. Edit "receiptOrganisation"
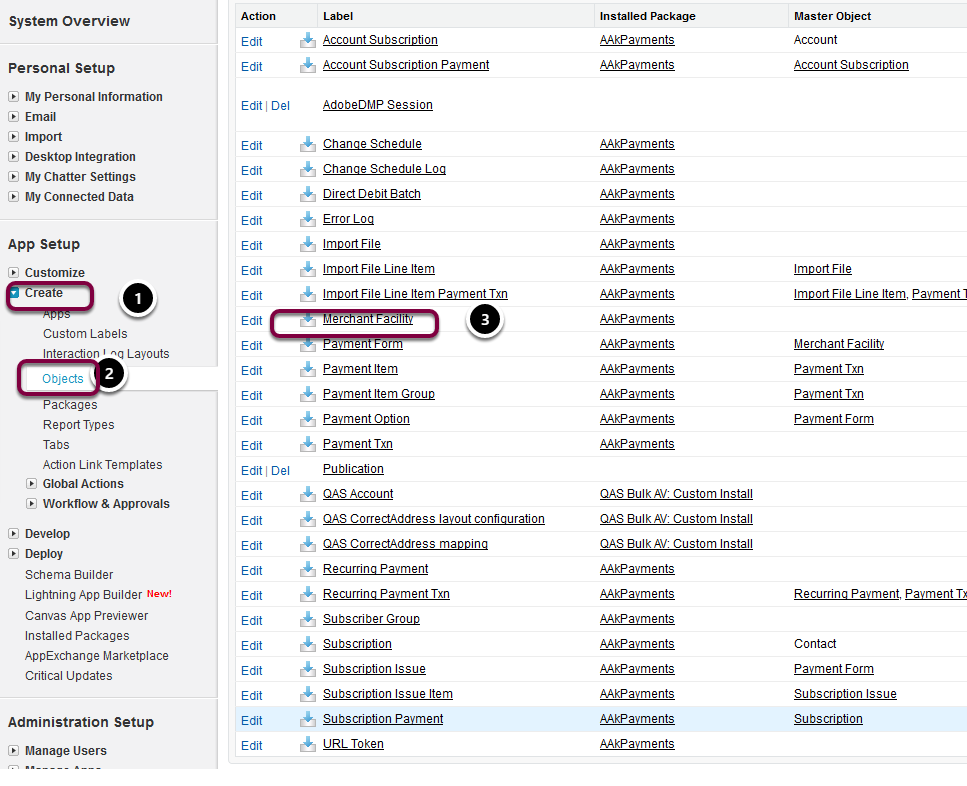
Classic - Setup > create > Objects. Click into Merchant Facility
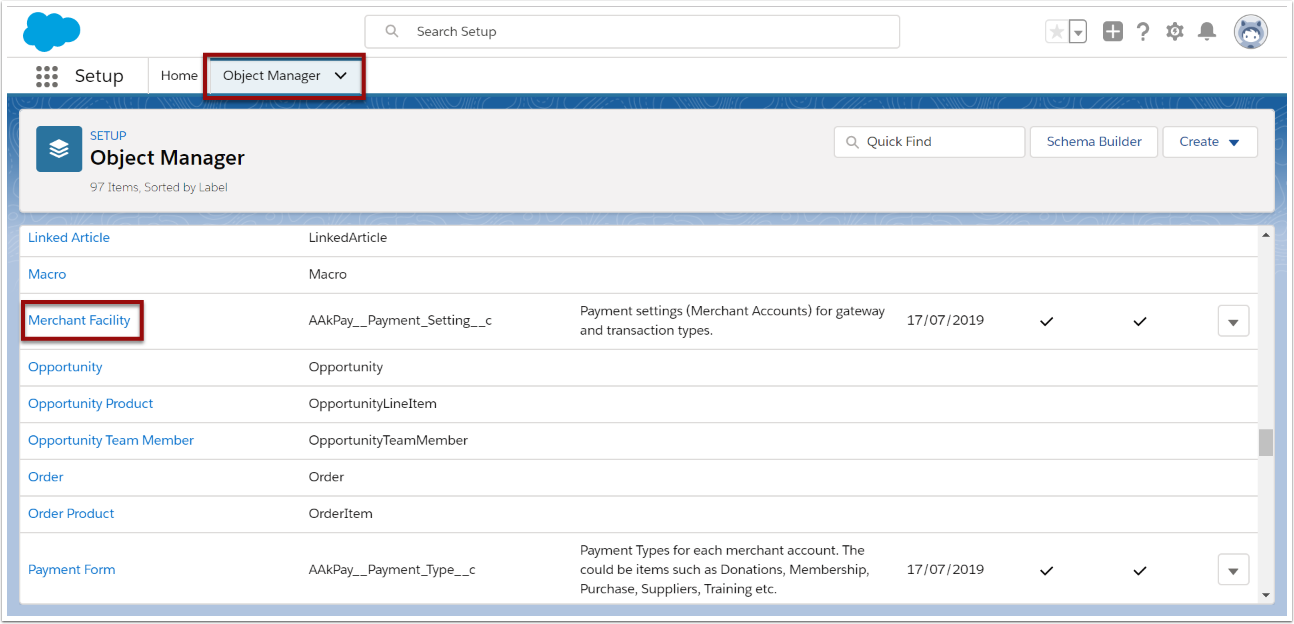
Lightning - Setup > Object Manager . Select Merchant Facility
4.2. Scroll down to the FieldSets section and click Edit link for receiptOrganisation
Classic
Lightning
4.3. Update organisation fields as required and Save