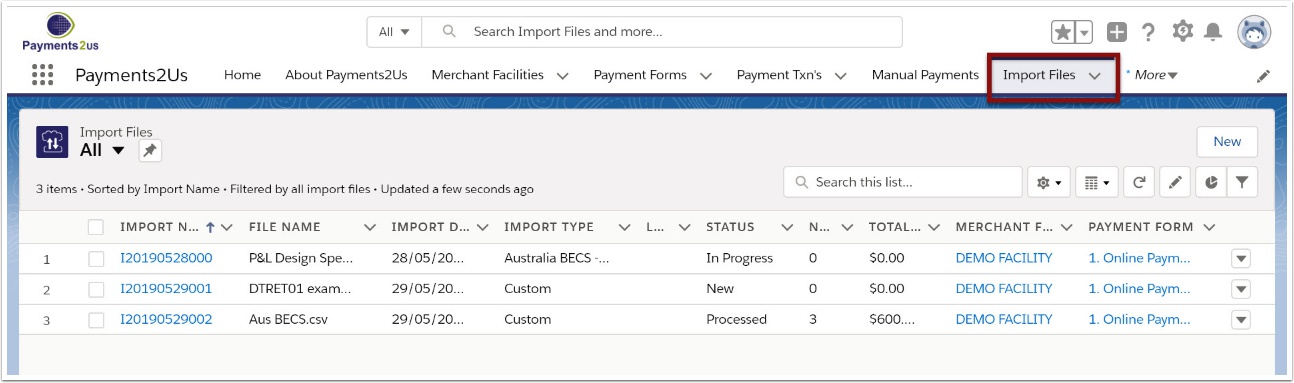
The Import files tab enables organisations to import payment transactions from virtually any system that can generate a comma separated value (CSV) file.
The import file process involves three steps:
- Preparing the import file and matching column headings in the spreadsheet with fields in Payments2Us
- Uploading and reviewing data
- Processing data to create Payment Txn's records which are processed by the Batch Processor
1. Prepare import file
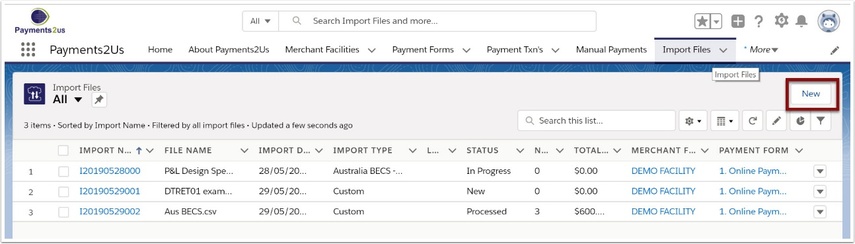
1.3. Enter details for import file and select Next
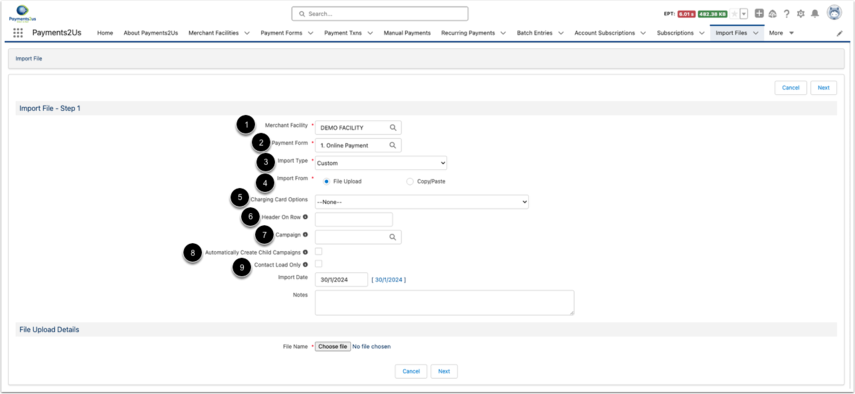
- Select your merchant facility
- Select the Payment Form that the data will be matched with
- Match the Import Type. This should match the source system you are importing from or you can start with your own custom mapping
- Select the source for your import File (file upload, or Copy/Paste). If this is changed, then file upload section will be changed to reflect the option selected. If you wish to email the CSV file, then see the installation manual How to setup Import Files Email Listner.
- Charging Card Options: This controls the behaviour of card charging based on the Start Date. Please see help article How does the Charging Card Options work?
- If the import file does not have the headings on the first row, then you can specify the row the headers are actually on
- Allocate a campaign (optional). If selected, then the transactions will be associated with this campaign
- If the campaign was selected and the import file includes campaign names and these campaign names don't already exist, then this option enables campaigns to be automatically created and linked to the Campaign as specified in point (6)
- Select this if the import is just to upload Contacts only. This is useful when loading Fundraisers first, then in a second import uploading the Donations for those fundraisers.
Note: If you are importing values that are part of a Global picklist, the API value needs to be used rather than the regular value. For normal restricted picklists the regular value is required. Make sure your values for both normal and Global picklists values match exactly, or this will cause an error with the import.
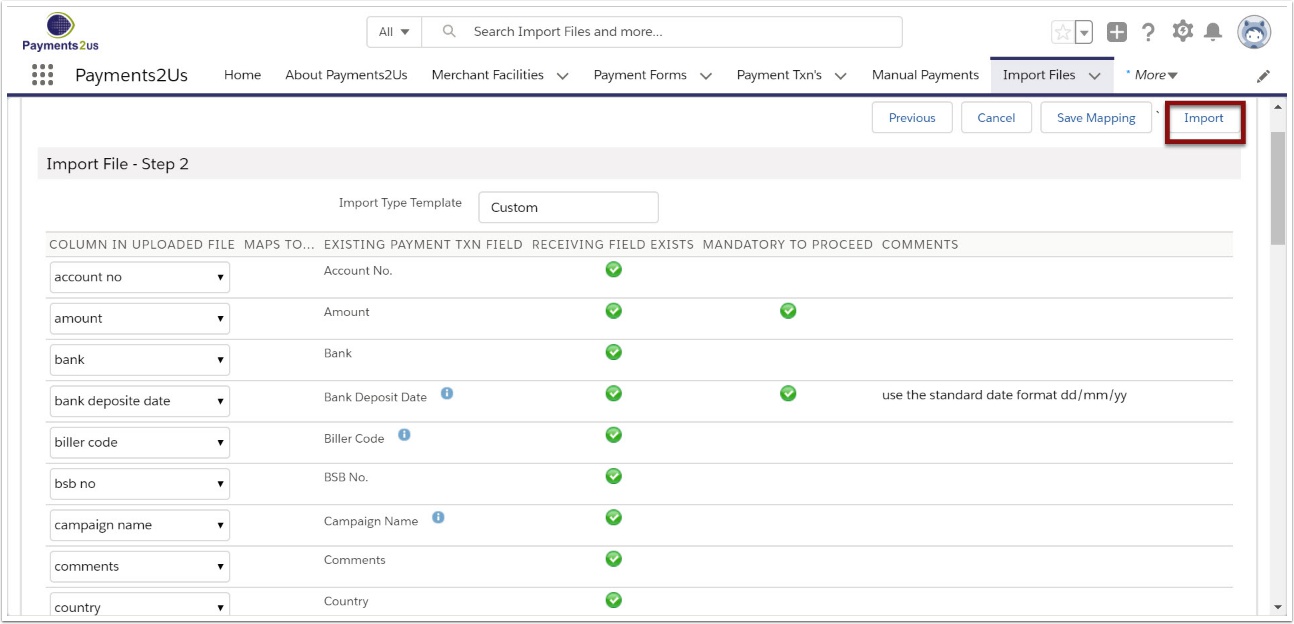
1.4. Match the data fields
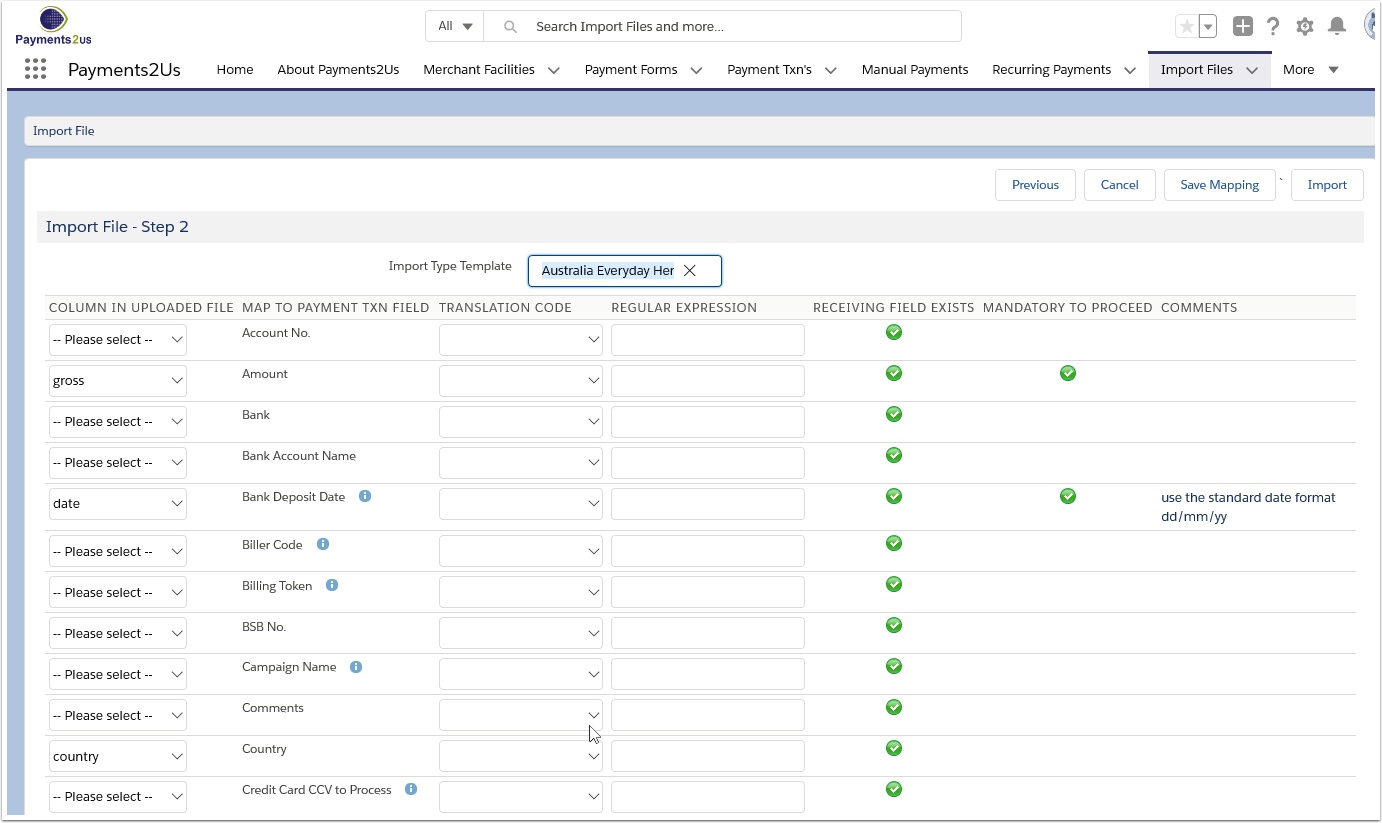
Ensure that mandatory fields are matched
- These mappings can be saved and used for future imports. If saving, then the best practice is to use the predefined name + short description after. For example, "Australia Everyday Hero - custom"
For more information on the "Translation Code" column, see procedure: How to change values on import using Import file translation codes
For more information on the "Regular Expression" column, see procedure: How to change values on import using Regular Expressions (please note, standard support is not available for any questions on this - premium support is)
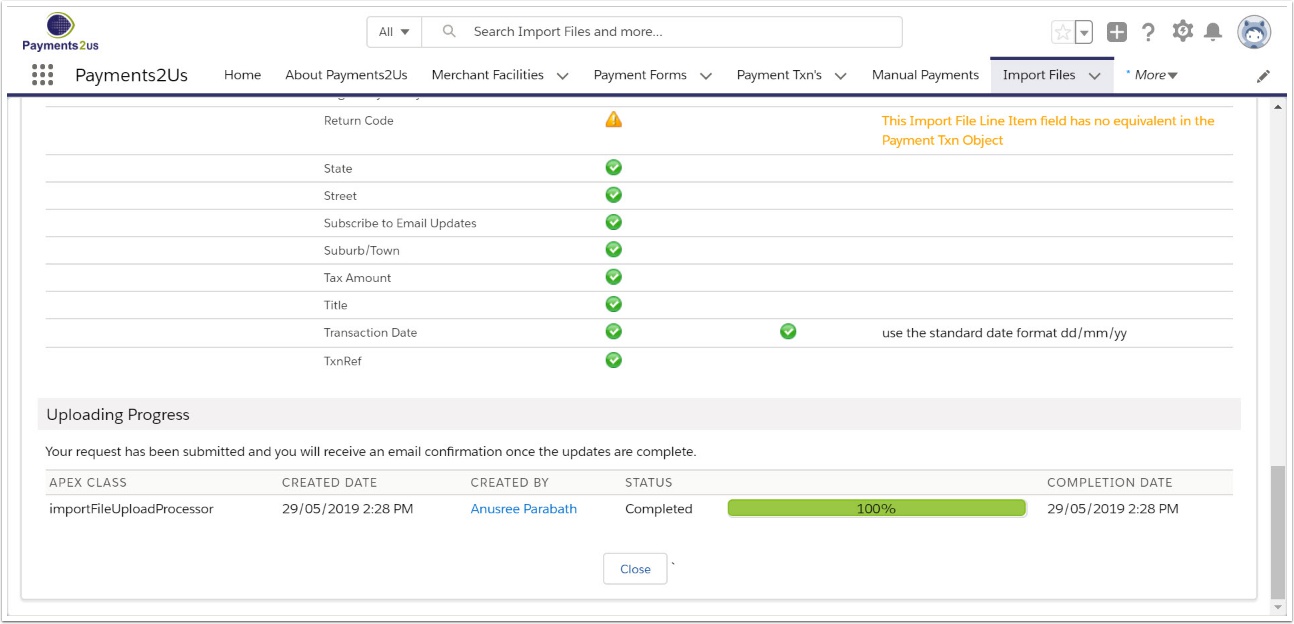
2. Import and review import file
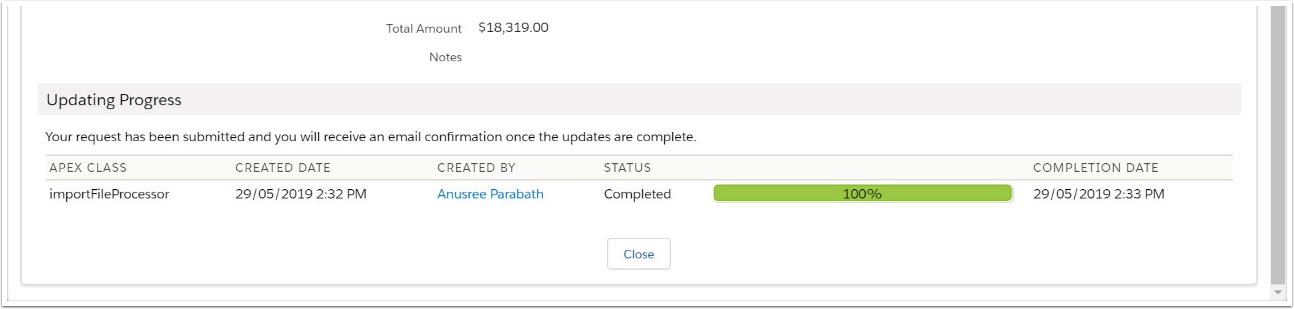
2.2. Await email when processing is complete and select Close
If you do not recieve processing complete email pleases see this FAQ:
2.3. Review imported data and correct errors
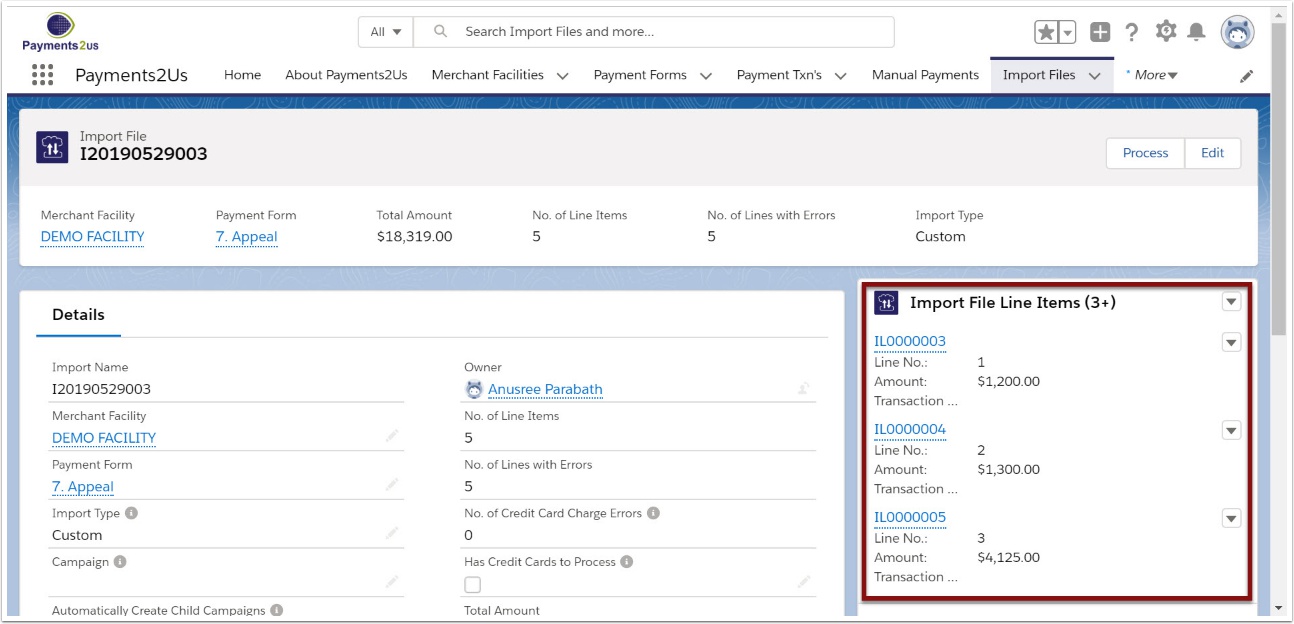
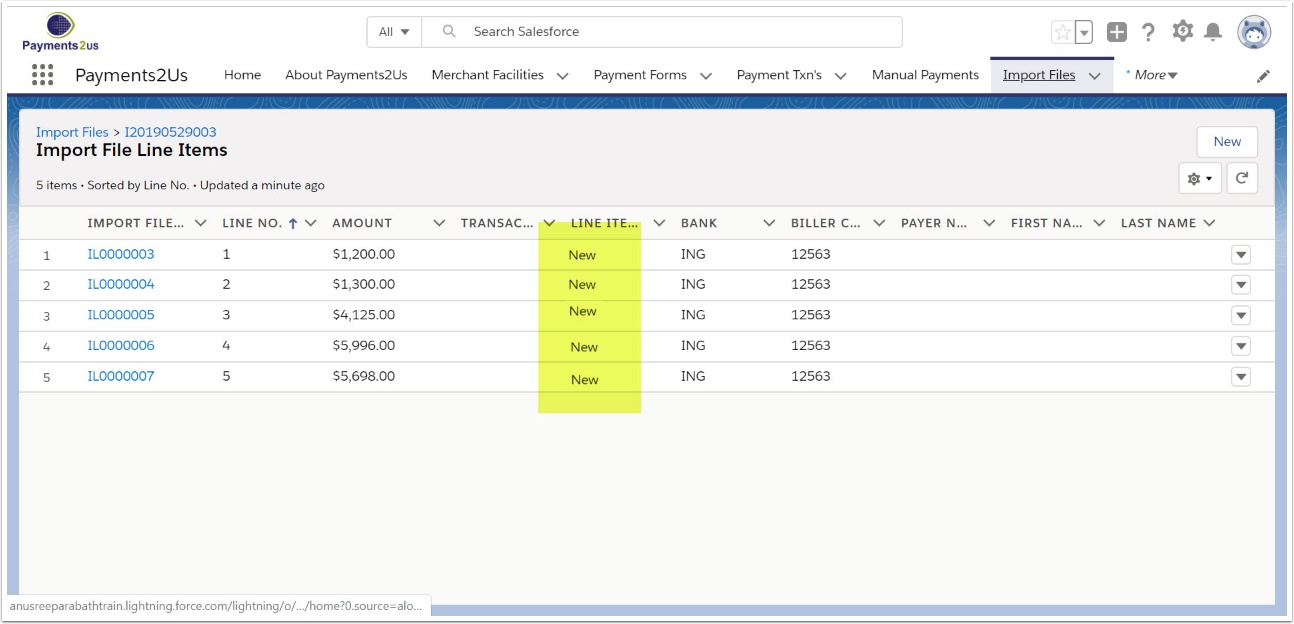
Note: All Line Item Status values should have a status of New. If they have "Error" then you'll need to check/update.
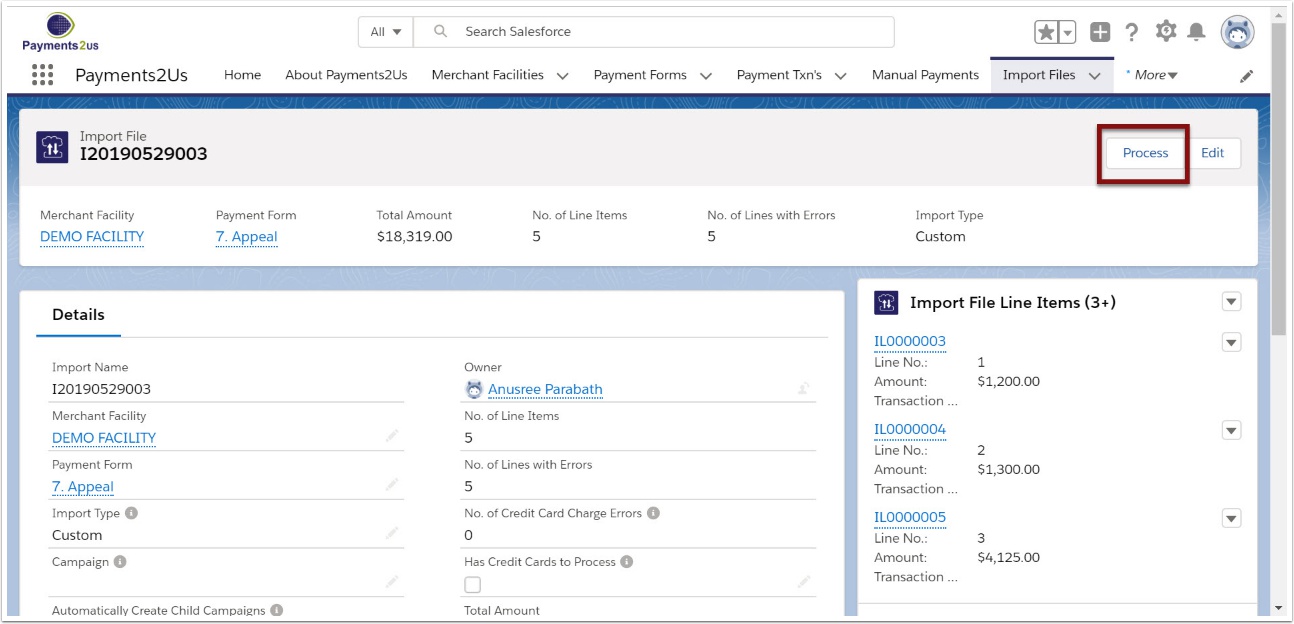
3. Process import file
This will create Payment Txn's records for the new file
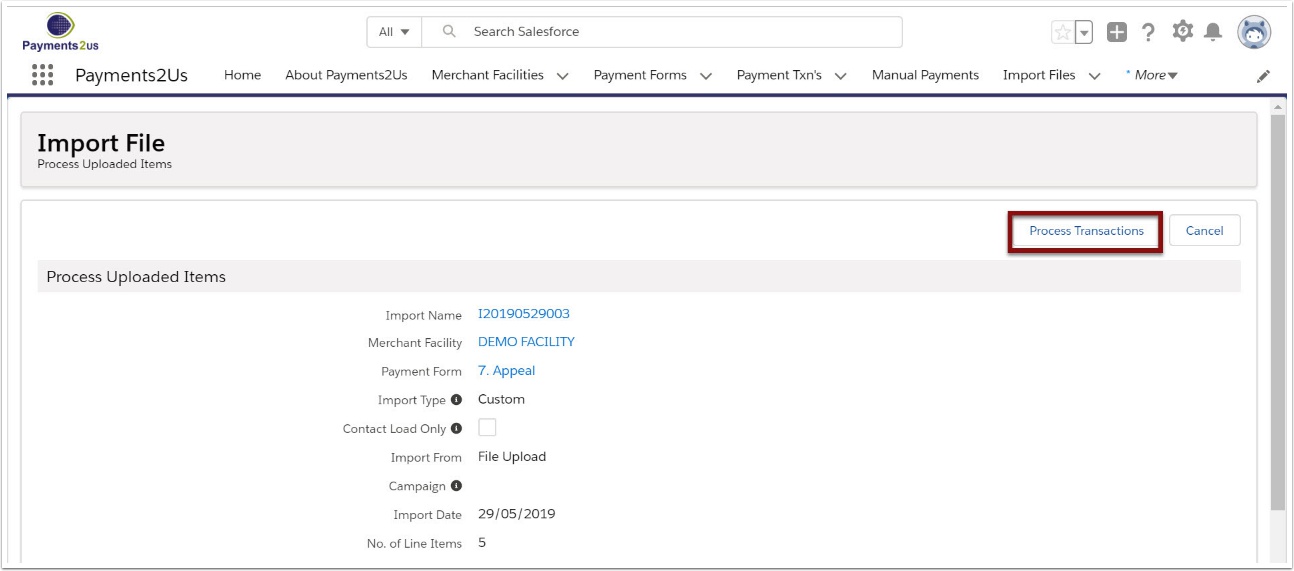
3.2. Select the Process Transactions to confirm
3.3. Await email when processing is complete and select Close
If you do not receive processing complete email please see this FAQ (Click here) :