The BPAY Checkout option allows your organisation to have a form on their website and for the donor to select that they wish to pay by BPAY.
This process is very similar to the Pay Later process in that the payer/donor enters all of their details online and once they have submitted, they are then provided with details on how to pay.
When the checkout form is submitted, a Payment Txn is created with a status of "Awaiting Payment." The Import File Reconciliation or Automatic Reconciliation process will mark the Payment Txn's Status as "Payment Complete" once payment is received.
1. Setup for BPAY payments with Checkout
1.1. Adding BPAY as a checkout option
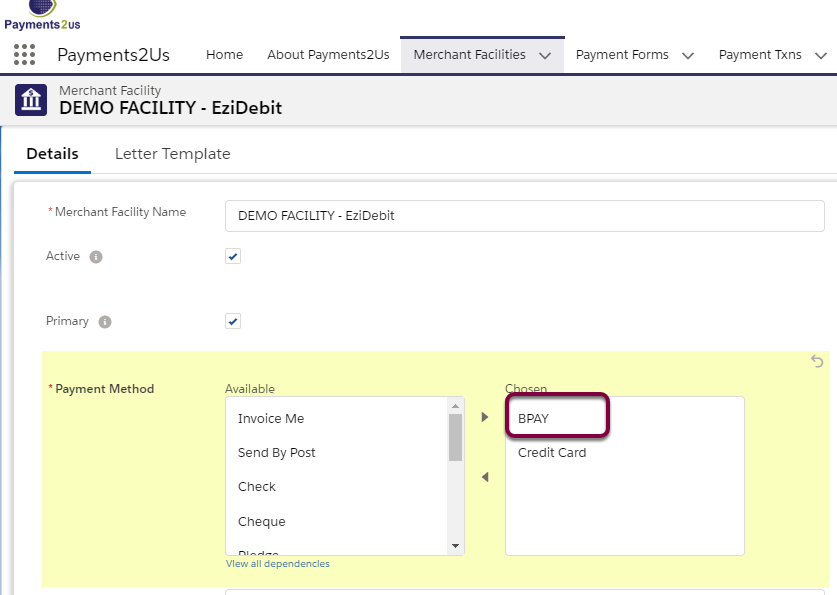
On the Merchant Facility Tab, or URL Token, select "BPAY" as a Payment Method
1.2. Setup your Biller Code
This is the BPAY code representing your organisation. This can be entered on the Merchant Facility Tab in the "BPAY Biller Code" field located in the Payment Instructions section.

2. Example using BPAY Checkout Process
When BPAY is enabled as a payment method, the donor/payer can select this option.

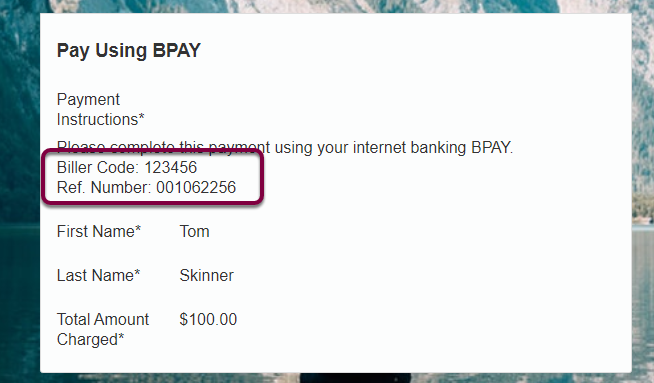
After they have entered all their details and pressed submit, they will be shown details on how they can pay with BPAY using their internet banking.
A unique Customer Reference Number will be generated for this Payment.
This will create a Payment Txn with a status of "Awaiting Payment." The BPAY Import Files reconciliation process or BPAY Automatic reconciliation process will be used to mark the Payment as completed once the payer/donor has made the payment.
An email will also be sent to the donor/payer with the Payment Instructions.