1. Create your own HTML lead in pages
Some organisations would like a higher level of branding or personalisation to their checkout forms.
A simple and cost effective way of doing this is to to have your web developer create lead in pages that capture the details as desired and to then pass these captured details to the Payments2Us form using URL Parameters.
Ask your web developer to create your own lead in pages as you. This can have as much or as little from the Payments2Us form, but cannot include the credit card/payment side of things. These need to remain securely as part of our form.
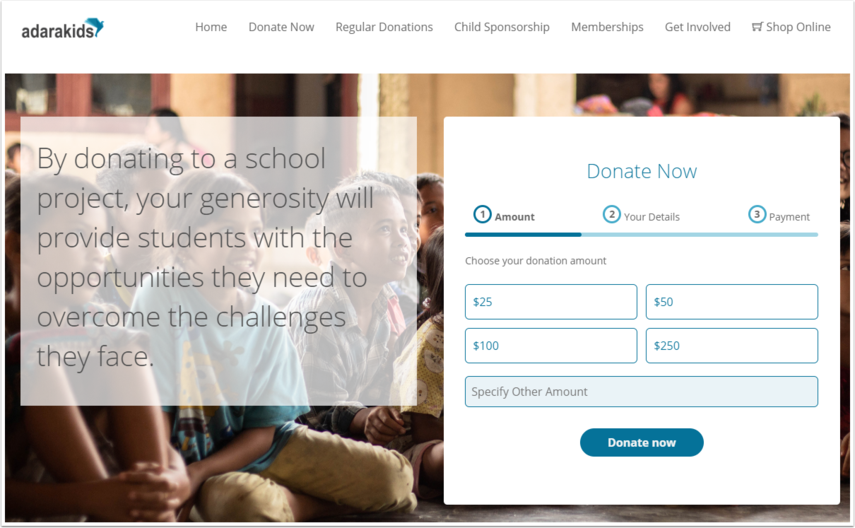
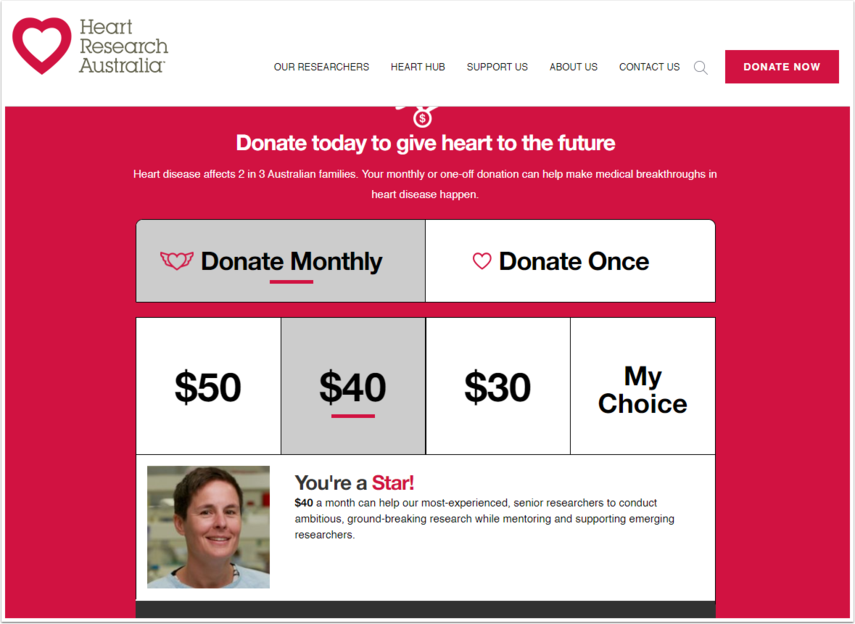
Below are some examples of lead in pages are shown below

2. Pass details captured in lead in forms to Payments2Us Checkout Form
Make the final step of the wizard the Payments2Us form.
Pass in details captured in the previous steps, for example first name, last name, amounts etc to the Payments2Us form by using URL parameters. For more information on URL parameters, see procedure Which parameters can I use with the various URL Parameter options and Encrypted URL Parameters or Dynamic URL Parameters.
Of particular note is using the URL Parameter "hideContactDetails" to hide the entire contacts detail section of the form.
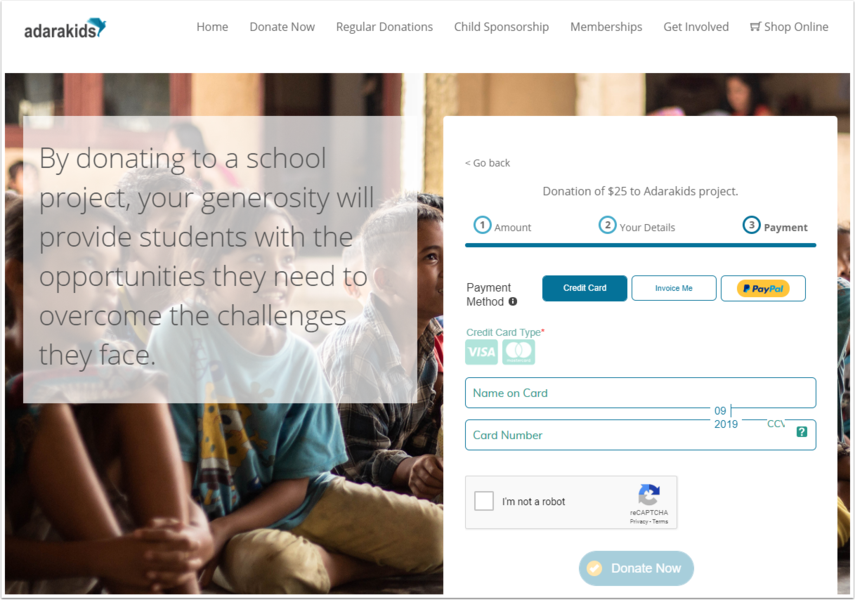
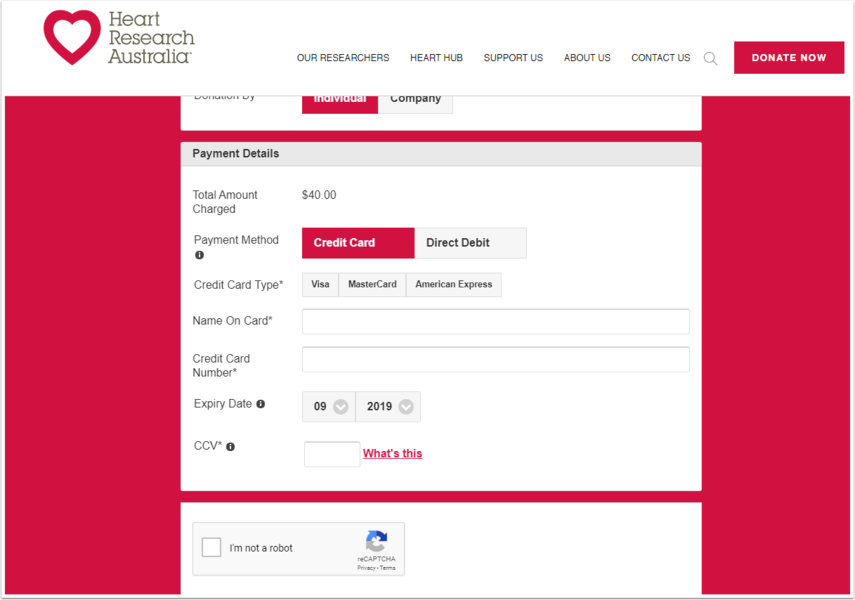
Below are some examples of the final checkout step
3. Use custom styling for your form
For the final page that is Payments2Us, we would recommend using custom styling so that this step matches in with the rest of your website. Please see the procedure How to create Custom Themes for more information.