Note: The following field types are not supported on web forms (aka Checkout Form - both public/website facing an internal/Salesforce user facing).
- Multi-picklists
- Dependant Picklists
- Look-up Fields
NOTE: Formula fields are only available on Complete Page. Should you need formula fields on the input page, as a work around - you may add field - mark as read only using payment form builder, apply default value. Vs. Formula field on input page.
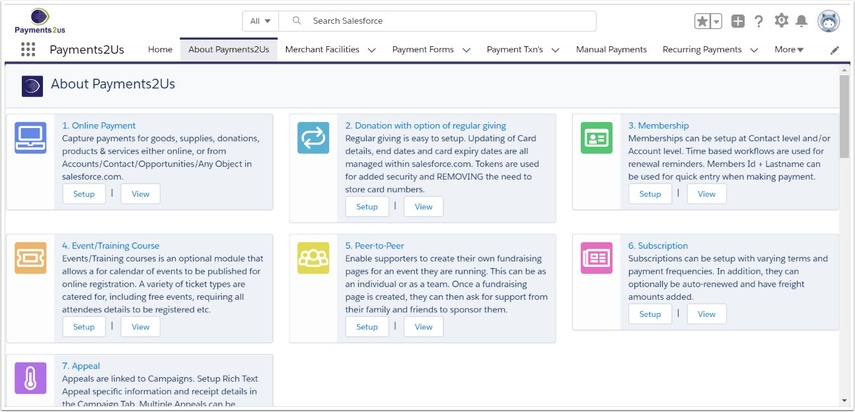
1. Enable Custom Fields
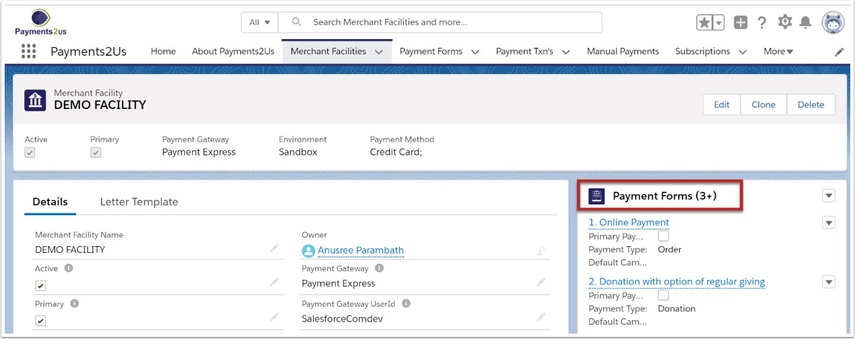
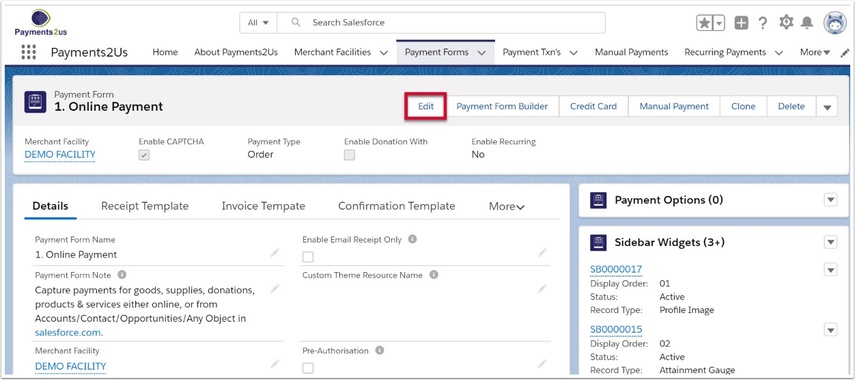
1.2. Select Online Payment and select ‘Edit’
1.3. Scroll down to Custom Fields and enable Custom Fields with the tick box.
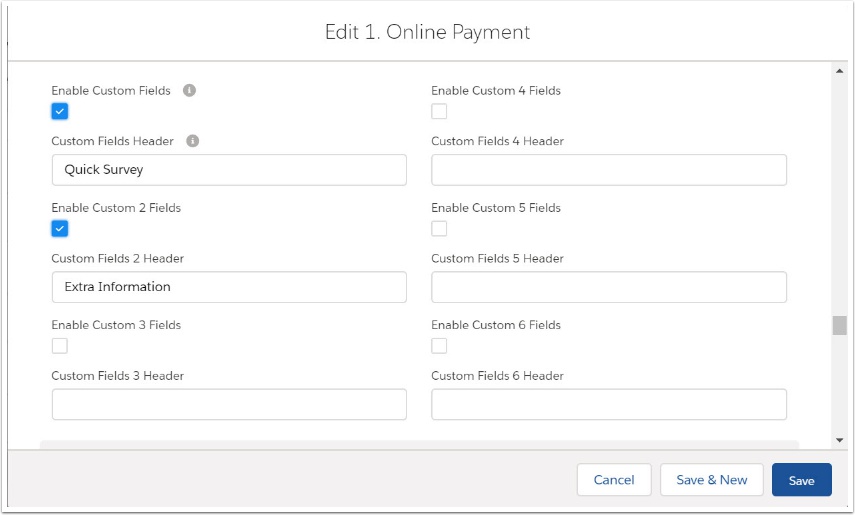
Create a Header names for your new fields.
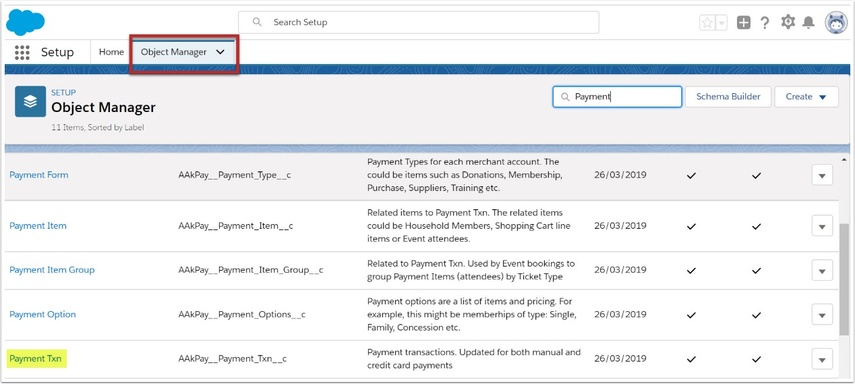
2. Create Custom Fields

2.2. Select the 'Fields & Relationships' and select ‘New’

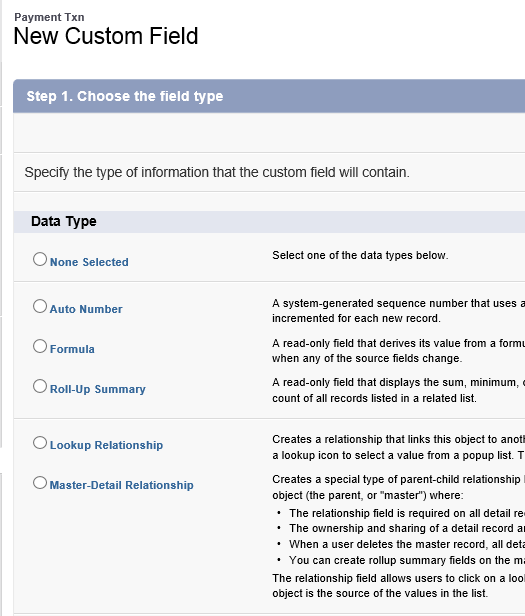
2.3. Specify the type of field you would like and select ‘Next’
2.4. Enter details for your field and select ‘Next’
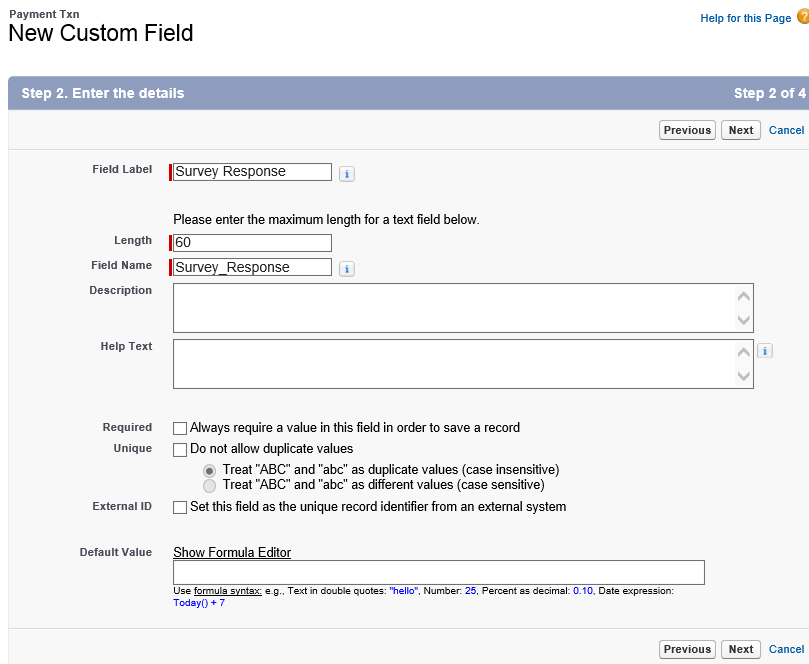
The fields showing a red bar are compulsory.
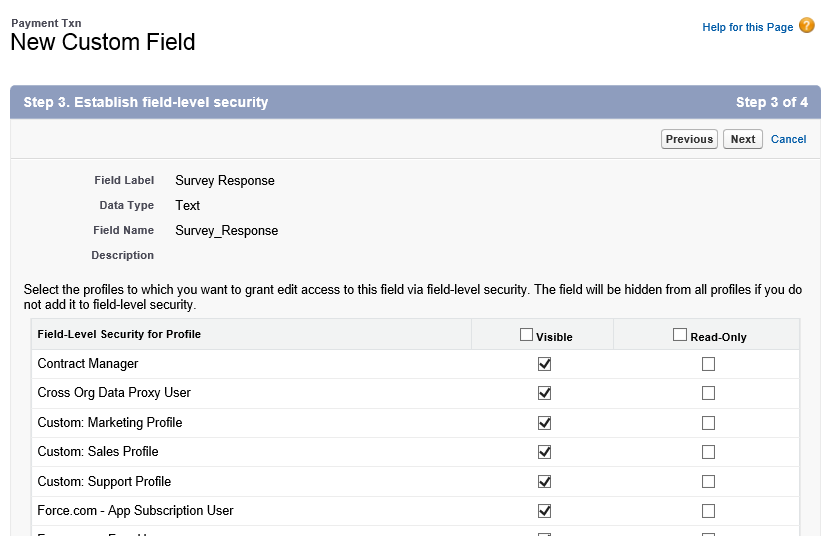
2.5. Set field security for your new field
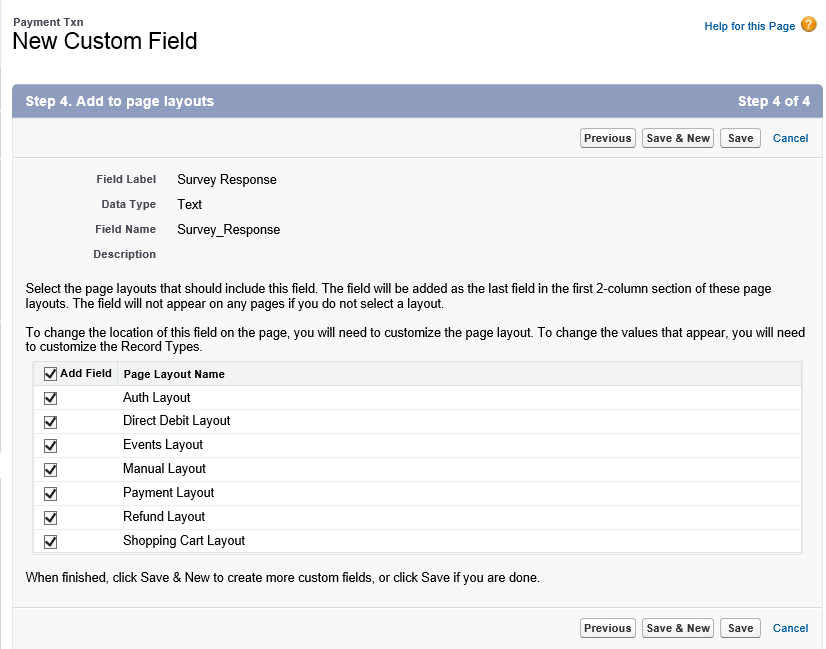
2.6. Add to page layouts and ‘Save’
3. Add Custom Fields to your web form
3.2. Select 'Field Sets' and click into your custom field
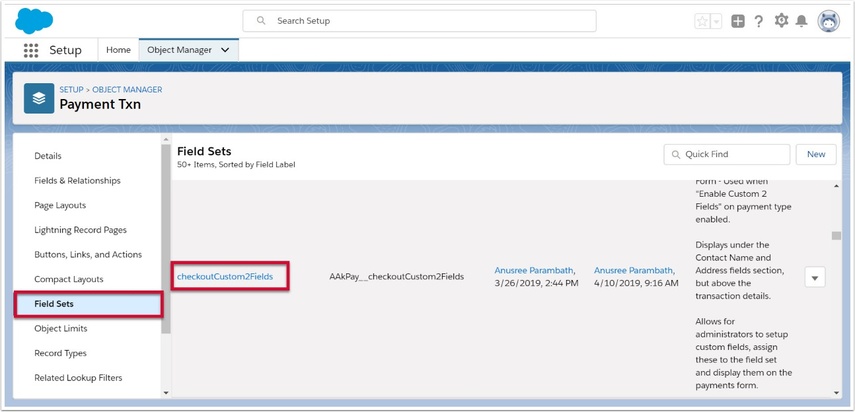
3.3. Drop and drag your new field into the web form layout
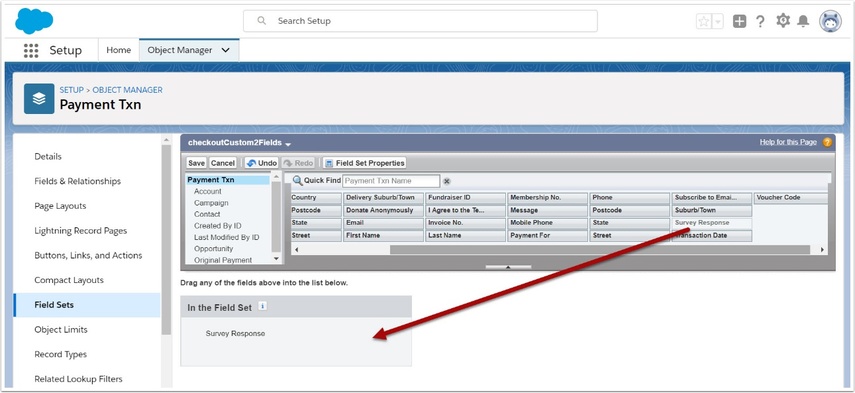
3.4. Select 'Save'
4. Make your fields publically visible
When creating a new field, the security settings just make the field visible to normal salesforce users. In order to make them visible on the public website form, you will need to follow the steps in: Make a custom field visible on public web forms
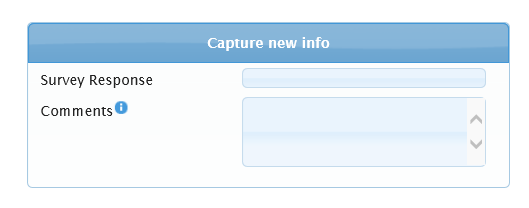
5. Check your web form
5.2. View your new fields in the web form
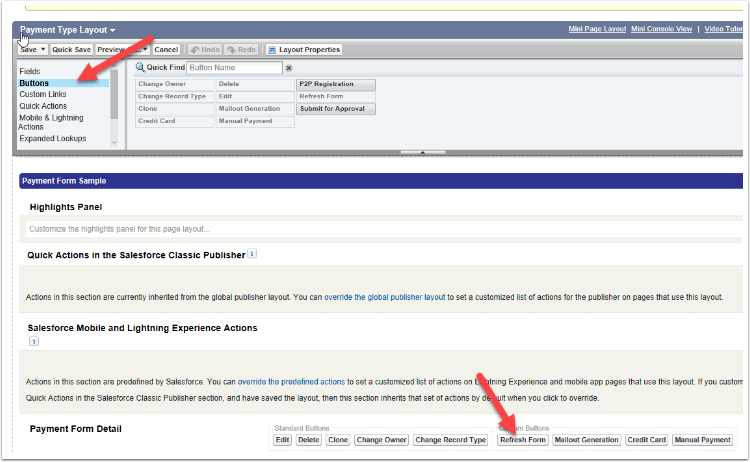
If you are using the "Modern" forms, you will need to click the Refresh Form button on the Payment Form as per the following steps

If the Refresh Form Button is not visible, go to Edit Layout on the Payment Form and add it from the Buttons option in the Page Layout