1. Log in to Shopify and go to "Products"
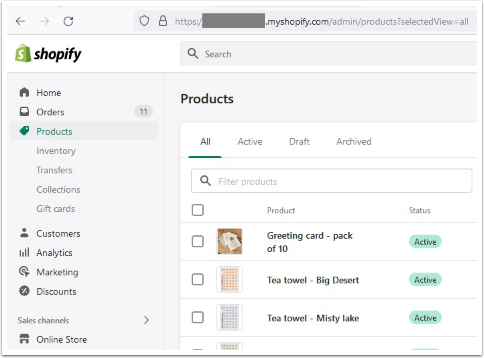
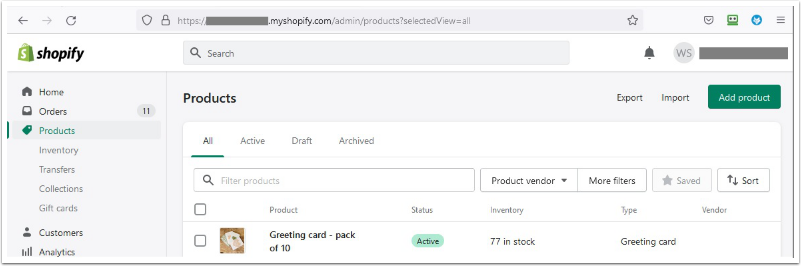
2. Go to the green "Add product" in the top right hand corner
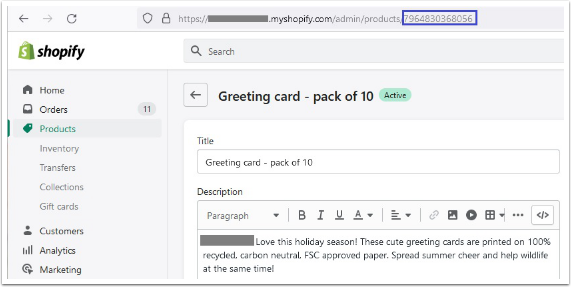
3. Copy Product Id
Once that the products are setup, you should be able to see the product ID in the URL (refer to image below), copy this number in your Notepad. You will need this number for setting each product up in Salesforce. If you are adding multiple new products we suggest to make a list of the new product names, prices and these product IDs.
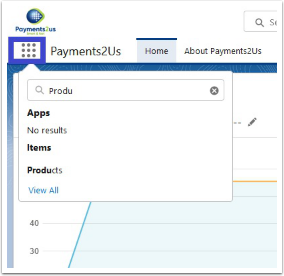
4. Locate Product Tab
Log in to your Salesforce administrator account and go to your nine dots icon in the top left corner under the cloud and search for "Products"
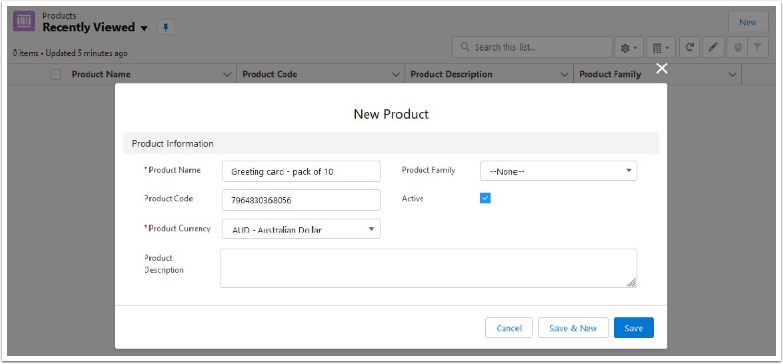
5. Add Product
Once in "Products" go to the "New" button in the top right hand side.

6. Copy Product Name
Copy product name from Shopify and paste it the field "Product Name" here in Salesforce (refer to image below). Make it Active and add the Product ID that you captured (from the URL of the product from Shopify) three steps before and Save.
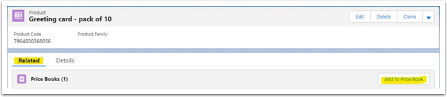
7. Click on Details Tab
Once that you save, you should be in the Details tab. Go to the "Related" tab and "Add to Price Book".
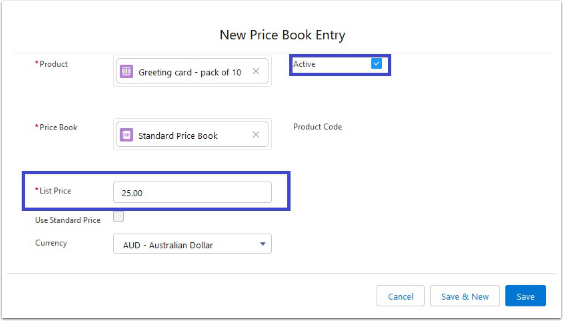
8. Mark Active
Once in the "Price Books" type the price (in the field "List Price") of the product and make it Active and "Save".
9. Repeat for all Products
Repeat these last 4 steps as many times as you need depending on the number of products that you are adding in Shopify/Salesforce.
10. Set Price Book on Merchant Facility
After you have created you products, go to your Merchant Facility and confirm that the option "Price Book" is completed (you will need to select the Price Book). Additionally, depending on your set up you would need to have ticked the "Create Opportunity Line Items".